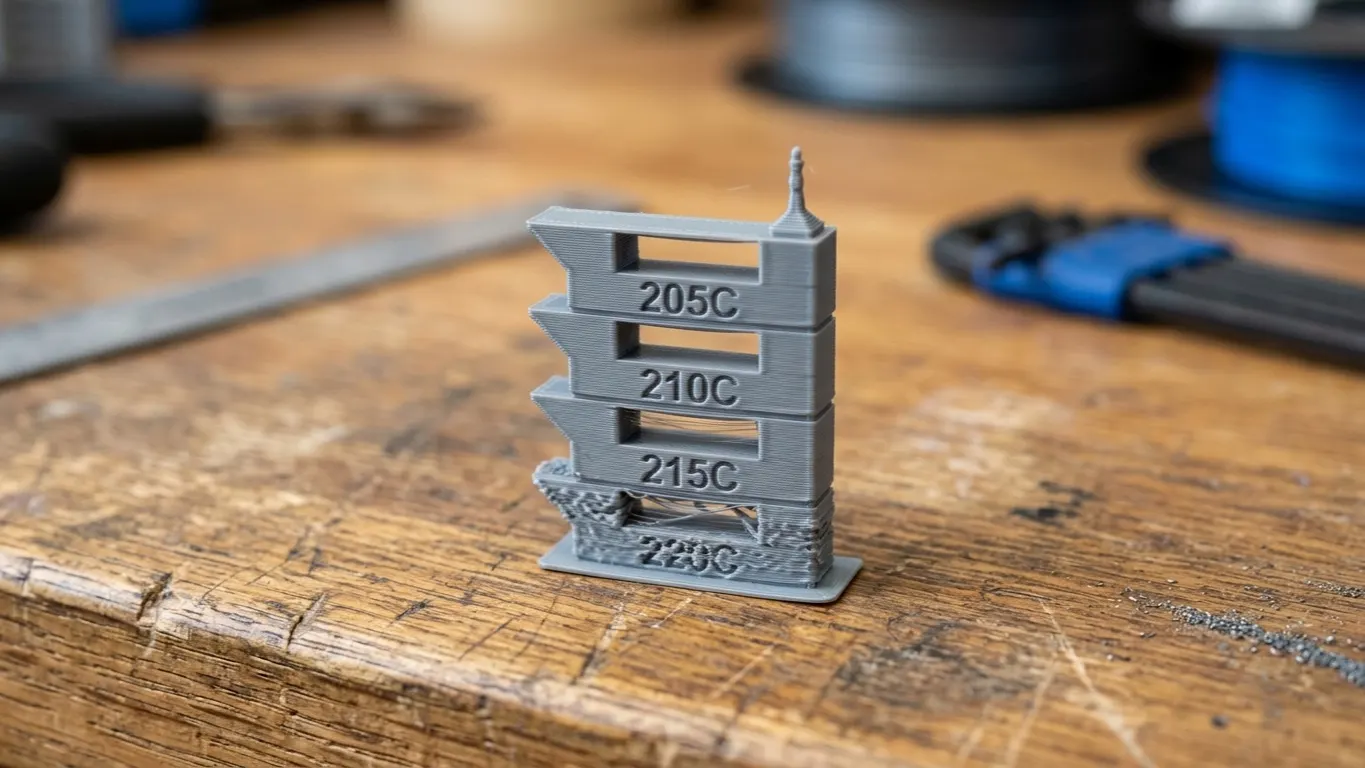
A temperature tower is a test part that tries several nozzle temperatures in one print. The temperature steps down as the tower rises; when it finishes you look at which section came out best and put that temperature into your profile. Getting that value into a filament profile of your own is covered in adding a filament profile.
Why you need one: the range printed on the spool label (200-230 °C, say) is wide, and you do not get the same result across all of it. Even a different color of the same brand behaves differently.
In Orca Slicer
In Orca this is a ready-made menu item, with no model to hunt down.
- Calibration → Temperature tower.
- Pick the filament type, enter start and end temperature.
- Slice and print.
Orca generates the tower and drops in the temperature-change commands itself. That was the forum thread's conclusion too: use Orca instead of doing it by hand in Bambu Studio.
The two sit side by side on one computer and open each other's files, so installing Orca just for calibration is a reasonable move. I compared the two in the Orca Slicer article.
By hand in Bambu Studio
Bambu Studio has no built-in test. There are two routes.
A downloaded model plus G-code editing. Grab a temperature tower model from Printables or Thingiverse, slice it, then add per-layer temperature commands inside the sliced file.
A sliced .gcode.3mf is really a zip archive. With something like 7-Zip you open it (do not extract) and edit the .gcode in the Metadata folder. Find the layer markers and write a temperature command beneath them:
;LAYER:40
M104 S215
M104 sets the nozzle temperature without waiting, which is what you want here, since the print should not stop. To use the same command at a single layer, see changing temperature at a layer.
Layer change G-code. You can write a conditional into the Layer change G-code field in process settings, but the syntax is error-prone and more work than editing by hand.
Reading the tower
Once it is finished you work through the sections in order. Here is what to look for:
| Symptom | What it says |
|---|---|
| Stringing | Too hot |
| Weak between layers, snaps easily | Too cold |
| Droop on bridges | Too hot |
| Matte, rough surface | Too cold |
| Bulging at corners | Too hot |
The best section is usually where the stringing has gone but the layers still bond well. If the two do not line up, go with layer bonding: you can clean stringing off, you cannot fix a weak part.
Try breaking the tower by hand. Bend each section and see which one is toughest. Looking at it alone will mislead you.
When to print one
Not for every spool. It is worth it when:
- You move to a new brand
- You move to a new material type (PLA to PETG)
- You are having clear trouble with a known brand
- You are using a special filament (silk, glass-filled, wood-filled): nylon (PA), for instance
On a familiar color of a familiar brand, the stock profile is usually fine.
The calibrations the printer runs itself before every print are a separate matter; I went through which ones you can skip in turning off pre-print calibration.
The other calibration tests
Temperature alone is not enough. In order:
- Temperature tower: nozzle temperature
- Flow rate: is wall thickness right
- Pressure advance: bulging and gaps at corners
- Retraction: stringing
The order matters: if the temperature is wrong, the other tests give wrong answers too. All of them sit ready in Orca's Calibration menu.