"Homing z-axis failed" with error code 0300 4000 comes up when the bed travels halfway and stops. Work through it in this order: check the rods and bearings, then move the axis up by hand from the menu without calling homing, and if that fails, measure the belt tension. The second step is usually enough.
You are not the only one getting this. It is the most common Z axis fault among Bambu Lab owners, and one forum thread about it has been read close to a hundred thousand times. If you have just set the printer up and are not sure of the basics, how to use a 3D printer is a better place to start.
What "Homing z-axis failed" means
Before a print, the printer references the Z axis: it raises the bed and finds zero relative to the nozzle. If that gets interrupted, the screen reads "Homing z-axis failed" and error code 0300 4000 comes up.
The symptom is distinctive. The bed climbs halfway, stops there, then tries to start leveling and throws the error. Turning the printer off and on does not fix it, because it arrives at the same point the same way every time.
1. Check the mechanics
Start here. It is the easiest thing to inspect and the most frequent cause.
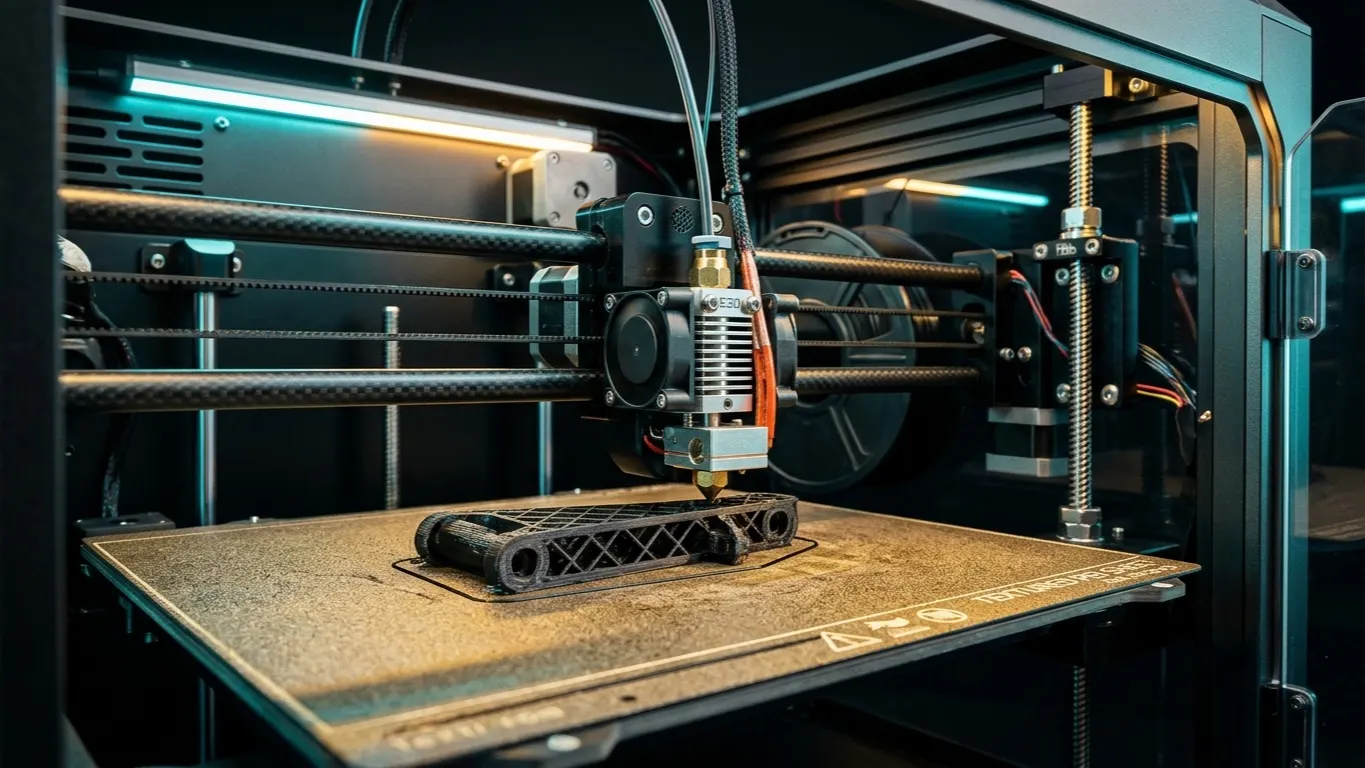
- Run your fingers along the Z rods, full length. You are looking for filament residue, a chip of plastic, a ball of dust. If the debris sits at one point on the rod, the error appears at exactly that height.
- Check that the bearings are seated. A bearing out of position locks the axis at a single spot.
- Take the build plate off, clean its underside and the surface it sits on. If the plate is not seated properly the bed travels crooked and errors out before leveling starts.
- Check the rod lubrication. Dried or dust-laden grease raises friction at a specific point.
If you find something, clean it, lubricate it and try again. If nothing turns up, go to step two.
2. Move the axis through by hand
Retrying homing just means hitting the sticking point the same way every time. Instead, you walk the axis past that point by hand.
- Do not call homing. Clear the error on screen if it is showing, but do not start leveling.
- Work with the printer cold.
- From the menu, move the Z axis upwards step by step.
- Pass the point where it binds. You are not forcing it, you are stepping through it.
- Keep going until you are just below the nozzle. Make sure the nozzle is clean.
- Now start a print.
In most cases this clears on the first try and later prints run normally. The logic: if the axis is tight at one height, the motor hitting it at homing speed cannot get through, but slow controlled movement can.
3. Measure belt tension
If the first two steps did nothing, or the error repeats on every print, the belt is next.
A loose belt does not bring the Z axis to its true position, so the printer cannot find zero. If you are seeing HMS 0300-1100-0002-0001, come straight here. After tensioning, run a full maintenance clean too, because a loose belt rarely shows up on its own.
If the Y axis measures a low resonance frequency, the same job applies to the Y belt.
4. Linear rail
If the axis does not move at all, not even step by step, the rail may have seized. Clean it, lubricate it, and slide the carriage by hand across its full travel. Anywhere you feel it catch, there is a mechanical problem that needs taking apart.
Where this does not help
If the bed does not stir and there is no sound from the motor, these steps will not get you anywhere. That is a motor, a cable or a driver board, and it belongs on the electrical side.
And if the error repeats reliably on every print, stop hunting for a one-off bind. Reliable repetition points at something permanent: the belt, rail alignment, or a bent rod.
Putting off a permanent fault has a price: every print that stops halfway costs filament, electricity and hours. I put numbers on that in 3D print cost calculation: a 10% failure rate adds roughly 11% to every part's cost.