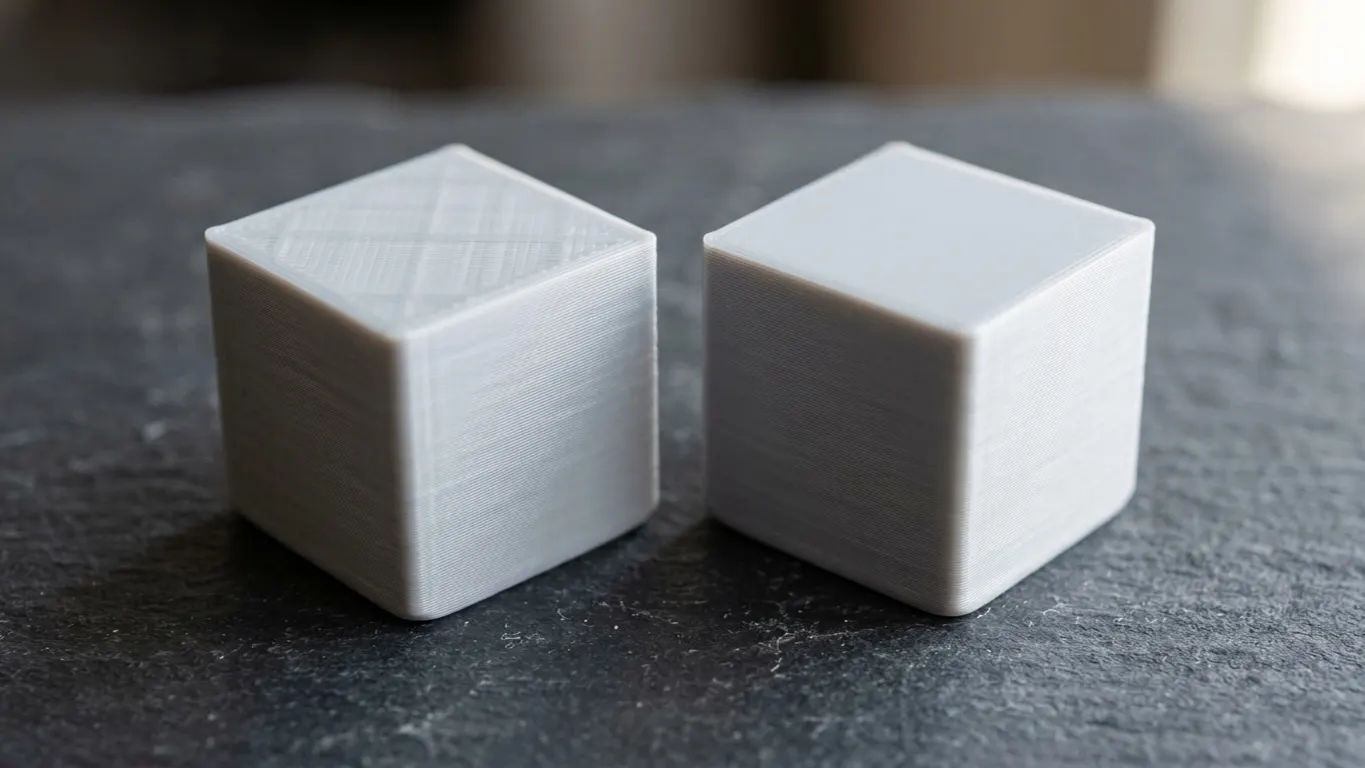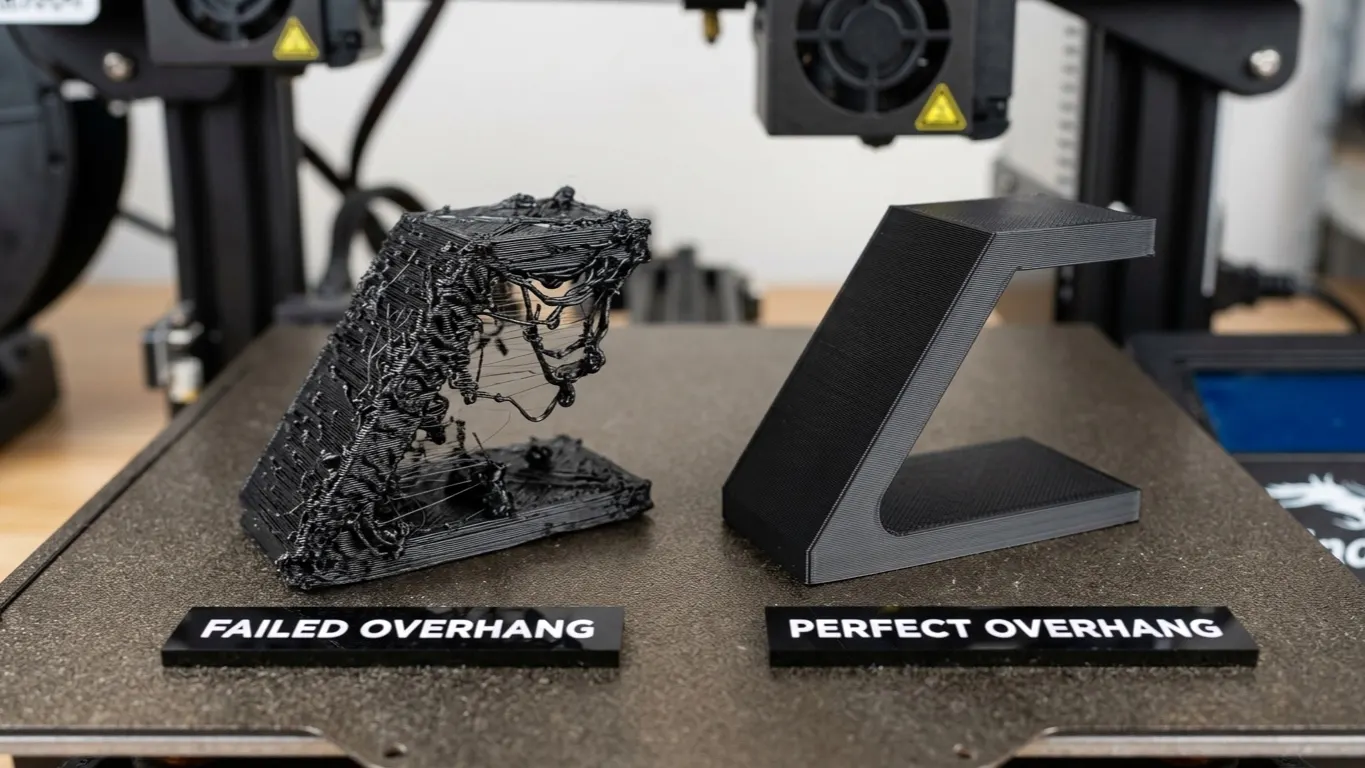
An overhang is a part of the print that extends outward over air with nothing beneath it. If the infill pattern shows on the top surface that is a separate problem: infill showing through. The nozzle lays plastic out over the gap, and since that plastic is still molten it sags. What you get is a rough underside, hanging strings, sometimes blobs.
The fix is usually not support. There are four places to look, in order.
The 45-degree rule
Overhangs up to 45 degrees from vertical print unsupported. The reason is geometric: each layer steps out half a line width over the one below, so at least half of the new layer lands on the previous one and has something to hold.
Past 45 degrees the contact area falls away quickly. At 60 degrees most of the layer is over air and droop begins.
The rule is approximate. Depending on material, cooling and speed, some people get clean results out to 50-55 degrees.
1. Cooling
This is the one that decides it. If the plastic sets as it goes down over the gap, it holds; if it stays liquid, it sags.
- Run the fan. On PLA the fan should be at 100% over overhangs. Bambu Studio has a separate setting: Cooling → Overhang fan speed.
- Overhang fan threshold. Sets the steepness at which the fan goes full. The default is usually 50%; lower it if you are having trouble.
- Mind the chamber. With ABS and ASA the chamber runs hot, and that makes overhangs harder. If you are printing PLA in a closed enclosure, open the lid.
2. Speed
Printing slowly over an overhang gives the plastic time to set.
Bambu Studio and Orca have Speed → Overhang speed, which steps the speed down as the wall gets steeper. The default is usually fine, but you can push it lower if the problem sticks around.
Slowing down too much has its own cost: the nozzle sits in one place, heat builds up, and the surface turns glossy or deforms.
There is also a case on PETG where the setting itself caused a repeating surface defect, and the forum's fix was to switch it off entirely: slowing down for overhangs on PETG.
3. Orientation
The most effective fix is often rotating the part. Tipping the same model 30 degrees can remove the overhang entirely.
Rotating in Preview and looking at the layers takes a few seconds, and it beats adding support. The rotation tools are in mirroring, rotating and scaling. Support leaves marks where you pull it off; solve the overhang with orientation and the surface stays clean.
4. Bridge or overhang
They are different, and the slicer sometimes confuses them.
A bridge is a horizontal gap anchored at both ends. The nozzle throws a strand across, and held at both ends it does not sag. Slicers recognize bridges and print them their own way: slow, fan full, no retraction.
An overhang is anchored on one side only.
The second forum thread describes exactly this mix-up: the flat areas over holes were treated as overhangs rather than bridges, and printed badly. In Orca Slicer, setting Quality → Bridging → Bridge counterbore holes to Partially bridged fixes it.
If the tops of holes are a recurring problem, look at that setting.
A third case gets confused with both: an island with nothing underneath it at all. The slicer flags it with the floating regions warning, and cooling and speed settings do nothing there, because the plastic has no edge to grab.
Solving it in the design
If the model is yours, the best move is to design the overhang out.
- Draw holes as teardrops. A horizontal hole with a pointed top prints unsupported.
- Stay within 45 degrees. Design overhanging faces at 45 degrees.
- Add a chamfer. Instead of a sharp protrusion, draw a 45-degree face under it; the part becomes its own support.
- Split the part. Two pieces printed separately and glued come out cleaner than one supported piece.
Support last
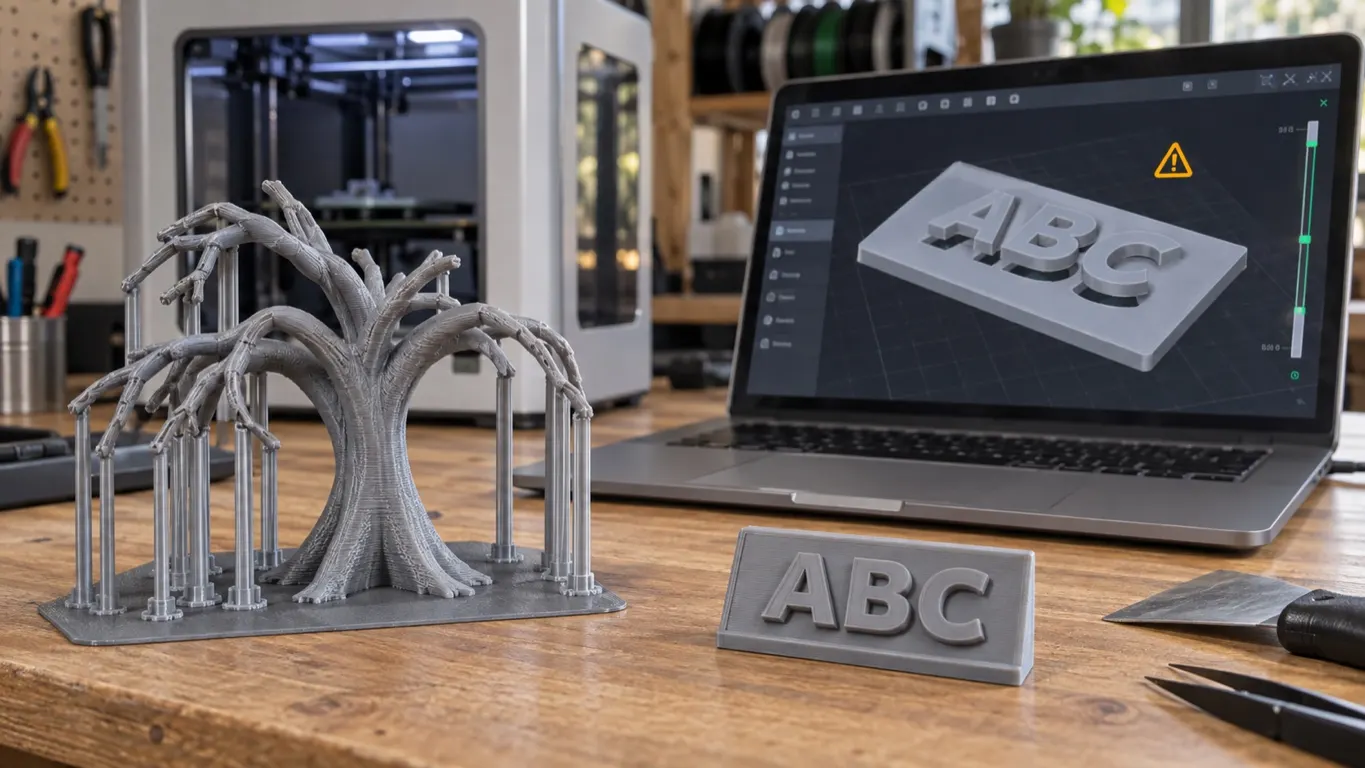
When you have run out of the above, support goes in. Keeping Top Z distance around 0.2 mm makes it easier to pull off, and tree support leaves fewer marks on organic surfaces. The difference between the three support methods is in adding supports.