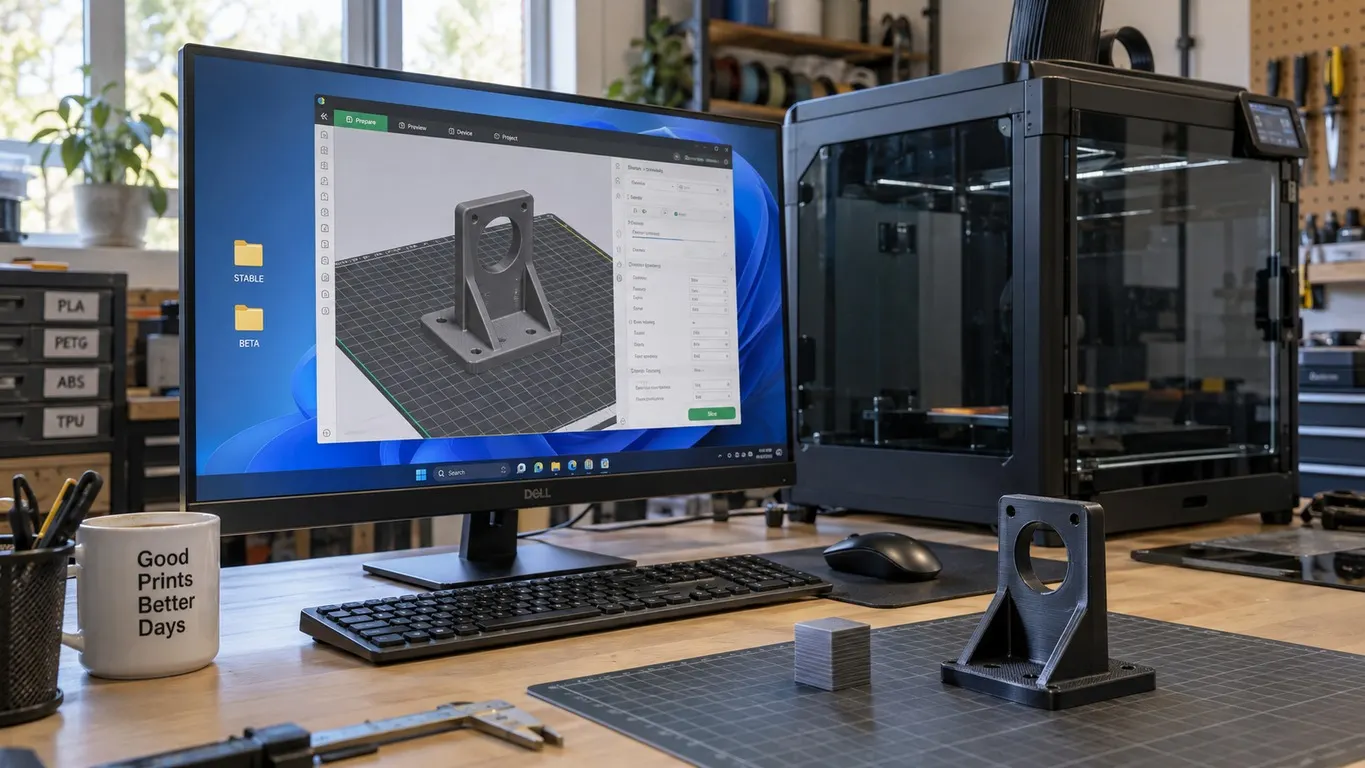
To change the nozzle temperature after a given layer in Bambu Studio, you work from the layer slider in the Preview tab: move to the layer, right-click the + button beside the slider, choose Add Custom G-code and type the command.
Bambu Studio is built on PrusaSlicer, so the method is the same one PrusaSlicer uses, with a slightly easier interface. What the commands themselves mean is covered in the G-code article.
Step by step
- Slice the model and switch to Preview.
- Move the layer slider on the right to the layer where the change should happen.
- Right-click the + button beside the slider.
- Choose Add Custom G-code.
- Type the command in the box, for example
M104 S225. A pause can be added from the same box. - Confirm and send the print.
When the printer reaches that layer, it runs the command.
Which command
Two options, and the difference matters:
| Command | What it does |
|---|---|
M104 S225 |
Sets the temperature, does not wait, keeps printing |
M109 S225 |
Sets the temperature and waits until it is reached |
M104 is the right choice in most cases. The temperature moves gradually while printing carries on, with no pause.
M109 halts the print and waits. While the nozzle sits in one place, plastic can keep oozing and leave a blob. Save it for a large temperature jump where the new value has to hold from exactly that layer; otherwise you do not need it.
For the bed the equivalents are M140 (no wait) and M190 (wait).
Where it helps
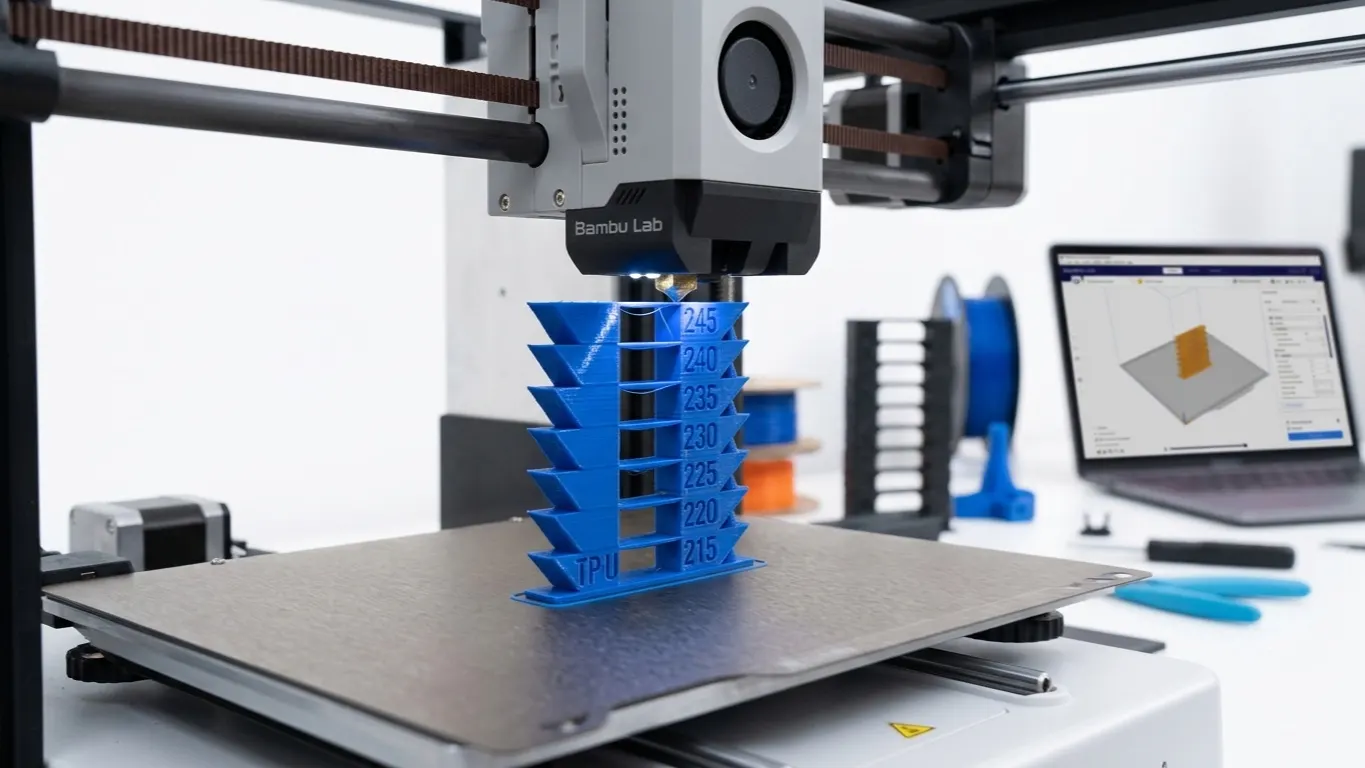
Temperature towers. This is the main use. You run several temperatures in one part and see which section came out best. In Orca Slicer it is a built-in test; in Bambu Studio you set it up by hand. The detail is in the temperature tower article.
Hot first layers, normal after that. If adhesion is giving you trouble, you can run the first few layers 5-10 degrees hotter and then drop back down. Bambu Studio already has a separate first-layer temperature setting for this, so custom G-code is not needed.
Surface quality near the top. Dropping the temperature a little on the top layers can improve the finish. It is a small gain, and it does not help on every model.
Material transitions. If you swap filament mid-print and the new material wants a different temperature, put a temperature command at the change layer.
Take care
Keep the changes gradual. A 20 degree jump at once leaves a weak band in the layer bonding. Steps of 5-10 degrees are safer.
Stay inside the material's range. Going above or below the limits printed on the spool risks clogs or charring.
Confirm in Preview. The command you added shows up as a small marker beside the slider. If you put it on the wrong layer, you will catch it there.
The setting is embedded in the file. Re-slice the same model and the command survives; move to a different model and you have to add it again.