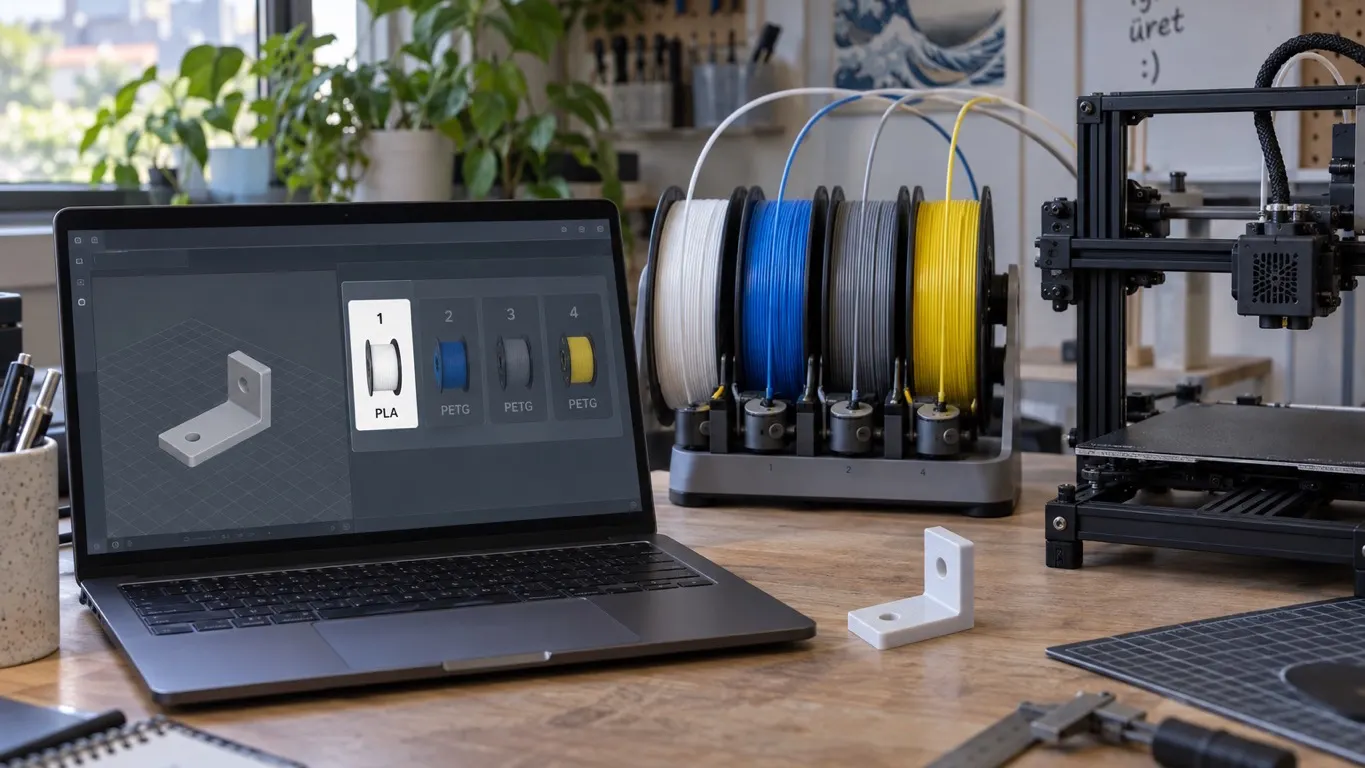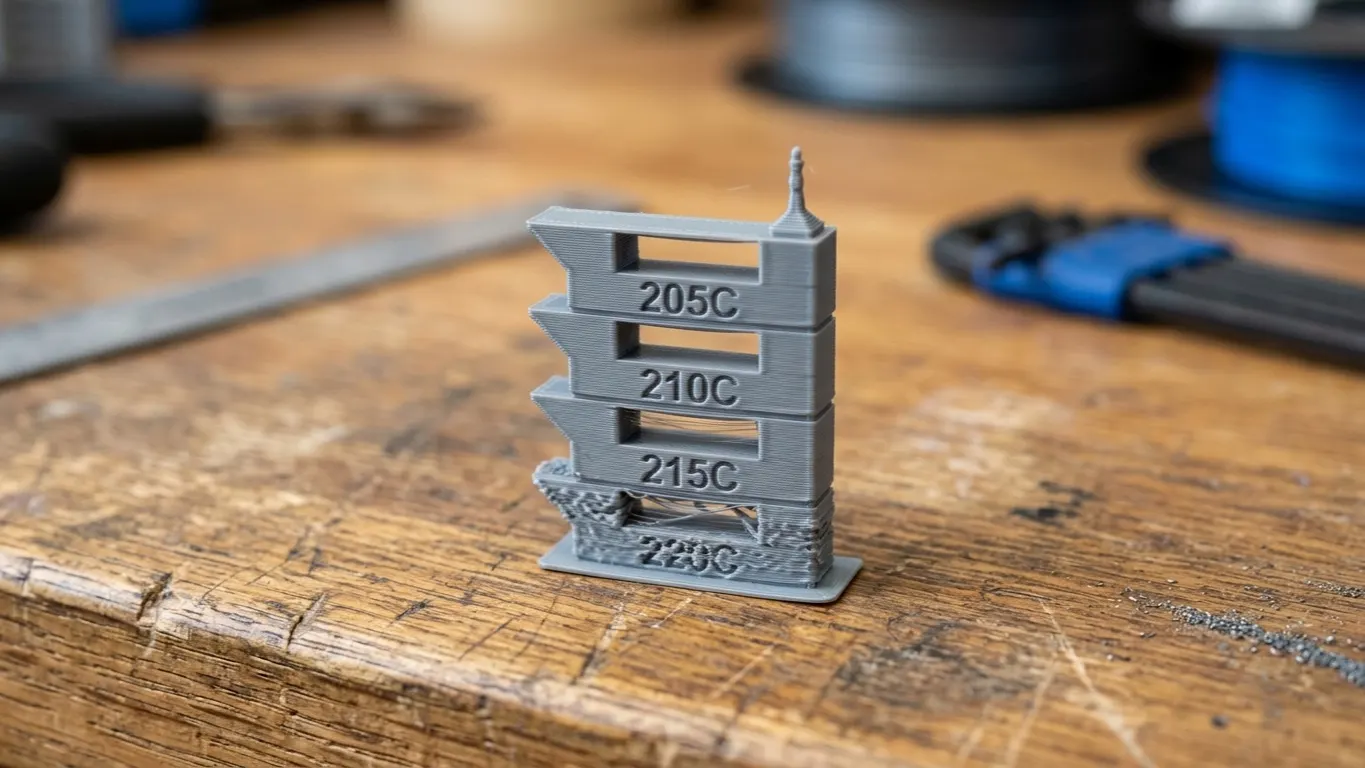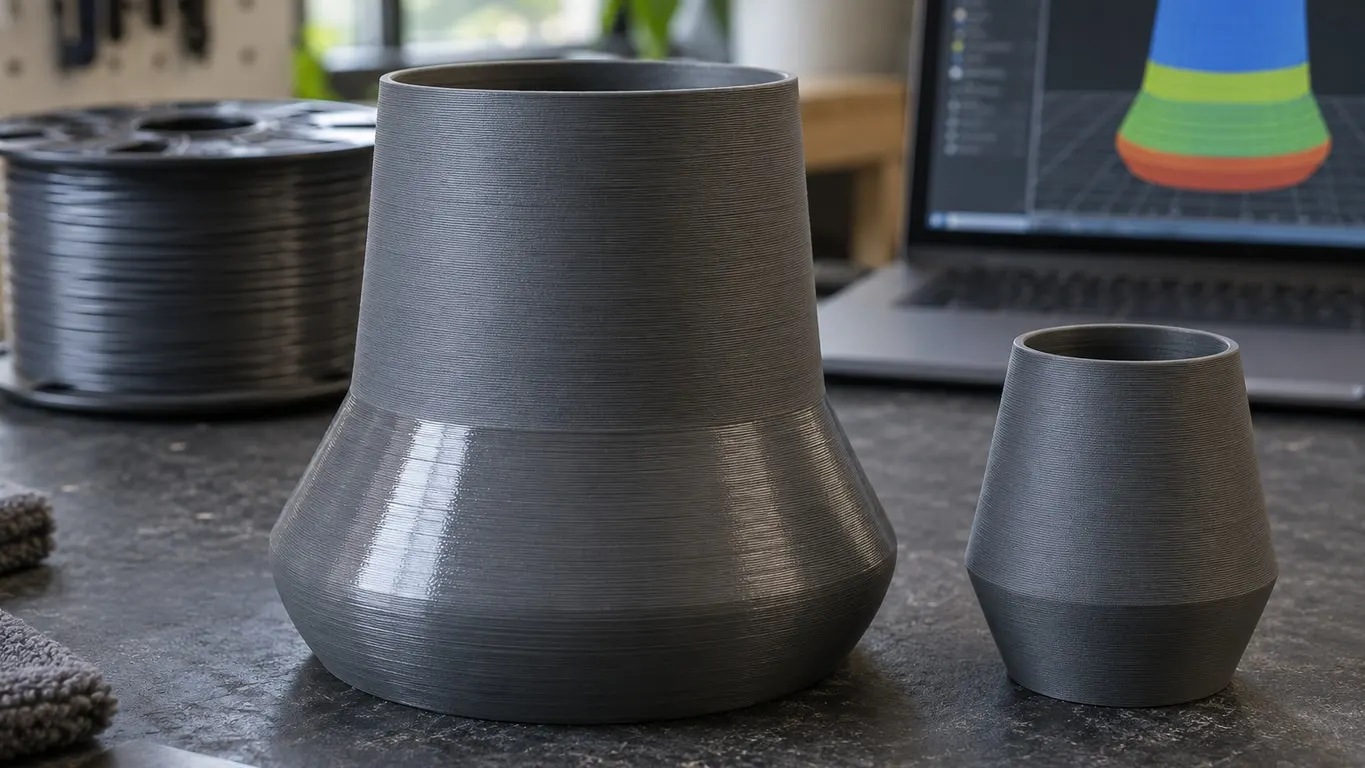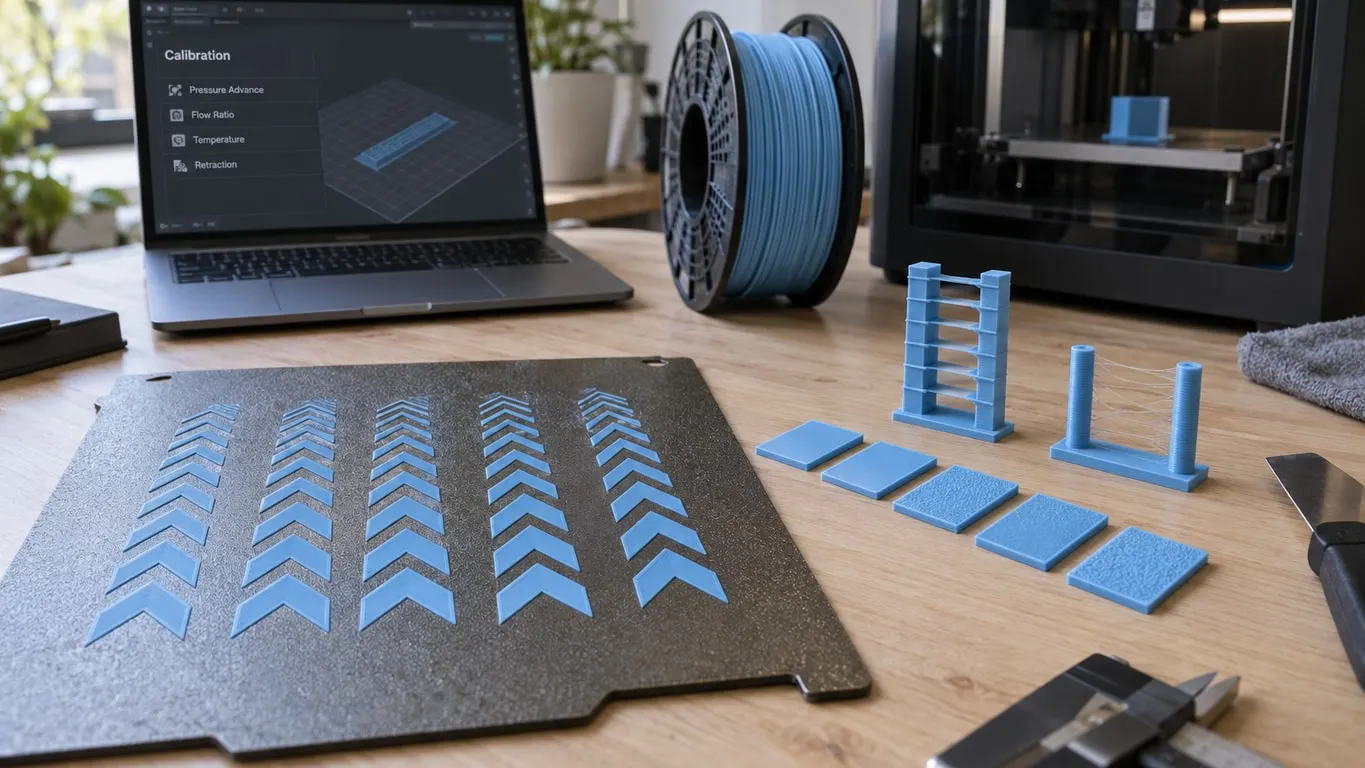
Bambu Studio does have a Calibration menu with a temperature tower, a retraction test and a max flowrate test. It hides while a Bambu Lab printer profile is selected and appears once you tick Develop mode in Preferences. Separately, the Calibration tab runs pressure advance and flow ratio calibration together with the printer. Between the two, you can dial in a new filament without leaving Bambu Studio. Orca Slicer earns its place for a handful of tests the Bambu menu simply does not have.
Turning the Calibration menu back on
Bambu Studio shows the menu when the selected printer profile is not a Bambu Lab one, or when Develop mode is on. Pick an X1C, P1S or A1 with Develop mode off and the menu is gone.
To switch it on:
- Open Preferences. On Windows and Linux that is the arrow menu in the top bar, or Ctrl+P. On a Mac it is in the app menu, or Command+comma.
- Go to the Other tab.
- Under Developer Mode, tick Develop mode.
The menu appears right away. On Windows and Linux it is a Calibration button in the top bar, next to undo and redo; on a Mac it joins the menu bar at the top of the screen. Untick the box and it disappears again, and the settings view drops from Develop back to Advanced.
Entries grayed out? Switch back to Prepare. The calibration items respond only while its 3D view is on screen, in Orca as well as in Bambu Studio.
What you get: Temperature; Flow rate with Coarse and Fine (the wiki still calls them Pass 1 and Pass 2); Pressure advance with PA Tower, PA Line and PA Pattern; Retraction test; a More... submenu holding Max flowrate and VFA; and Tutorial, which opens the Bambu wiki's calibration page. Start a new project after a test: Bambu's and Orca's wikis both give that as the way out of calibration mode.
A calibration order for a new spool
- Temperature from the menu. How to read the tower is in the temperature tower guide.
- More... then Max flowrate, and save the number in the filament preset.
- Flow Dynamics on the Calibration tab for the K value.
- Flow Rate on the same tab, only if the top surface still shows gaps or excess.
- Retraction test last, for stringing.
This is the order Orca's wiki recommends, followed by cornering, input shaping, VFA and tolerance. Bambu's text backs it up: the Flow Dynamics page asks you to calibrate again whenever the filament's max volumetric speed or print temperature changes, so measuring K after those two are settled saves a second run. The Flow Rate page presents itself as the step after Flow Dynamics.
Bambu also notes about 10 percent drift between runs in its own testing, so two slightly different results may both be fine.
The two tests that talk to the printer
Flow Dynamics (pressure advance, the K value) and Flow Rate live on the Calibration tab, not in the menu, and the tab only shows up while a Bambu Lab printer profile is selected. Nothing on it is clickable until you pick a printer, over cloud or LAN, in the panel on the left.
For K, the page offers up to three buttons: Auto-Calibration, Manual Calibration and Manage Result. Auto is the hands-off route on the H2D, X1 and A1 series (on the A1, firmware 01.04.00.00 or later, per the Bambu wiki). The X1 reads printed lines with its lidar; the A1 and H2D purge at the wiper and read extrusion force through the toolhead's eddy current sensor. P1 series owners get the manual route only.
Manual mode asks for a Method and a K range. Choose Pattern over Line: Bambu's wiki says straight lines hide the corner defects that make K readable and tend to give a lower, less reliable value. The direct drive default is 0 to 0.05 in 0.005 steps; the wiki suggests a 0.002 step for a finer gradient. Pick the sharpest corner that still shows no under-extrusion and enter it as Factor K.
Run Flow Rate only if over- or under-extrusion is still there afterward. Its automatic mode is X1 series only. The flow ratio article walks through the steps and the symptoms it fixes.
Where each number ends up
Not every result lands in the same place:
| Test | Result | Saved to |
|---|---|---|
| Menu tests | Temperature, flow, retraction, max flowrate | Typed into the filament settings by hand; on a Bambu printer there is no PA field, so save K through Flow Dynamics on the tab |
| Flow Rate (tab) | Flow Ratio | A filament preset, new or overwritten under the same name |
| Flow Dynamics (tab) | Factor K | The printer, under a name of up to 40 characters |
| Orca tests | The same kinds of values | Orca's preset; Bambu Studio's needs them entered separately |
Stored K values sit on the printer, not in a preset. Manage Result opens the list for editing, and the slot's filament dialog on the Device tab decides which entry a given AMS slot uses. The save dialog suggests putting brand, material, type and even humidity level in the name so you can tell entries apart later.
One catch: send a print with Flow Dynamics Calibration set to On and the printer measures K for that job instead of using your stored value. The pre-print calibration guide covers when Off or Auto is safe.
When a custom filament flips back to "?"
A custom filament assigned to an AMS slot from the Device tab that reverts to an unknown "?" after a few seconds is tracked as issue #3087 on the Bambu Studio GitHub repository, open since December 2023. A Bambu developer traced it that month to the cloud path: the printer's screen is never told the new filament exists.
So fix it from the printer side. On the touchscreen, open the filament page and tap into the AMS slot's settings, which makes the printer pull your filament list from the cloud again; then redo the assignment in Bambu Studio. New reports were still arriving in 2025: a P1S in March, X1C owners in June and July. Assigning the filament from Orca worked on one A1 mini, which is a single data point rather than a fix. If the filament does not show up in the printer's list at all, also check that Auto sync user presets(Printer/Filament/Process) is ticked on the User tab of Preferences.
What Orca still does better
Orca 2.4.2's calibration menu has three things Bambu Studio's lacks: Cornering (jerk or junction deviation), Input Shaping (frequency and damping tests), and a Flow ratio dialog that adds YOLO (Recommended) and YOLO (Perfectionist) to the two passes, printed with an Archimedean Chords or Monotonic top surface. Orca's wiki recommends Archimedean Chords plus YOLO. The tolerance test has not been a menu item since 2.3.1; right-click an empty plate and find Orca Tolerance Test under Add Handy models. If you need none of these, Orca is not worth installing for calibration alone. More on how the two differ: Orca Slicer vs Bambu Studio.
Orca reaches Bambu printers through Bambu's network plug-in (Enable network plug-in in Orca's Preferences). For the pressure advance and flow tests, Orca's wiki says to leave the print dialog's flow calibration option unticked; with it on, per the Bambu wiki, the printer calibrates K itself and the value under test is lost. If the plug-in refuses Orca, Orca shows a notice asking you to enable LAN mode and Developer mode on the printer.