You sliced the plate, pressed Print plate, and in the window that opens only one of the four AMS slots can be selected. The other three are gray and will not take a click. The spools are in place, the printer is calibrated, the AMS is loaded. The problem is not in the AMS; it is in the slice you are sending.
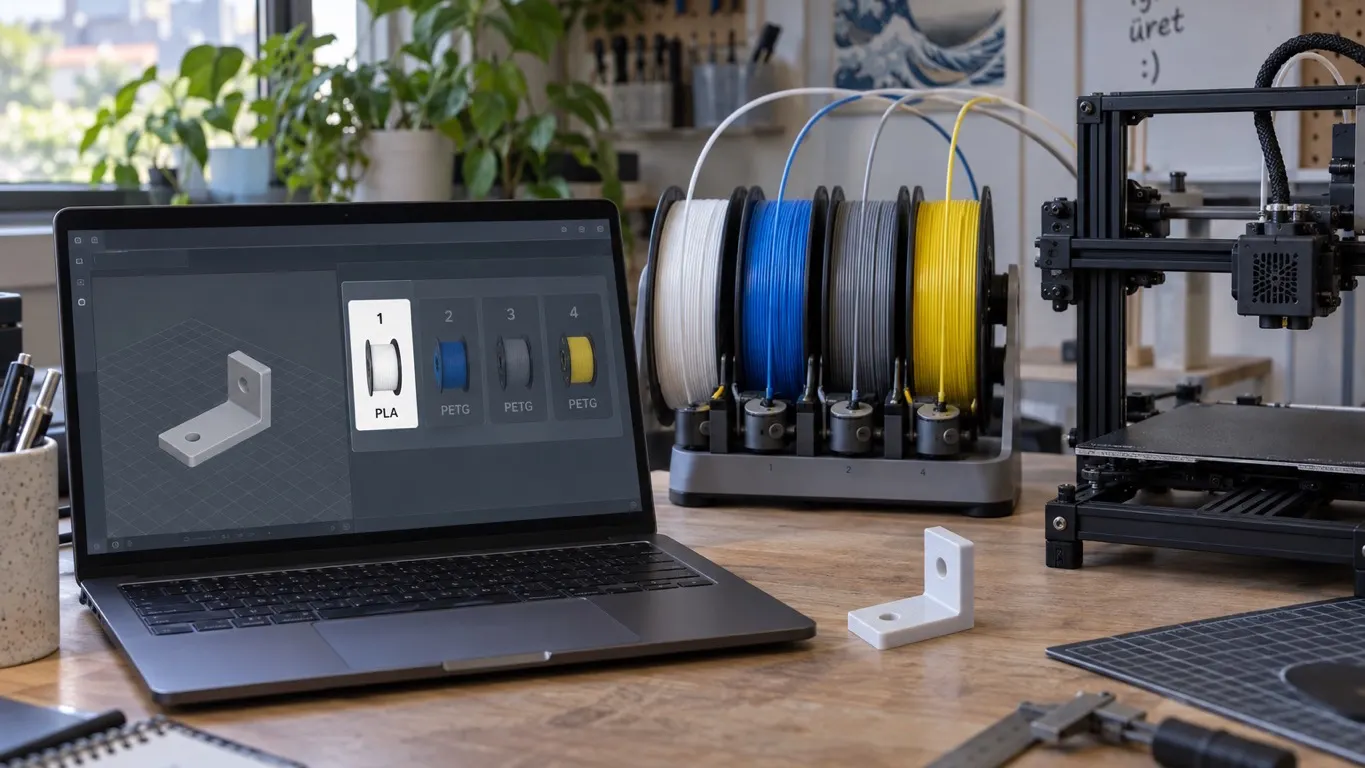
The forum thread is exactly this case. An A1 with an AMS lite, Windows 11, printer calibrated and restarted. In the AMS lite there is eSun PLA in slot 1 and Bambu PETG HF in slots 2, 3 and 4. The filaments show up wrong on the Prepare screen, and in the print window only the eSun PLA can be selected.
The note above the gray slot
Hover over a gray slot and the note already tells you why:
Note: the filament type(PETG) does not match with the filament type(PLA) in the slicing file. If you want to use this slot, you can install PETG instead of PLA and change slot information on the 'Device' page.
The material in the sliced file is PLA, the material in that slot is PETG; because the two do not match, the interface disables the slot. The note suggests loading PETG instead of PLA, that is, the physical fix. The real fix usually runs the other way: change the slice, not what is in the printer.
The cause: the slice is tied to a material
The accepted answer boils the mechanism down to one sentence. The material in slot 1 is assigned to every part in the assembly and that material is PLA, so the gcode produced is only valid for PLA. That is why the other three slots, loaded with PETG, cannot be selected.
Gcode is produced with the temperature and flow settings of whichever filament was assigned. Printing a PETG slot with gcode produced for PLA would make all of those settings wrong, which is why the window does not open the choice at all. That is as far as the accepted answer goes; the thread does not explain exactly what the interface checks when it matches them.
A second consequence follows from the same answer: either all the spools are the same material, or that other material is assigned to every part in the assembly.
The fix: Change Filament, then re-slice
The order given by the accepted answer is short:
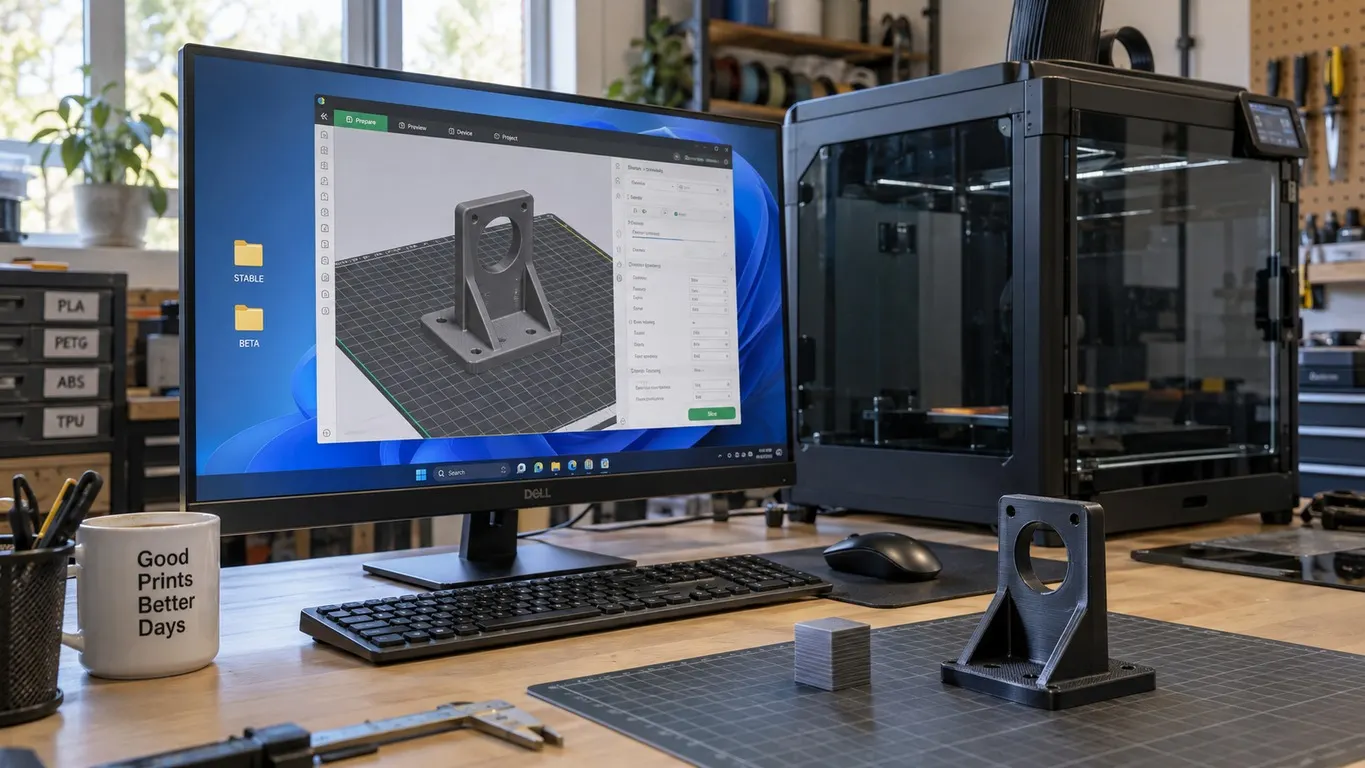
- Select the Assembly.
- Right click and pick the slot you want with Change Filament.
- Slice again.
The user in the thread could not find this menu on the Assembly; they got it done from the menu that comes up when you right click the model itself.
Do not skip the third step; that is where the answer puts its weight. Changing the filament assignment does not update the gcode you already have; that gcode is still produced for the old material. Go back to the print window without re-slicing and you see the same gray slots.
Another user in the thread offers a shortcut for the same job: select the object and press the number of the slot you want. The assignment lands in the same place, so the re-slice step still applies.
Before that: Synchronize, and the profiles you should not delete
The forum user started in the wrong place: they deleted the profiles under AppData\Roaming\BambuStudio\user\<number>\filament. Nothing improved, because the problem was not in the profiles. With this symptom, deleting profiles belongs on the list of things not to do. Where profiles appear and why they go missing is a separate subject, in the filament profile article.
The step that helps is Synchronize. What it copies matters, though: according to the answer in the thread, Bambu Studio syncs the Prepare tab against the Device tab, not against the physical AMS. If the Device tab is wrong, Synchronize carries that error into Prepare. For the forum user, pressing that button brought up a save settings window that confused them; after clicking OK all the filaments showed correctly. But Synchronize only fixes the list, not the slice: the gray slots in the print window stay where they were.
Check the physical side too. In the same thread the rest of the trouble came down to a spool not being in the slot it was assumed to be in: the user thought the yellow filament was in slot 3, and it was in slot 4. Compare the slot information on the Device page against the actual arrangement in the AMS.
If you are after ready settings for a third-party filament, that is a separate job. The accepted answer to a similar question on the forum is to run Orca Slicer's calibration tests and write the resulting values into your own profile.
More than one material on a plate
You are not obliged to tie every part to one material. Change Filament works per part: you can assign a separate slot to each part in the assembly, and the gcode is produced according to that assignment. Then several slots come up available in the print window, because the slice is already expecting them.
Here is what gets confused: using two materials together on one plate is not the same job as printing one part in two colors. Without an AMS, changing color layer by layer is still possible, and the method is in the article on multicolor printing without an AMS. The problem in this article is on the AMS side; with the manual color change method no gray slot appears at all, because the slice is produced with a single filament.
The 16 K factor record limit
Putting four different filaments in the AMS brings a second friction, on the calibration side. In flow dynamics calibration the printer keeps a limited number of records per nozzle, and this warning appears:
This machine type can only hold 16 historical results per nozzle. You can delete the existing historical results and then start calibration. Or you can continue the calibration, but you cannot create new calibration historical results. Do you still want to continue the calibration?
In a forum thread opened in May 2024 a user asks exactly this. The same person came back in July 2024 and wrote that Bambu Lab had fixed it, without naming a version; their wording is "I think a few weeks ago". There is no source confirming the limit itself is gone: in the same thread, people writing in October 2024, April 2025 and December 2025 say they are still hitting it. The one part that is verified is entering values by hand: the Bambu Studio 1.9.1 release notes carry an entry saying the user can input their own calibration value and save it on the printer.
The wiki has one more note that touches this article directly. On the X1 series, if Flow Dynamics Calibration is checked before a print, only the first filament of the job is calibrated; the other materials use the K value you entered by hand, and where none was entered the default compensation applies. So on a multi-material plate, if you have not set up a K value per slot yourself, the remaining slots print with the default. A related but different side of calibration is the highest flow a material can carry; what that does to the part is in the volumetric speed article.
A gray slot is not a fault, it is a readout of what the slice was produced for. If you cannot select a slot, there is only one question to ask: which material was this gcode produced for? If you want to change the answer, change the assignment and slice again.