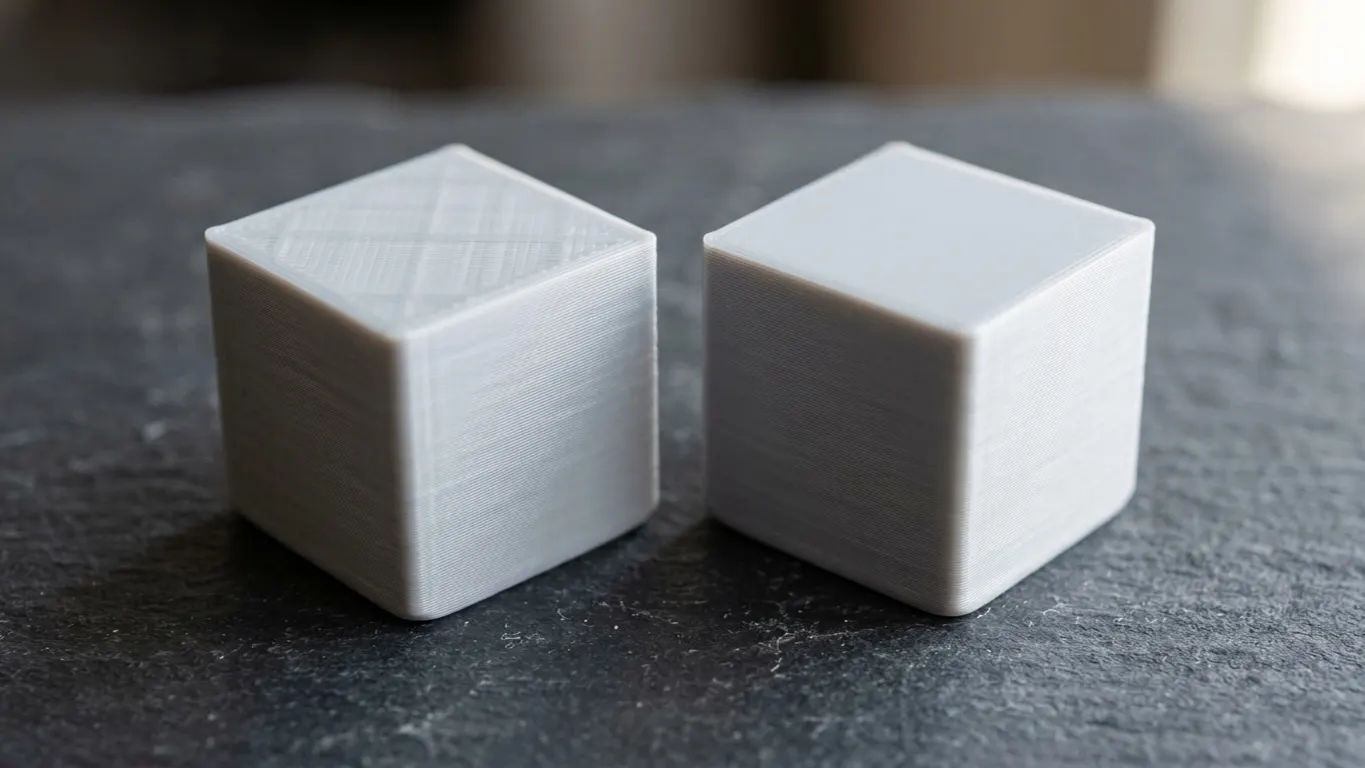
Faint ridges, regular lines, a geometric pattern that shows up when you tilt the part to the light. If the infill pattern is coming through the top surface, infill density is almost never the problem. Four settings matter, and it is worth working through them in order: infill wall overlap, wall count, top layers, infill pattern.
Raising infill density is the first thing most people reach for, and it usually does not help: it piles on time and plastic without fully hiding the mark.
Why it happens
Infill is a sparse lattice inside the part, and the top surface has to bridge across it. The wider the gaps between the infill lines, the harder that bridge gets, and the top layer sags a little over every gap.
The result is a pattern you can see: the infill has been copied upward.
1. Infill wall overlap
This is the first item in the forum's fix and the setting that makes the most difference.
In Bambu Studio and Orca: Strength → Infill wall overlap. The default is usually 15%. It controls how far infill lines overlap the wall.
Too much overlap piles up plastic just inside the wall, and that pile turns into a ridge on the surface.
To try: drop from 15% to 5%. If it persists you can go to -5%; a negative value pulls the infill back from the wall.
Going too low costs you something: infill that does not grip the wall leaves a weaker part. On a functional part, -5% is a risk; on a decorative one, it does not matter.
2. Wall count
Strength → Wall loops (Wall Line Count in Cura). Default is 2.
Going to 3 puts another layer between the infill and the outer surface, so less of it comes through.
The setting comes with a bonus: extra walls strengthen a part more effectively than extra infill, and use less plastic. Walls that do not print at all are a separate problem, and that fix is in the thin-wall section. So one change buys you two things.
3. Top layers
Strength → Top shell layers. Usually 3-4 by default.
The thinner the top shell, the more of the infill you see. Going to 5 hides it completely in most cases.
Think about it together with layer height: 4 top layers at 0.2 mm give you a 0.8 mm shell. The same number at 0.12 mm gives only 0.48 mm, which is thinner, so more shows through. Print at fine layers and you need more top layers.
4. Infill pattern
The pattern sets how far the top surface has to bridge.
| Pattern | Top surface behavior |
|---|---|
| Grid | Piles up at intersections, most prone to showing |
| Gyroid | A continuous curve with no intersections, shows little |
| Lines | Simple and fast, middling |
| Cubic | Good but slower |
That is the forum's recommendation too: Gyroid instead of Grid. Grid is hard to dial in because its lines cross over each other, and every crossing leaves excess plastic.
Gyroid also gives even strength in every direction. Where strength does not matter, Lines works fine and prints faster.
The order matters
Change everything at once and you will never know which one worked. Suggested order:
- Drop infill wall overlap to 5%. This alone solves most cases.
- If it persists, go to 3 walls.
- If it persists, go to 5 top layers.
- If it still persists, switch the pattern to Gyroid.
Print a small test after each step. No need to reprint the whole part; a 2×2 cm cube with a flat top is enough.
A different problem: a pattern running through the model
The second forum thread looks similar but has a completely different cause. On models made with tools like keychain generators, the image on top runs all the way through the part. That is not an infill problem; the geometry is simply built that way.
The fix is in the model, not in the settings: generate a thin double-sided piece and a thicker body separately, then merge them in one project. The forum user's method is to create a 0.2 mm double-sided keychain and a 2.8 mm standard one, tip both onto their sides, place them together, merge, then rotate back down to the plate and print.
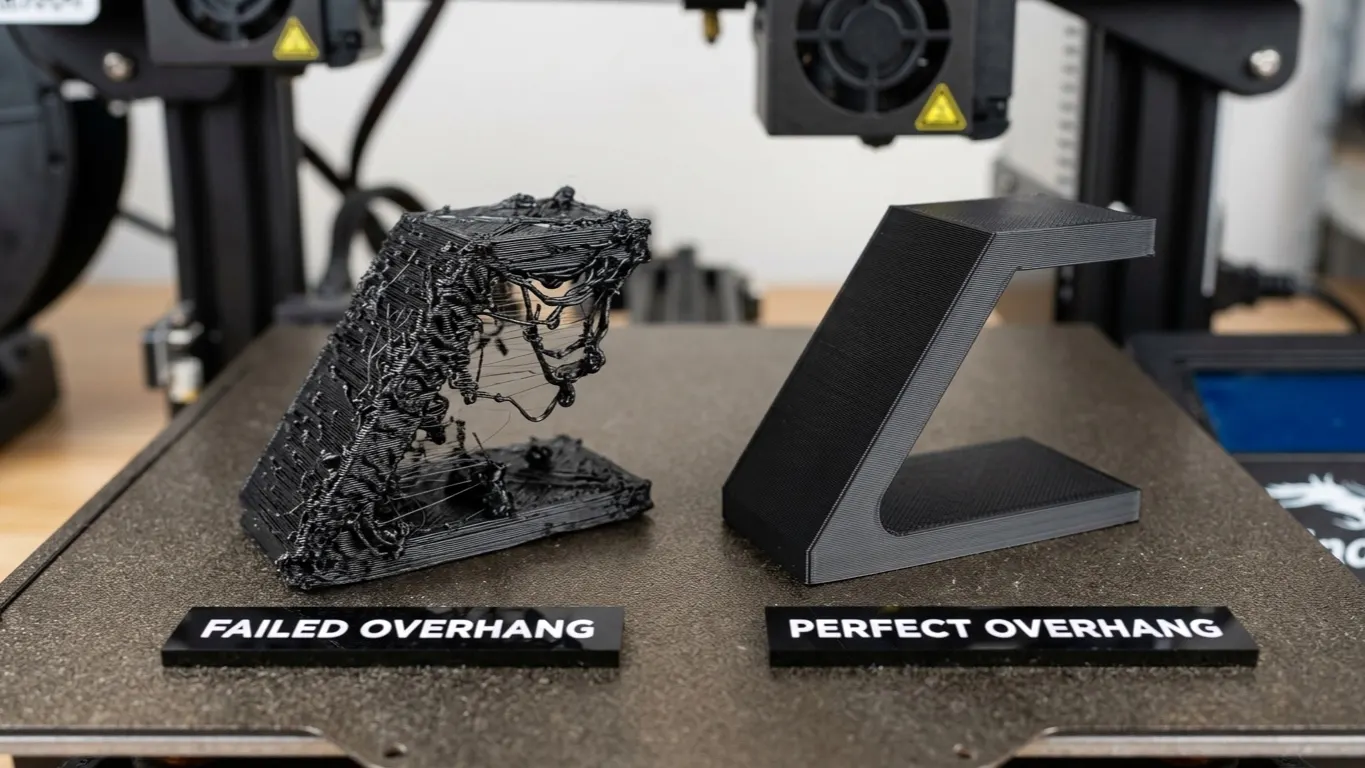
Telling them apart is easy: a mark that is regular and geometric is infill, a mark that follows the shape of the model is geometry. Surfaces that break down where they print over air are a third case: overhangs.