Where is flow ratio in Bambu Studio, and is it the setting you actually need? Three Bambu Lab forum threads reached for it. In one, a P1S printing matte PLA with gaps in its top layers, raising it was the fix. In another, a square that should measure 100 mm came out at 99.75 mm, and the replies pointed away from flow toward scaling and XY compensation. In the third, the poster wrote that no flow ratio value helped their broken first layer; the plate turned out to be dirty.
Where flow ratio lives in Bambu Studio
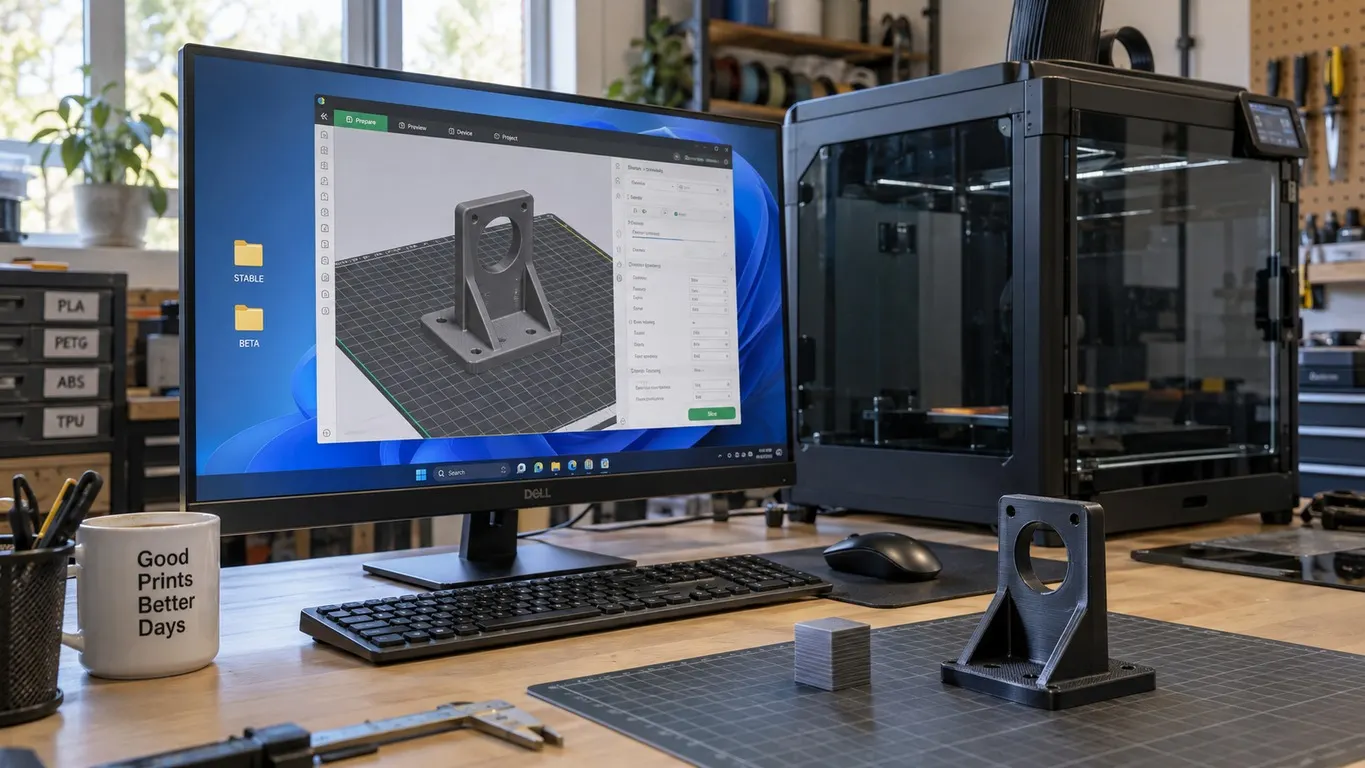
It belongs to the filament preset. Open Filament settings, stay on the Filament tab, and look in the Basic information group for Flow ratio. The key in the Bambu Studio source is filament_flow_ratio, defined at the advanced level, so it stays hidden until the Advance switch in the window's top strip is on.
The tooltip describes it as a multiplier on every extrusion move for that filament, with a recommended range of 0.95 to 1.05. Because it lives on the filament, it scales walls, infill and top surfaces alike. In the repository's current profiles, Bambu PLA Basic and Bambu PLA Matte both ship at 0.98 for a P1S with a 0.4 mm nozzle, and the Polymaker PolyLite PLA profile ships at 0.95.
Besides Bridge flow, the process side has three narrower multipliers: Top surface flow ratio, Initial layer flow ratio and a per-object Object flow ratio, all in the Advanced group of the Quality tab. They are developer-level options, which means they only appear after you tick Develop mode in Preferences, and Object flow ratio only shows in per-object settings.
One word of caution about the word "flow". Flow ratio is a multiplier. Volumetric flow, the mm³/s your hotend can melt, is a separate limit with its own setting, and raising one does nothing for the other.
Top layers with gaps: the case flow ratio fixed
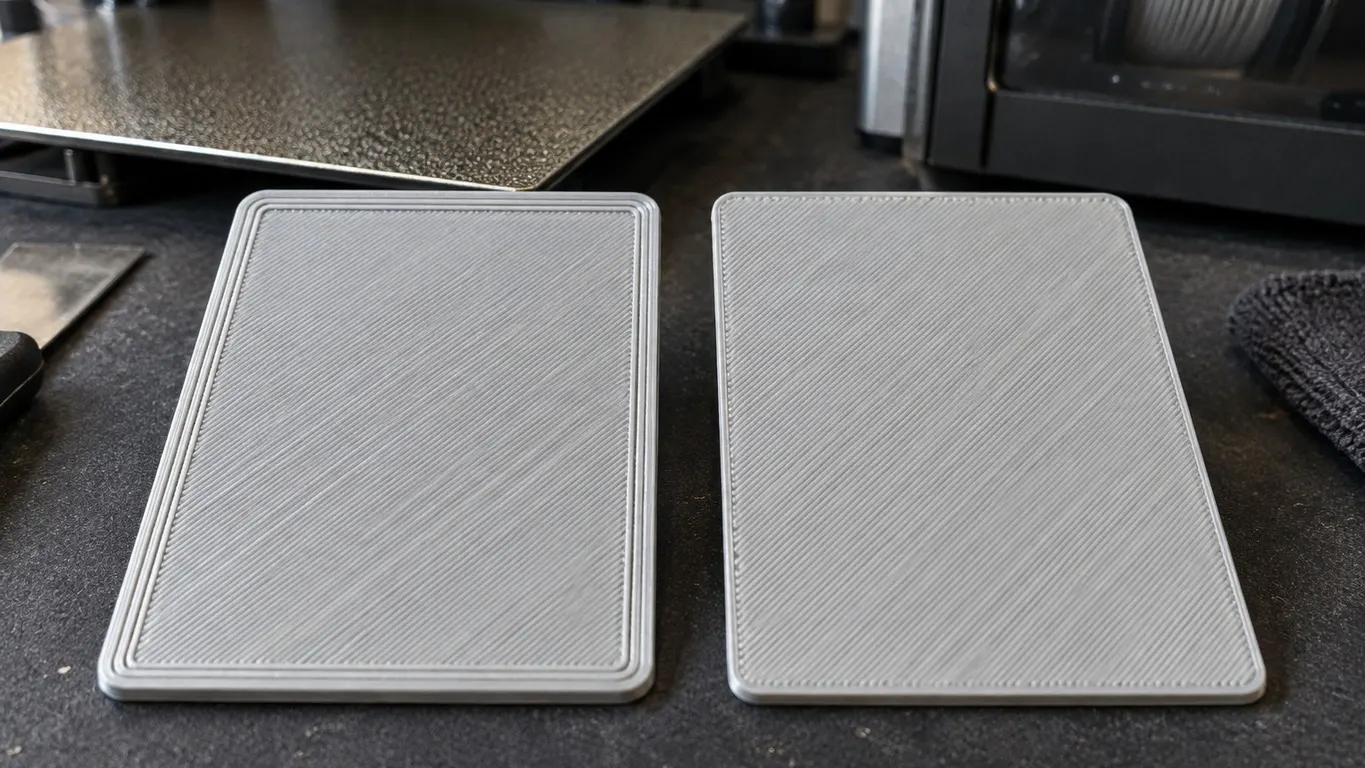
The January 2025 thread starts with a P1S on the 0.16mm High Quality profile, loaded with Bambu PLA Matte. The only changes were 25% infill and eight bottom shell layers. The top layers showed slight under-extrusion, and the poster tied the timing to the material: it began when their PLA Basic ran out and they switched to Matte, it was much less visible on Basic, and it got worse on the 0.20mm Standard profile.
The accepted answer is one line: calibrate temperature, flow rate and pressure advance for the matte PLA. The poster went from 0.98 to 1.03 and most of the problem went away. The lower top layers had already cleaned up at 1.00, but the corners of the topmost layer barely changed even at 1.03. Eight days later:
A flow rate of 1.05 solved the problems.
A little stringing came with it, which they said they could live with. Those numbers belong to that user and that spool, and 1.05 sits right at the top of the tooltip's range.
Basic and Matte ship with the same 0.98 on a P1S, so the profile alone does not explain why this user saw them differ, and nobody in the thread names a cause. Bambu Studio's own text points to calibration instead, and it describes this symptom in its own words. The Calibration tab has two pages, Flow Dynamics and Flow Rate. The Flow Rate page presents itself as the step for problems left over after Flow Dynamics, and it lists gaps in the top layer, even when printing slowly, as a sign of under-extrusion. According to the Bambu wiki, automatic flow rate calibration is X1 series only, so a P1S owner uses the manual route: Complete Calibration prints a coarse set of blocks and then a fine set, you pick the block with the smoothest top, and the result is saved to a filament preset.
Flow Dynamics is a different calibration. It measures the K value for pressure advance, the correction for nozzle pressure lagging behind acceleration and deceleration. The Flow Dynamics Calibration option in the print dialog is that same measurement, not flow ratio; P1 series printers do not show this option at all and calibrate K manually from the Calibration tab, and when it is safe to switch off is covered in the pre-print calibration article. For the temperature half of the accepted answer, see the temperature tower article. With a Bambu printer selected, the Calibration tab has no temperature page, and the menu version only appears for third-party printers or with Develop mode on.
If you do enable Develop mode, Top surface flow ratio is a narrower lever that touches only the top surface. Nobody in the thread tried it, so whether it would have avoided the stringing is untested.
A 100 mm square that prints at 99.75 mm
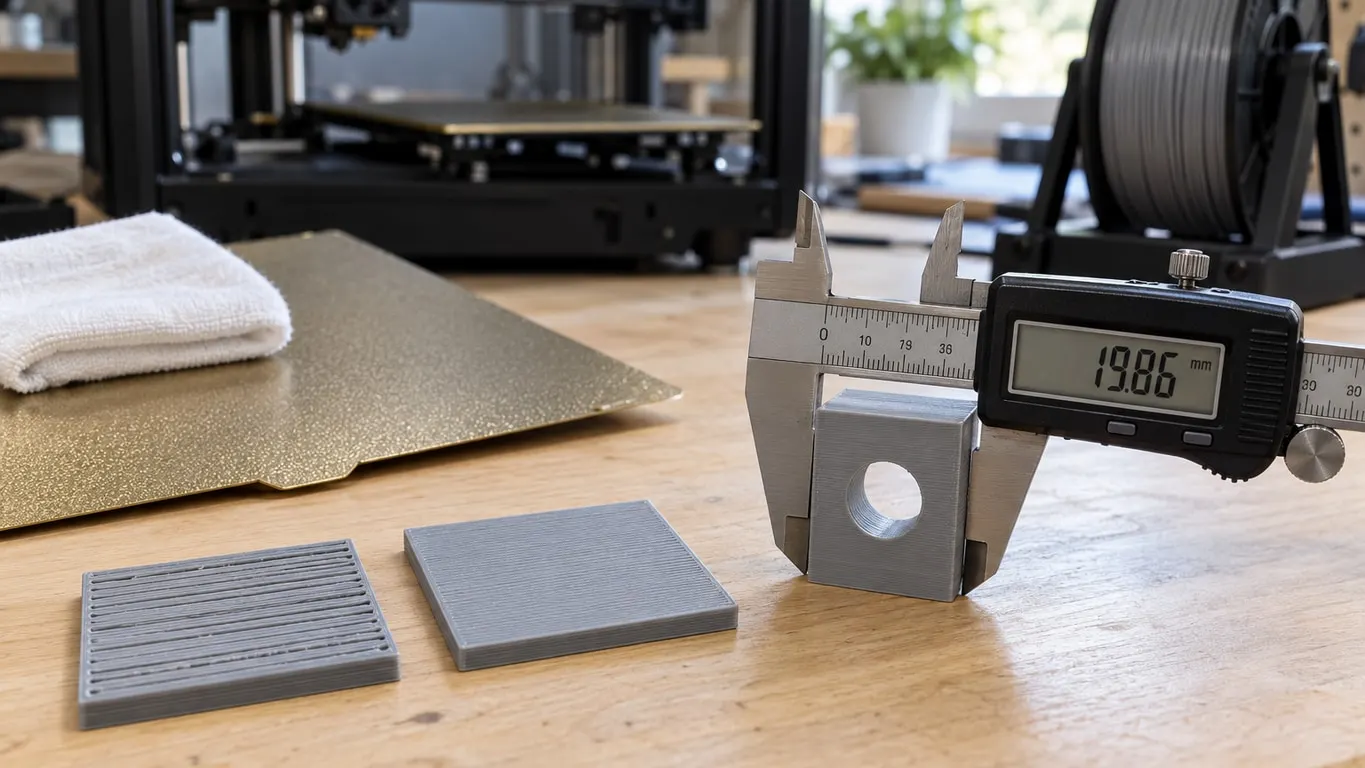
The January 2023 thread asks a different question. The poster printed a 100 x 100 mm square and got 99.75 x 99.75 mm. PolyLite PLA had been over-extruding on default settings, so they had lowered flow ratio from 0.95 to 0.91, and they sometimes need very accurate holes. Could the lower flow be what shrank the part?
Nobody in the thread measures that. The first reply splits the error in two. Overall scale error comes from lead screw and belt pitch inaccuracy plus thermal expansion, and the cure is a test print, then scaling the model and reprinting with everything else unchanged. Local error comes from the extruded width differing from what the slicer expected, which is what the slicer's X-Y hole and contour compensation settings are for.
The accepted answer takes the design route: account for shrinkage in the model and draw the square at 100.25 mm. For precise holes, undersize them slightly, print extra walls and finish with a reamer. Another user states that industrial FDM holds a dimensional tolerance of ±0.15% with a floor of ±0.2 mm, without giving a source.
A May 2024 reply shows where uniform scaling runs out. In that user's own testing, inner diameters needed 0.2% scaling and outer diameters 0.4%, and a single scale factor could not satisfy both.
XY hole compensation, contour compensation and Shrinkage
Current Bambu Studio has four settings for this, all at the advanced level:
| Setting | Where | What it does | Available since |
|---|---|---|---|
| Shrinkage | Filament settings → Filament → Basic information | Scales the part in XY; enter 94% if 100 mm prints as 94 mm | 1.10.0, November 2024 |
| X-Y hole compensation | Process → Quality → Precision | Grows or shrinks holes in XY | Already there in January 2023 |
| X-Y contour compensation | Process → Quality → Precision | Grows or shrinks the outer contour in XY | Already there in January 2023 |
| Auto circle contour-hole compensation | Process → Quality → Precision | Automatically corrects circular holes and contours under 50 mm | 2.0.0, March 2025 |
If the error really is scale, the tooltip's own example maps this square to a Shrinkage of 99.75%. A single 100 mm measurement cannot tell a scale error from a fixed offset on each edge, and the May 2024 inner/outer diameter split suggests the two can mix. Only the filament printing the walls is taken into account, and the release note says Z is left alone. Starting with the 2.8.4 Beta (September 2026), color-painted objects get a warning and no compensation; the current stable 2.8.2 has no such check.
Hole and contour compensation both default to 0 and handle the local error. Separate hole and contour values offer one way around the May 2024 complaint, but that user's errors were percentages, and these settings add a fixed amount in mm regardless of diameter. The Bambu wiki notes that a hole's diameter changes by twice the value you enter and walks through the calibration with an M6 screw. Two limits apply. Enter more than 2 mm and Bambu Studio tells you to use scaling for large corrections and resets the value to 0. The wiki also says hole compensation only works on holes that form a closed path in the layer.
Auto circle compensation is labeled experimental in its tooltip and supports only PLA Basic, PLA CF, PET CF, PETG CF and PETG HF. Turning it on zeroes the two manual values and shows User Customized Offset instead. The sign is documented: both the 2.0.0 release note and the Bambu wiki say positive values loosen the fit and negative values tighten it, and the wiki suggests 0.02 mm steps. The English tooltip in the interface says the opposite; Bambu acknowledged in a GitHub issue (November 2025) that the tooltip is wrong, and the fix has not shipped yet.
The P1S 0.16 and 0.20 profiles already apply one correction of their own: Elephant foot compensation of 0.15 mm pulls the first layer's contour inward slightly. Cutting a new hole into a model is a separate job, covered in the negative part hole article.
Bad first layer? Wash the plate before touching flow
The November 2024 thread describes a P1S that had printed fine for months, then lost its first layer with no error message: under-extrusion followed by over-extrusion within the same part, in the same spot every time. The poster had checked for a clog, reset the printer, reinstalled the slicer, and tried factory settings and different filaments. No flow ratio value fixed it. They also mentioned wiping the plate regularly with isopropyl alcohol.
The replies went to the plate. Wash it with warm water and a grease-cutting dish soap, and raise the bed temperature by 5 degrees; that first attempt failed. Another user said it looked like an oily plate and gave a stricter recipe: dish soap with no additives, a hard scrub under hot water, twice if needed because oil is hard to get out of textured PEI, a fresh paper towel to dry it, and no fingers on the print area. The current version of the Bambu wiki's plate cleaning page agrees. For textured PEI it recommends detergent over alcohol, because alcohol can spread oil across a textured surface instead of lifting it. It asks for a detergent without oils or moisturizers, rules out acetone, and says to handle the plate by its edges; fine sandpaper or steel wool can renew the surface. There is a calibration angle too: the Flow Dynamics page warns that poor bed adhesion can make its results unreliable.
The same day the poster reported that cleaning the plate properly was the solution. The thread never says which plate they used.
The matte PLA thread has a side exchange on this. One user asked why their first layer looked over-extruded and was told it is intentional. The source does not show a higher multiplier: Initial layer flow ratio defaults to 1, and the P1S 0.16mm High Quality profile leaves it there. What changes is the line itself. That profile prints the first layer 0.5 mm wide, against 0.42 mm for the outer wall and top surface and 0.45 mm for inner walls and sparse infill, and 0.2 mm tall on a 0.16 mm layer height. The Bambu wiki's plate page suggests a 0.5 mm line and a 0.25 mm layer for the first layer when adhesion is the problem; whether that is what the forum reply meant by intentional, nobody in the thread says. Roughness, banding or ripples on the walls are a different diagnosis, sorted out in the surface defects article.
Which fix goes with which symptom
| Symptom | Check first | Role of flow ratio |
|---|---|---|
| Gaps between lines on the top surface, thin corners | Flow Dynamics, then Flow Rate calibration, then temperature | The main lever; 0.98 to 1.05 in the forum case |
| Part or hole dimensions off | Shrinkage, hole and contour compensation, design allowance | Never measured in the thread |
| Uneven first layer, same spot every print | Wash the plate with detergent, keep fingers off it | None; no value fixed it |
This order is a suggestion, not something the threads tested: identify the mark from the table, then change one thing. If you raise flow ratio and add hole compensation in the same print, you will not know which one moved your dimensions. And with a bad first layer, wash the plate before you calibrate anything, since Bambu's own text says poor adhesion can spoil the calibration too.