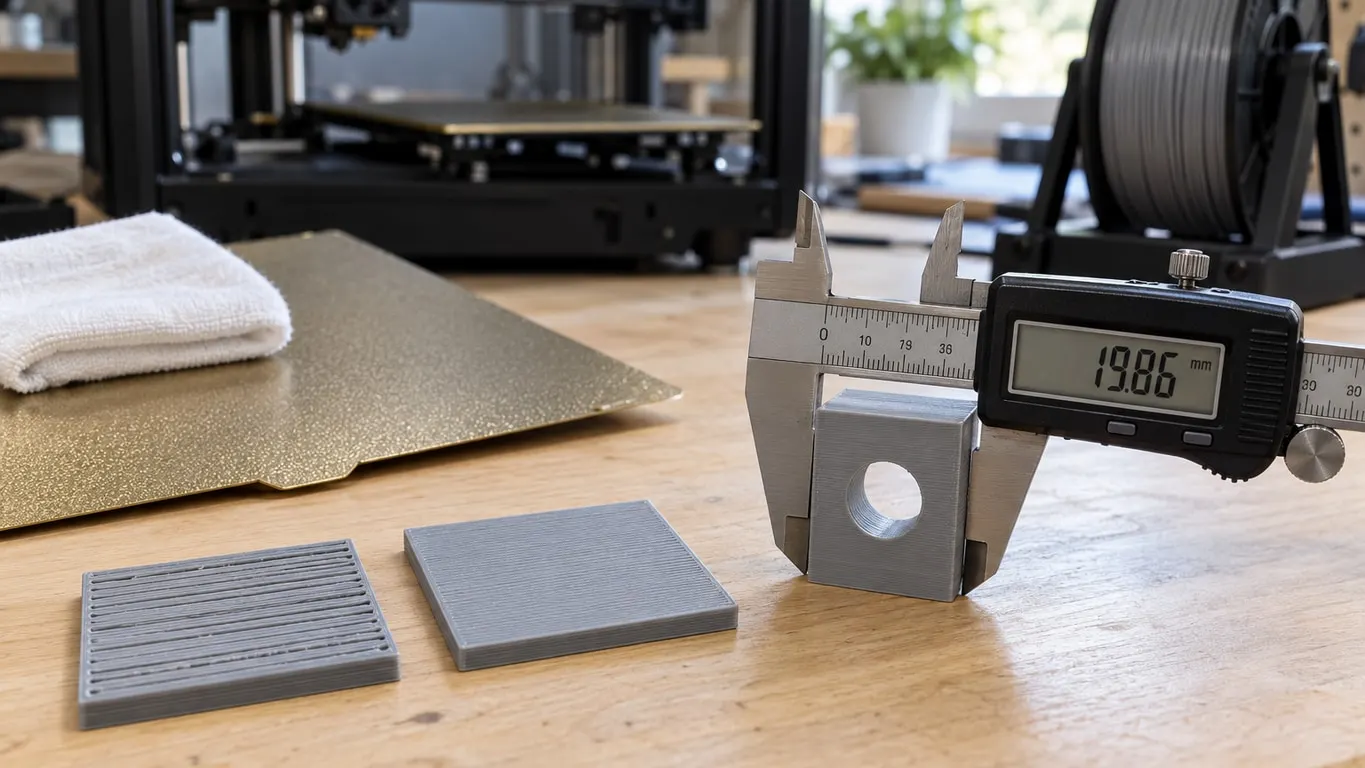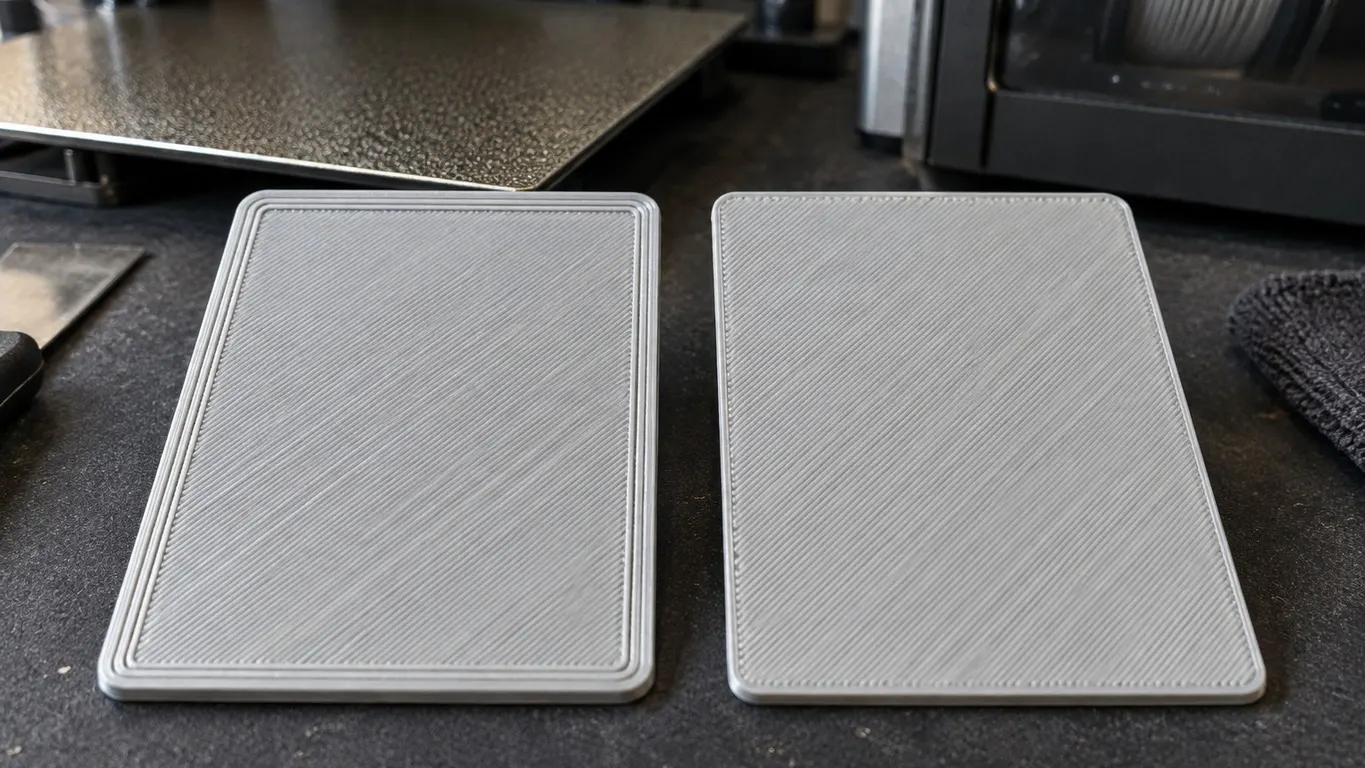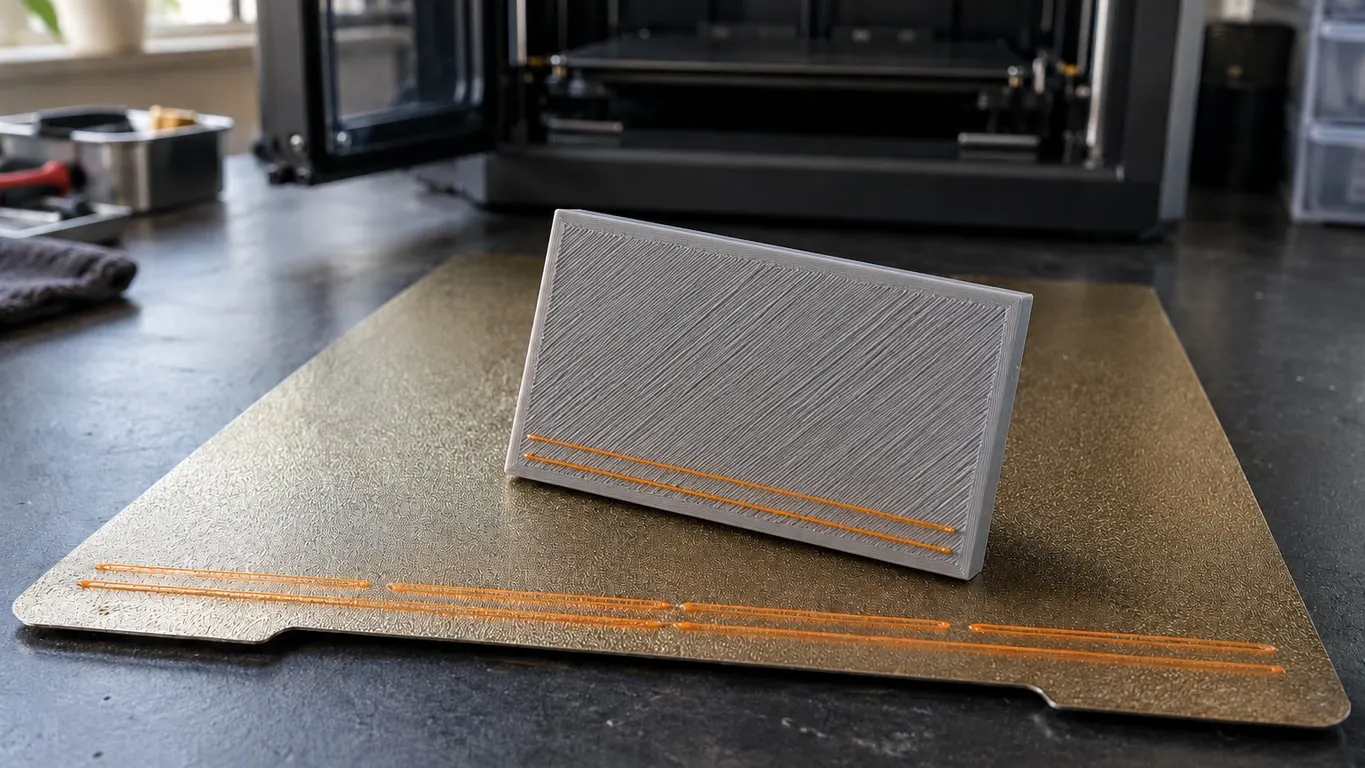
A faint line pressed into the bottom of a part, or a part that fought you coming off the plate, can mean the first layer went down on top of the lines your Bambu lays across the front of the plate before every print. Bambu Studio slices that without a word. The fix is placement. On X1 and P1 printers, keep the part 15 mm back from the front edge; on an A1, stay clear of the middle of the front edge.
Two different things tend to get mixed up here. One is that strip of calibration and purge lines, which never triggers a warning. The other is the small exclusion area in the front-left corner, which produces the "too close to exclusion area" error and stops slicing. Both are covered below.
Quick check before you print
- Slice, open Preview and drag the vertical slider down to the bottom layer.
- Find the Custom lines along the front edge and see whether your part's first layer overlaps them.
- If it does, move the part toward the back (+Y). On X1 and P1 printers, 15 mm from the front edge clears everything.
- On an X1, X1 Carbon or X1E, leave Avoid extrusion calibration region on when you auto arrange, and still check large parts in Preview.
What X1, P1 and A1 printers lay down, and where
The Machine start G-code in the printer profile decides what goes on the plate first. Here is what the stock profiles in Bambu Studio (as of September 2026, 0.4 mm nozzle) print, measured in millimeters from the front-left corner; the axes article covers which way X and Y run.
| Printer | X span | Y span | What gets printed |
|---|---|---|---|
| X1, X1 Carbon, X1E | 18-240 | 1-12 | Nozzle load line, flow calibration pattern, a final purge line just before the part |
| P1P, P1S | 18-240 | 1-11 | Nozzle load line |
| A1 | 108-153 | -0.5 and 1 | One short test line, plus a second when calibration runs |
| A1 mini | 68-113 | -4 and -2.5 | Short test lines |
Read across the rows and the risk is uneven. An X1 or P1 owner loses a band about 12 mm deep along nearly the whole front edge. An A1 owner only has to watch the middle of that edge, and of its two lines only the one at Y 1, printed when calibration runs, is actually on the plate. An A1 mini owner can ignore the issue: those lines sit at negative Y, in front of the 180 x 180 mm printable area.
A common guess is that switching off Flow Dynamics Calibration in the send dialog frees up the band on an X1. It does not. The X1 start code has a fallback for that case, a straight line run from X231 back to X18, and the purge line from X18 to X239 that comes right before your part is printed whether calibration ran or not. Whether skipping calibration makes sense for other reasons is covered in turning off flow calibration.
Everything the start G-code extrudes shows up in Preview as the Custom line type at first-layer height, visible by default. One caveat: the X1 calibration blocks are conditional, and the printer decides at print time which branch runs. Bambu Studio does not evaluate those conditions and draws both branches, so what you see is the most the printer could use in that band; the real print may use less of it, never more. For walking through a layer move by move, see stepping through Preview.
Auto arrange only protects the strip on X1 printers
Auto arrange is the only tool in Bambu Studio that knows about the strip, and only on printers with first-layer scanning. Among the stock profiles that means the X1, X1 Carbon and X1E. On those, the options panel that opens from the Arrange icon on the top toolbar has an Avoid extrusion calibration region checkbox, on by default. On a P1P, P1S, A1 or A1 mini the checkbox never appears and arranging ignores the strip, even though a P1 lays down a load line just as wide as the X1's.
What the checkbox protects is a fixed rectangle, X 18 to 240 and Y 0 to 15, and it is a preference, not a rule. When a large part cannot fit on an empty plate without crossing into it, the arranger quietly drops the rectangle and places the part anyway; no notification tells you. If you opened the panel earlier with a P1 or A1 profile, the checkbox can show up unchecked after you switch to an X1 profile, and Reset in the same panel turns it back on.
Hand placement is not checked at all. A part sitting squarely on the strip slices without complaint, which is why Preview is the real test. Pressing A arranges every object; Shift+A arranges the selected plate only.
"Too close to exclusion area" means the corner
The error you can actually hit has nothing to do with the strip. The X1, X1 Carbon, X1E, P1P and P1S profiles define a Bed exclude area, an 18 x 28 mm rectangle in the front-left corner that the plate shows in light gray. The setting's own description in Bambu Studio says X1 series printers cut filament in that corner during filament changes. The A1, A1 mini, P2S and H2D profiles leave it empty.
If any part's footprint touches the rectangle, slicing stops for that plate and the message starts with the object's name:
... is too close to exclusion area, there may be collisions when printing.
For a prime tower the wording is "Prime Tower is too close to exclusion area, and collisions will be caused." Moving the part or the tower out of the corner is the whole fix.
The rectangle is editable. Turn on the advanced mode switch at the top of the printer settings window, open the Basic information page and find the Bed exclude area row under Printable space. Clearing it in a copy of your printer preset makes the error go away. It does not move the cutter, so the corner is exactly as risky as before.
When the part needs the whole plate
Stock X1, P1 and A1 profiles give you a 256 x 256 mm printable area. Stay out of the 15 mm strip on an X1 or P1 and a full-width part has 241 mm of depth left. Deeper than that, every option is a trade-off.
Living with the overlap is the simplest. Parts printed over the strip have come out with no visible problem, with a light mark on the bottom face, or stuck to the plate hard enough to be difficult to remove, and you cannot tell in advance which one you will get.
Pausing to clear the lines is older advice. In 2023 it worked on an X1 Carbon: let calibration finish, pause, pick the lines off, resume. Bambu does not document it. The current X1 start code also lays a fresh purge line across the same band after calibration, so the strip does not stay empty anyway, and your hand is under a hot nozzle while you do it.
Moving the lines means editing coordinates in the start G-code; there is no dedicated setting for it. The text lives in the Machine start G-code field on the Machine gcode page of printer settings, which also needs the advanced mode switch on. Heating, wiping and calibration run back to back in that text, so a shifted coordinate can break the step next to it. Make the change in a copy of your own preset and save the original text first.