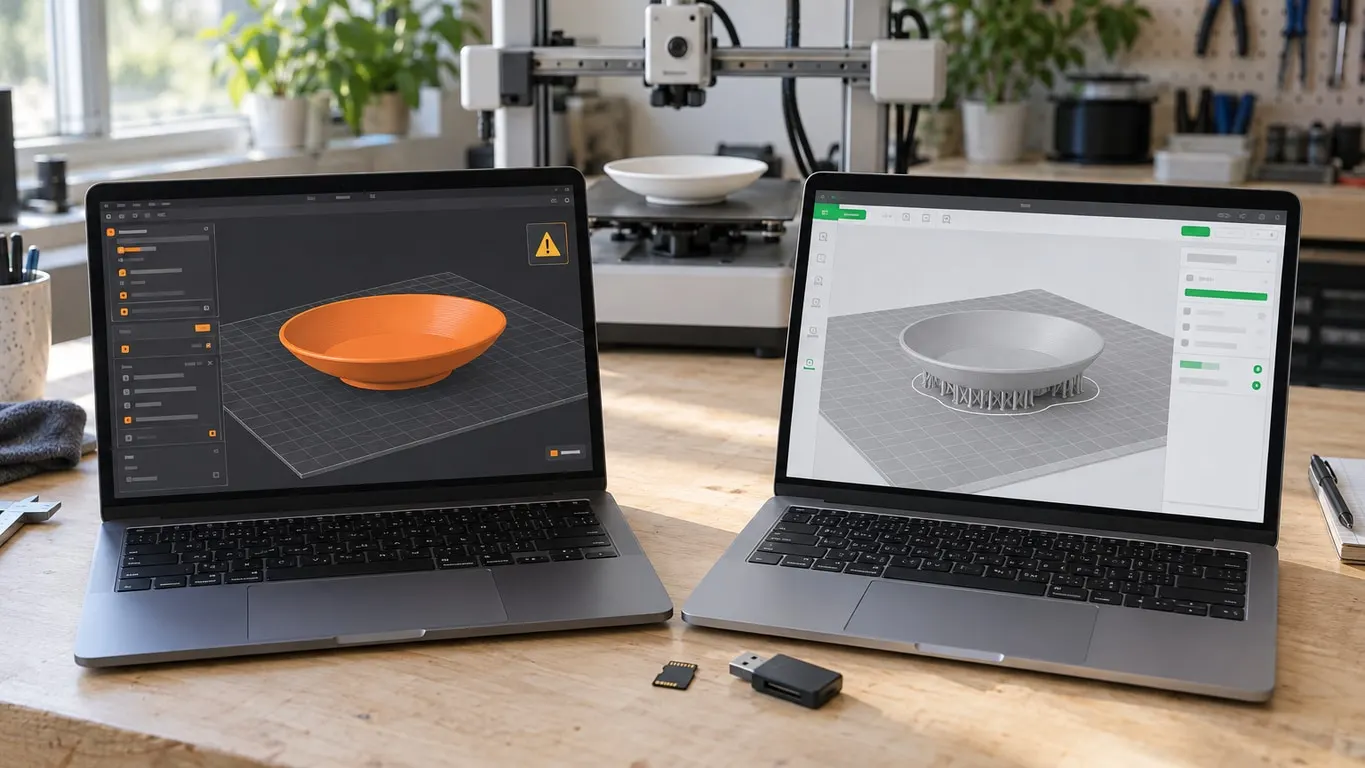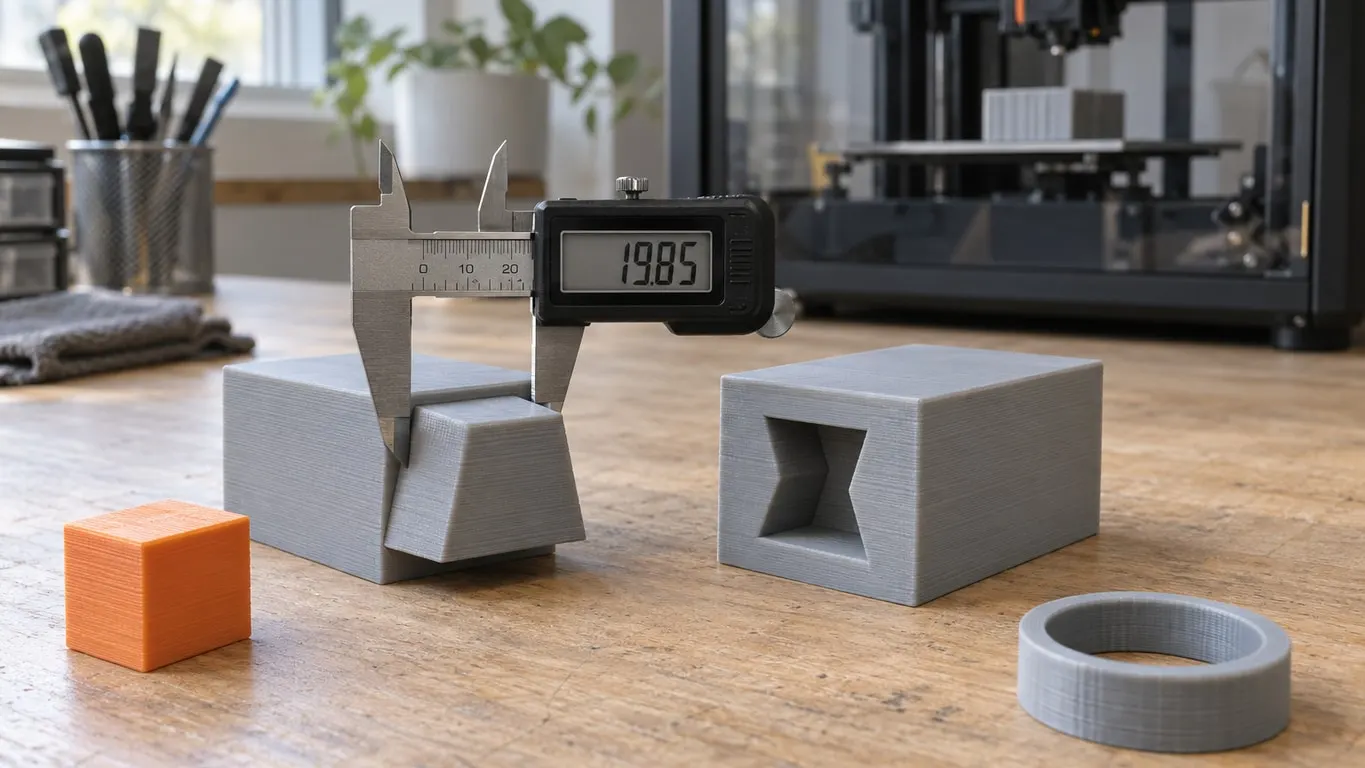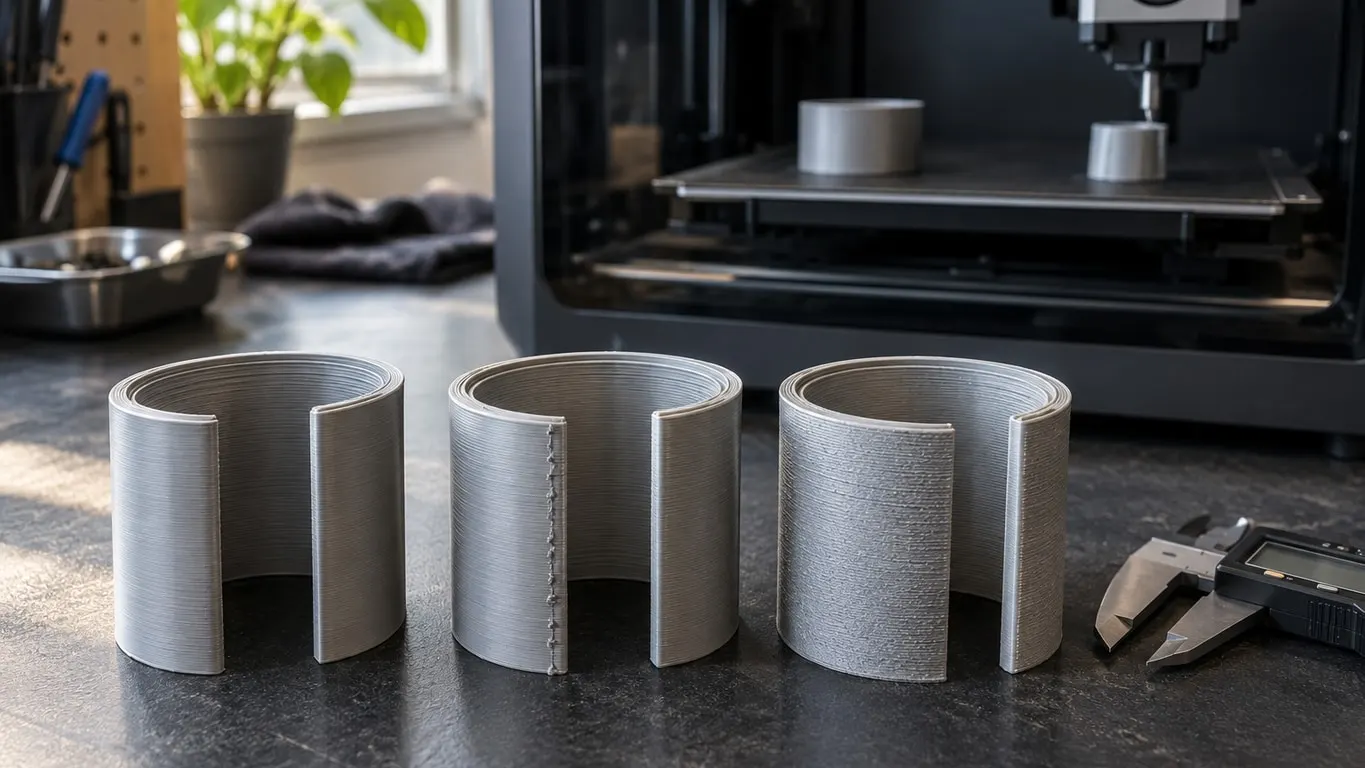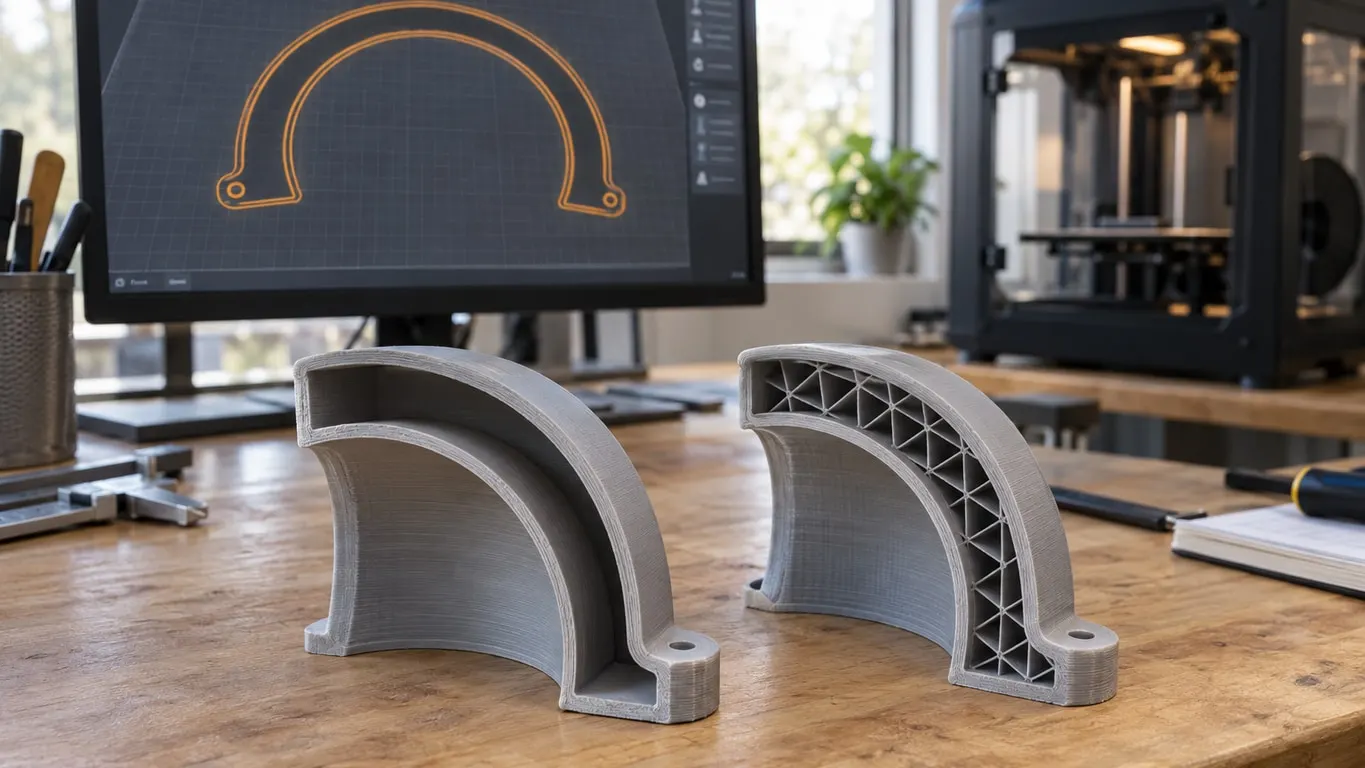
When Bambu Studio shows no infill, or seems to be not generating infill at all, it comes down to one of two things. Either the infill is in the slice but its line type is switched off in Preview, or the slicer never generates any. In the second case, check the settings first and the mesh second: a thin part can be all walls and shells, and a model built as two separate shells with an empty gap between them has no inside to fill at all. No value of Sparse infill density reaches into that gap; the fix is in the model.
Quick checks
- In Preview, set the Color Scheme dropdown at the top right to Line Type and look for a Sparse infill row.
- Row present but its Display toggle off: turn it on. The slice was fine.
- No row at all: check Sparse infill density on the Strength tab and Spiral vase on the Others tab.
- Settings fine: press L for a single layer. Two rings where you expected one wall point to the model.
Hidden in Preview, or never generated?
The Line Type legend lists only what is actually in the sliced G-code. A Sparse infill row means it was generated; no row means the slice has none.
A row you hide stays hidden for the rest of the session. Re-slicing does not bring it back, and neither does loading a different model, so a toggle you clicked off earlier can make the next print look hollow. Picking Line Type again from the Color Scheme dropdown resets every line type to visible in one go. The state is not saved to disk, so a restart also shows everything. More on the Display column in the Preview walkthrough.
Infill labeled Internal solid infill instead of Sparse infill is Minimum sparse infill threshold at work (Strength tab, Advanced group, visible only with the Advanced switch on). Bambu's process presets set it to 15 mm², and smaller sparse regions print as internal solid infill.
Settings that really do remove infill
Bambu's 0.20mm Standard presets ship with 15% density, two walls, five top and three bottom shell layers. What removes sparse infill or leaves it no room:
| Setting | Where | What happens |
|---|---|---|
| Sparse infill density at 0% | Strength → Sparse infill | No sparse infill is generated at all |
| Spiral vase | Others → Special mode | Prompts you to set walls to 1, top shell layers to 0 and density to 0%; yes removes the infill, no turns vase mode back off |
| Wall loops | Strength → Walls | Walls that fill a cross-section leave no middle |
| Top and bottom shell layers | Strength → Top/bottom shells | Shell layers are solid; a thin flat part can be solid throughout |
The last two rows depend on geometry. In that preset each side gets one outer wall line 0.42 mm wide and one inner wall line 0.45 mm wide. If those lines meet in the middle, the cross-section is all wall. Regions too narrow for even one line are covered in the thin-wall article. Vertically, five top layers plus three bottom layers at 0.2 mm add up to 1.6 mm, so a flat plate that thin or thinner has no sparse layer at all.
Infill whose pattern shows through the top surface is a different issue, covered in the infill show-through guide.
Two shells with a gap between them
Here is the pattern. You raise density, add walls, and the slice does not change: the same wall lines and nothing between them. Settings that do nothing at all are a strong hint that the slicer sees no interior to fill.
That is what happens when the model is two closed shells, one nested inside the other, with empty space between. Bambu Studio cuts each layer from the surfaces in the file, so it sees two thin walls with an outside region between them. Density and wall count only act on the inside of a part, and by the geometry's own definition the gap is not inside.
A December 2023 case ran exactly this way. A costume shoulder piece sliced as three wall lines regardless of infill settings. The outer and inner cylinders appeared not to be joined at the top or bottom, and the mesh traced back to Blender, where a Solidify operation had left an extra inner wall.
Checking your own file takes seconds. Drag the layer slider to a height where infill is missing and press L to show only that layer. One solid band means the shells are fine; two rings with a gap where you designed one wall means the fix belongs in your modeling program.
What Slicing Mode can and cannot do
Slicing Mode sits in the Special mode group on the Others tab and only appears with the Advanced switch on.
Regular, the default, keeps every contour with its orientation. An inner shell whose surfaces mark it as a cavity stays empty; two nested bodies facing the same way merge into one.
Even-odd ignores orientation and alternates: the outermost contour is solid, the next one in is empty, the next solid again. The Bambu wiki describes it as the mode for thin-walled RC models such as 3DLabPrint's planes. On an ordinary model a body buried inside another becomes a void, so if Even-odd is selected and you find an unexpected hollow, switch back to Regular.
Close holes turns every contour solid regardless of orientation, so everything inside a layer's outermost outline gets filled. It is the only mode that would fill the gap between two shells, and it would fill the open center of a tube just as readily; the gap infill article shows it swallowing a magnet pocket. Regular and Even-odd both keep the gap.
Repairing the model
Fix model will not close this gap, so do not start there. It exists only in the Windows build, in the object's right-click menu, and it stays grayed out unless Bambu Studio auto-repaired something on import (the warning icon's tooltip then shows "errors repaired"). Lines like "non-manifold edges" or "reversed faces detected, which may affect rendering" can appear without that. The macOS and Linux builds have no Fix model entry at all. In any case the repair targets broken edges and flipped faces, and two nested shells can each be perfectly sound, so there may be no icon and nothing to repair.
The gap has to go in the modeling tool. If the part came out of Blender's Solidify modifier, the following is general Blender guidance rather than anything Bambu Studio controls, so check it against your Blender version:
- Solidify once. A second pass on a body that already has thickness can leave a layer of faces inside it.
- For a flat surface, Subdivide first and apply it, then add Solidify as the last step. That is the fix used for the costume piece.
- Look for leftover inner faces. If you find a second shell, delete it and rebuild the part as one shell.
Back in Bambu Studio, export the STL under the same name and pick Reload from disk from the object's right-click menu; if the name changed, Replace with STL in the same menu does the job. Reslice and look at the single-layer view first: one band instead of two rings means the model is fixed. A Sparse infill row in the Line Type legend only shows up if the section is thick enough. In the 0.20mm Standard preset each side takes a 0.42 mm and a 0.45 mm wall line, so a section around 2 mm thick has no room left for sparse infill.