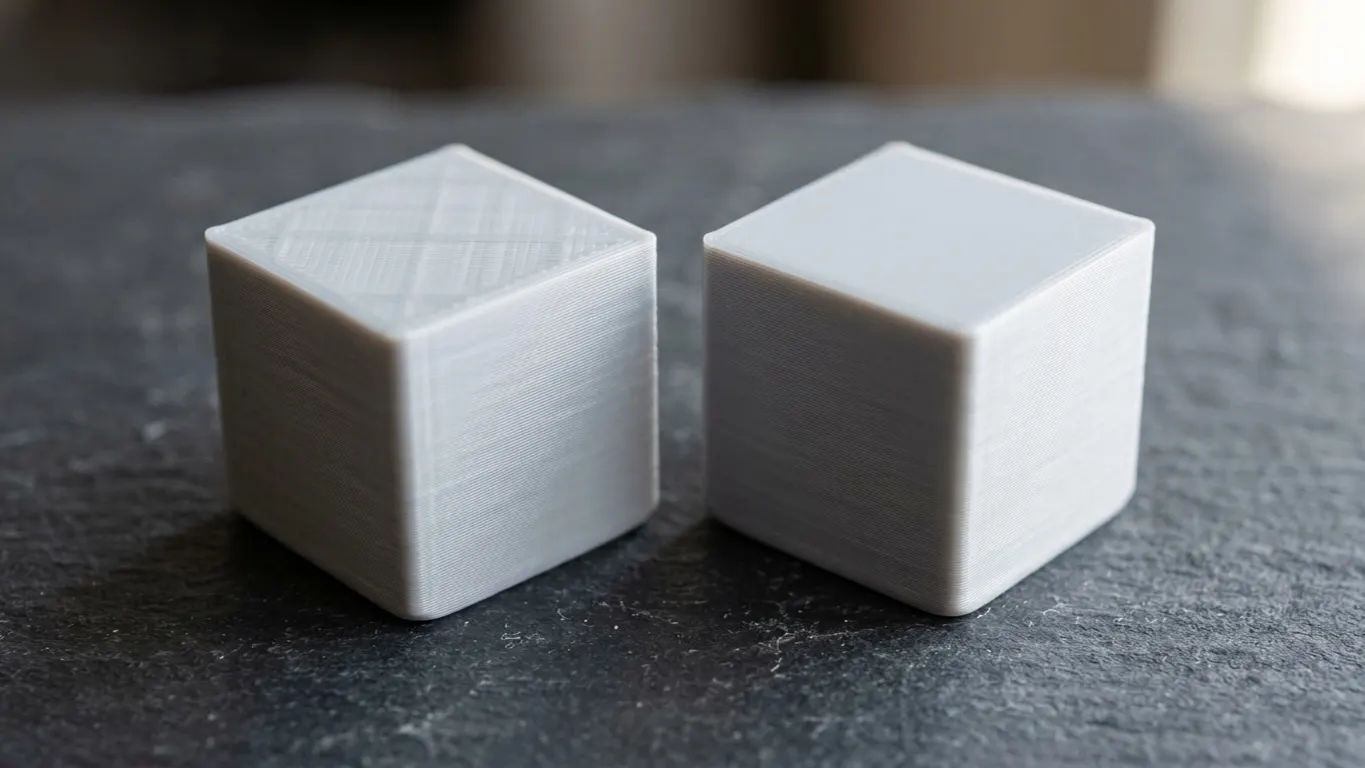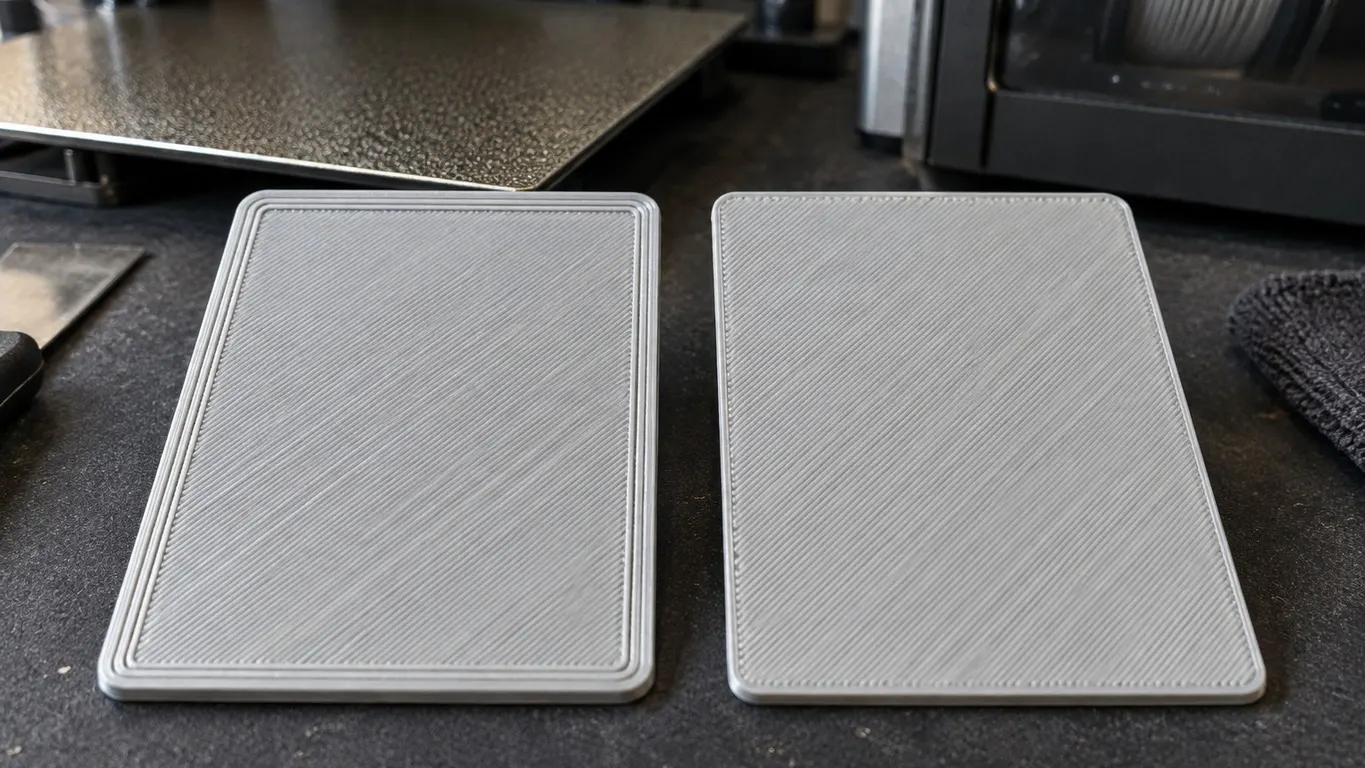
Only one wall on first layer is a checkbox in Bambu Studio's quality settings. Tick it and the first layer of your model gets a single wall loop instead of the usual count, and the space the inner loops would have taken goes to the fill of that layer. It ships unchecked, and the code default has never been anything else.
Why it ships unchecked is what a user asked on the Bambu Lab forum in April 2024. They had been setting up a new printer in OrcaSlicer, noticed that Bambu's profiles turn the top-surface version on and leave the first-layer one off, and could not think of a downside that would justify it. The accepted answer is a guess, and says so:
Probably the same reason that Grid infill is the default... The default haven't ever been updated.
Bambu Studio's open source code, its release notes and a tooltip Bambu added in September 2026 answer part of the question. The rest, including the actual reason for the default, is not written down anywhere Bambu publishes.
What the checkbox changes
The logic in the source is one condition: on the model's first layer, if the wall count is above one, it is cut to one. That check sits in both the classic and the Arachne wall generators, so your choice of generator makes no difference. There is no threshold. The one limit in the source is the raft: the check looks for layer number 0, and with a raft enabled the model's first layer is numbered after the raft layers, so in Bambu Studio the option never fires on a rafted print. Orca writes the same check against the raft layer count. With the box ticked, every outline on the first layer prints as one loop, and the freed band is filled with the first layer's pattern, which is set by Bottom surface pattern (monotonic in Bambu's common profile) as long as bottom shell layers is above zero (3 in Bambu's profiles).
The in-app tooltip is a single line of text: "Use only one wall on the first layer of model". OrcaSlicer's version of the same setting spells out the purpose: "to give more space to the bottom infill pattern."
In Bambu's 0.20mm Standard profiles the wall count is 2, so enabling it removes one loop on that layer. The forum post also argued it should save a little time, and the profile backs the premise: in the 0.20mm Standard profile for the X1C, everything on the first layer except solid infill runs at the Initial layer speed of 50 mm/s, while solid infill runs at the Initial layer infill speed of 105 mm/s. How many seconds that buys depends on the part, and no source measures it.
Where to find it in Bambu Studio and Orca
The feature arrived in the Bambu Studio 1.7.0 public beta in July 2023; the release notes list it as "Add only one wall function for the first layer". It has been in the code ever since, and the settings tab really does draw it: the Quality tab of the process settings, in the Advanced group, directly under Only one wall on top surfaces (with Develop mode on, Top area threshold sits in between). Its definition carries no advanced-mode flag, so it shows in the simple view as well. The position is the same in the 2.8.2.61 stable release from August 2026 and in the 2.8.4 beta from September 2026.
OrcaSlicer has the same setting under the same name, in the Walls and surfaces group of its Quality tab. Orca started as a fork of Bambu Studio, which is why so many labels match; the rest of the story is in the Orca Slicer overview.
One gap worth knowing about: Bambu's wiki page on advanced quality settings, last edited in June 2026, covers the top-surface option and its threshold and says nothing at all about the first-layer one.
First layer vs. top surfaces
The top-surface option is older and has more moving parts. It was a plain on/off switch through 1.7.1. The 1.7.2 hotfix in August 2023 turned it into a three-way choice: Not apply, Top surfaces and Topmost surface. The default is Top surfaces, meaning every flat top surface on the model. According to those release notes, Topmost surface limits the single wall to the very top layer but slices much faster on complex models.
The bigger difference is the threshold. Top area threshold is, per its tooltip, the minimum width of a top area as a percentage of the wall line width. The wiki explains the purpose: on something like the top of a sphere, narrow top surfaces partly covered by the next layer should not trigger the single wall. Bambu Studio's default is 200%, up from 100% through the 1.10.x releases; the change came with 2.0.0. The source marks it as a developer-level option, so it stays hidden until Develop mode is switched on in Preferences, and it also disappears when the top-surface option is set to Not apply. Orca calls its equivalent One wall threshold and defaults it to 300%, which is the number the forum poster asked about.
The first-layer option has no threshold at all. That lines up with the poster's own reasoning, that the sloped-surface problem cannot happen on layer one, though Bambu has never said so. If the problem you are chasing is infill ghosting through the top of a part, that is a different chain of settings, covered in the infill show-through guide; this article is about the bottom edge.
Testing the "never updated" theory
Start with the comparison in the answer, because it is still true. In the common process profile, fdm_process_common.json, sparse infill has been grid since 1.0.10 in July 2022, and every 0.20mm Standard profile inherits it. The profiles are not uniform, though: 46 of the 49 High Quality profiles set their own pattern to gyroid.
For this one setting, the guess holds too: false in code at every tag from 1.7.0 to the 2.8.4 beta, and none of the 278 BBL process files turns it on. As a general rule it fails, since Top area threshold moved from 100% to 200% in 2.0.0. The accurate version is narrower: this particular default never moved, and nobody at Bambu has written down why.
What the poster saw comes from Orca's own Bambu profile. Orca still runs the top-surface option on the old on/off key, only_one_wall_top, which is off by default in its code. Orca's Bambu process profile sets it to 1 and leaves the first-layer key alone, and it already did in Orca 2.0.0 from March 2024, weeks before the thread. That is the top-on, first-layer-off picture in the post. Bambu Studio has ignored the same key since 1.7.2; it sits on the source's list of obsolete keys. Even so, "only_one_wall_top": "1" landed in Bambu Studio's common profile with a profile sync in 2.0.0 and sits there unread. In Bambu Studio the top-surface option is on because the code default says so.
The one tradeoff Bambu names
Bambu does name a cost, and only recently. The 2.8.3 and 2.8.4 public betas from September 2026 add new tooltip cards that open when you hover a setting's name. The card for this one first describes it as giving the infill pattern as much of the first layer, "the one touching the bed", as possible, then reads:
When off, the first layer uses multiple wall loops. When on, the infill is more continuous and the bottom is flatter, but the first-layer edge outline is slightly weaker.
That text is not in the 2.8.2.61 stable release. It does not say whether "weaker" means strength, bed grip or looks, and it does not say this is why the box ships unchecked. What follows is this article's reading, not a source: the first-layer edge outline is the outermost perimeter of the layer touching the plate. If a crisp bottom edge or corners that stay put matter to you, that one sentence is the only documented reason to leave the setting off.
When it is worth turning on
The forum thread itself shows no downside. The only cost the poster could come up with was side-on compression strength, and they talked themselves out of it: with single walls only on the top and bottom layers, it should barely affect the part's strength. What they listed instead were three cases for turning it on: embossed text or holes on the first layer, several colors on the first layer, and a cleaner-looking bottom face in general. Bambu's tooltip points the same way, with more continuous infill and a flatter bottom.
To try it:
- With no raft, tick Only one wall on first layer on the Quality tab and slice.
- In Preview, drag the layer slider all the way down. Layer one should show a single loop and layer two your profile's normal wall count.
- If you like the result, save it as your own process preset. Why a saved preset can vanish from the list when you switch printers is covered in the preset article.
Leave it off on a part whose bottom nobody will see and, all you give up is a flatter bottom, going by Bambu's wording, and a little print time, going by the forum post. On a part whose bottom is the display face, the trade is that flatness against the edge outline, and none of the sources say which one should win.