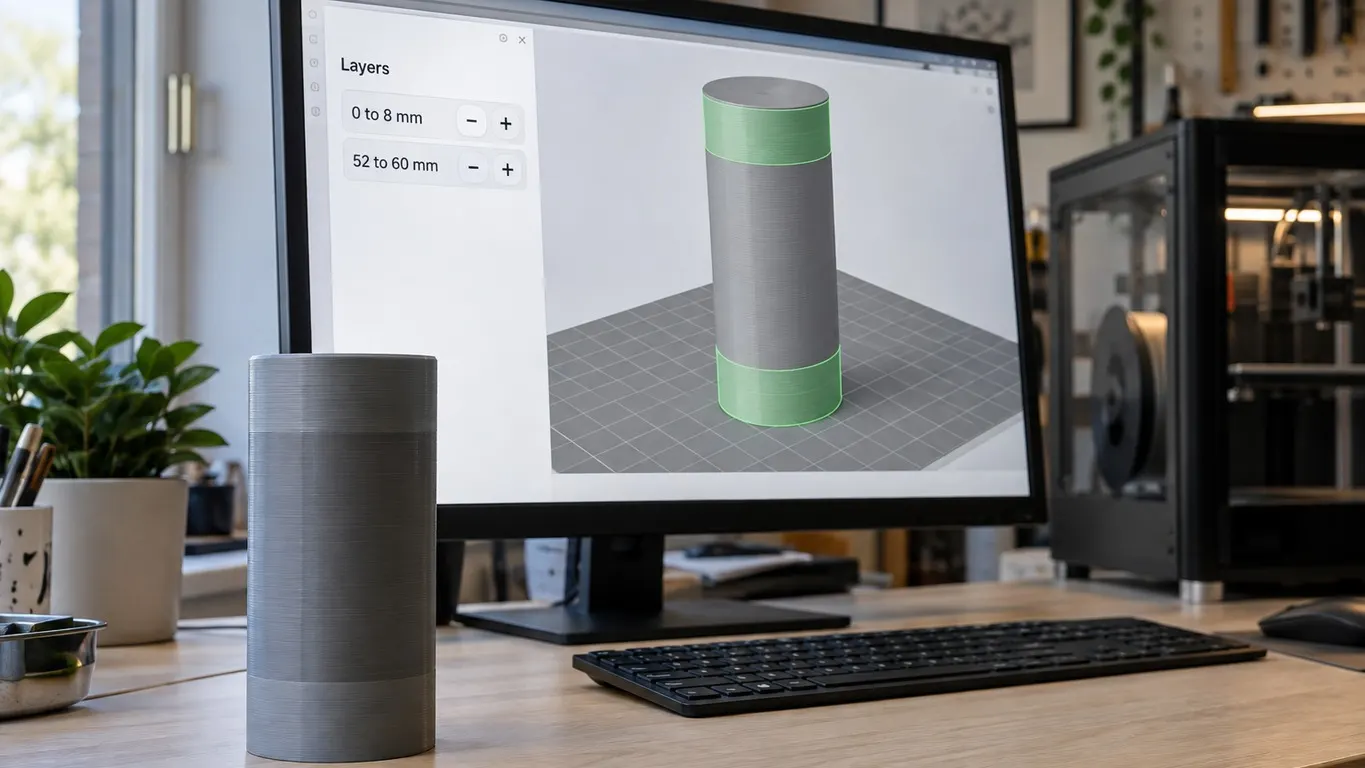
You have one object and two problems at different heights. The bottom band needs extra walls, the top band needs a narrower extrusion width, and the middle is fine as it is. So you open Height range Modifier, try to add a second range, and the second one looks like it just replaced the first.
That is where the person who opened "Multiple height range modifiers on a single object?" on the Bambu Lab forum in January 2024 got stuck. They could do it in PrusaSlicer and could not do it here, despite the menus being nearly identical. Half an hour later they answered their own question in the thread, and that reply has been collecting thanks from strangers ever since. What was missing was never a setting. It was knowing which panel the buttons live in.
Their own description of what the feature is for is still the clearest one in the thread:
A height range modifier lets you change almost any setting for the selected layers.
Adding walls is one of the common reasons, and more walls also help when infill is telegraphing through the surface; that side of it is in the infill show-through article.
Where the menu item lives
Right-click the object itself, not a part under it. The code hangs this entry off the object menu only, directly behind the block of add-volume submenus, and greys it out unless a single object or one of its instances is selected; the part menu has no such entry to grey out. The string carries capitals on "Height" and "Modifier" and nowhere else, so Height range Modifier is what you are scanning for, sitting under Add support enforcer.
Clicking it is already half the job. Bambu Studio hangs a Layers branch under the object, seeds it with a 0 to 2 mm range if that object had none, then selects the branch and expands it. The first range was never yours to add, and when the menu closes you are standing on the one screen where the buttons exist. The forum's accepted answer reaches the same place from the other side, telling future googlers to right-click the object on the objects side of the Process heading.
Why the plus button is not there
This is the part that traps people. A user in January 2026 put it well:
I was looking for a + icon, it never occurred to me they would put it at the bottom instead just next to the "Layers" label
The rule in the source has two steps. The panel that draws the range rows only appears when the selected tree item is the Layers branch or a single height range, and it skips the update entirely when more than one item is selected. The buttons are a separate matter: they are only created when the Layers branch itself is selected. Click a single range and the panel draws that one row with no buttons at all, because the call that builds it passes nothing where the buttons would go. The plus you are hunting for genuinely is not on screen.
Another reader worked that out the hard way and wrote it into the thread in May 2026:
It should be mentioned that you NEED to click on "layers" in order for the + / - to show up at the bottom, otherwise it doesn't show.
The row itself runs left to right as a Height Range label, a low bound field, to, a high bound field, mm, and then the minus and plus buttons in that order. Their tooltips are Remove height range and Add height range.
What the plus button actually creates
The button does not open a blank range. It inserts one after the row you pressed it on, and the source handles three cases:
| The row you press | What the plus creates |
|---|---|
| Pressed on the last row | A range starting at its top and ending 2 mm above that |
| Pressed where the next range butts up against this one | The next range splits in two and its lower half becomes the new range, unless it is thinner than two minimum layer heights, in which case pressing does nothing |
| Pressed with a gap above | The whole gap becomes the new range |
So the working order is: select Layers, set the first row to the bottom band of your part, press the plus on that row, then move the bounds of the row that appears up to the top band. The bound fields take typed values freely, with two exceptions: anything non-numeric or negative comes back as Invalid numeric., and pushing the low bound past the high bound moves the high bound to 0.5 mm above it rather than refusing the entry.
Nothing carries over from one range to the next
A user reported this in April 2026. They set 70 to 200 mm to slow the speed down, added 100 to 200 mm to change the layer height, and the second one did nothing. Their reading of it was inheritance:
but since i did not change layer height in first one, it did not change in 2nd one
They fixed it by putting both settings into the 100 to 200 range and pulling the first range back to 70-100.
The result is real, and the source backs part of their reasoning. A range created by the plus button is seeded with exactly two values: a layer height taken from the object or the process preset, and an extruder number the source hard-codes to zero, which reads as "use the default". Nothing is copied from the neighboring range, so every setting you want in a band has to be set on that band itself. There is no right-click menu on a range. Selecting it in the list flips the parameter panel on the right to Objects on its Global / Objects switch, and the panel then shows that range's own values; change one there and the override lands on that range alone. Slowing a band down is one of the usual reasons to reach for this, and which speed setting governs what is covered in the print speed article.
What made their second range do nothing, though, was not inheritance. It was the overlap, and that is the next section.
When two ranges overlap, the lower one wins
The same reader from January 2026 asked about this directly:
I understand they can't overlap, right? When I do that and two modifiers are overlapping only one works.
The observation is right and the reason is written into the code. Before the ranges are applied, they are converted into a non-overlapping list, and a comment states the rule plainly: the input ranges are sorted lexicographically, and the first range trims the others. In practice each range has its low bound pushed up to the top of the range processed before it, and if no meaningful height is left, the range never enters the list at all. The code that builds the layer height profile does the same thing and explicitly ignores ranges that end up too narrow.
Run the April 2026 case through that and it resolves: a range of 100 to 200 has the same top as the 70 to 200 that sorts before it, so after trimming there is nothing left of it and it is dropped. Narrowing the first range to 70-100 works because it removes the overlap, not because it teaches the second range anything.
Nothing warns you when this happens. The row stays on screen with its settings intact and simply covers no layers, so the only way to catch it is to look at the result in Preview.
A height range is not a modifier part
Two different features sit next to each other in that menu and get confused constantly. Add modifier drops a box or a sphere inside the object, and wherever that shape intersects the model gets printed with different settings, with geometry drawing the boundary. Add negative part subtracts its intersection instead, and Add support blocker and Add support enforcer suppress or force support. All of them are volumes added to the object, and right-clicking one of those volumes opens a Change type submenu listing them as Part, Negative Part, Modifier, Support Blocker and Support Enforcer.
Height range Modifier adds no volume. Its boundary is a Z height, and the band you choose covers the entire cross section of the object at that height. Want different settings on one boss or rib buried inside a part? That is a geometric modifier. Want them on the bottom and top bands? That is a height range.
One more thing worth keeping apart: running a command at a single layer is a different job with a different tool. For that you add Add Custom G-code from the slider in the Preview tab, and it goes into that one sliced file; the method is in changing temperature at a layer. A height range modifier changes slicer settings across a band of height and stays with the object in the project.