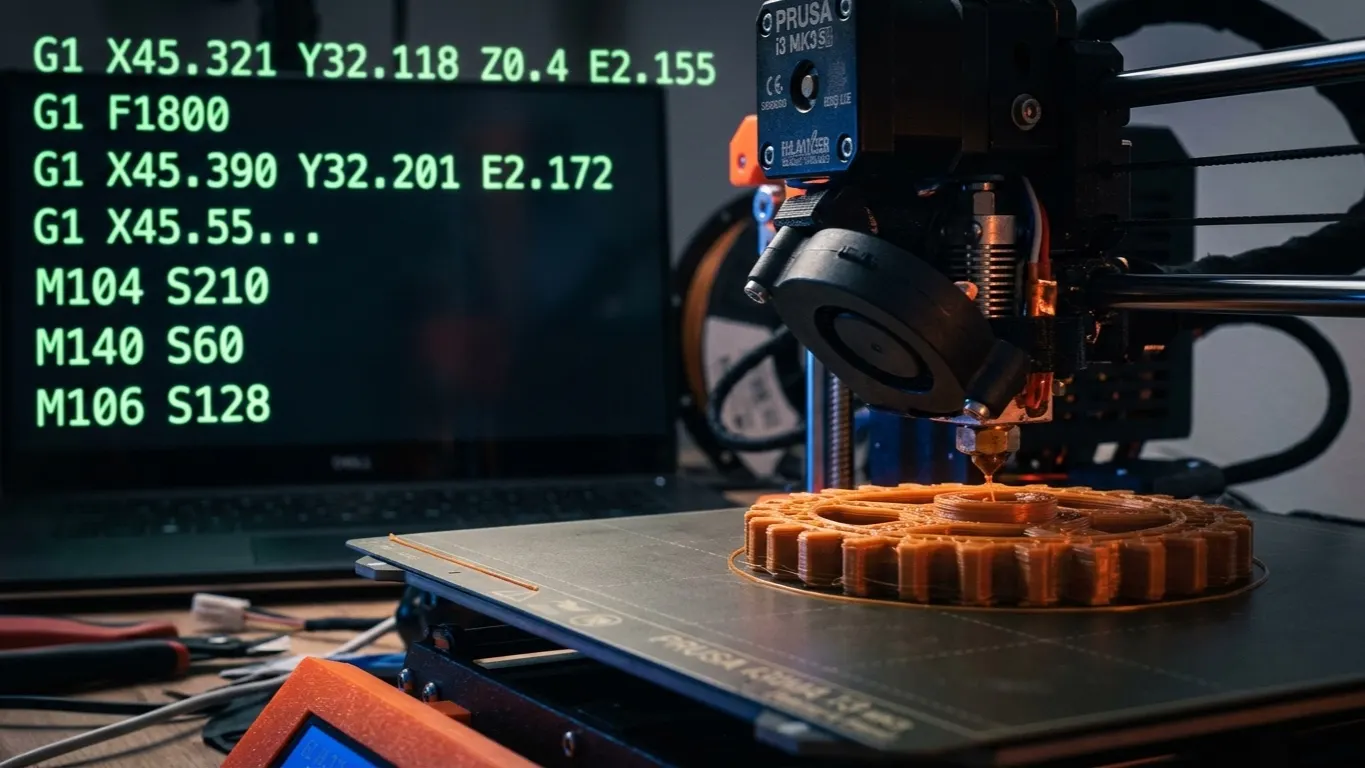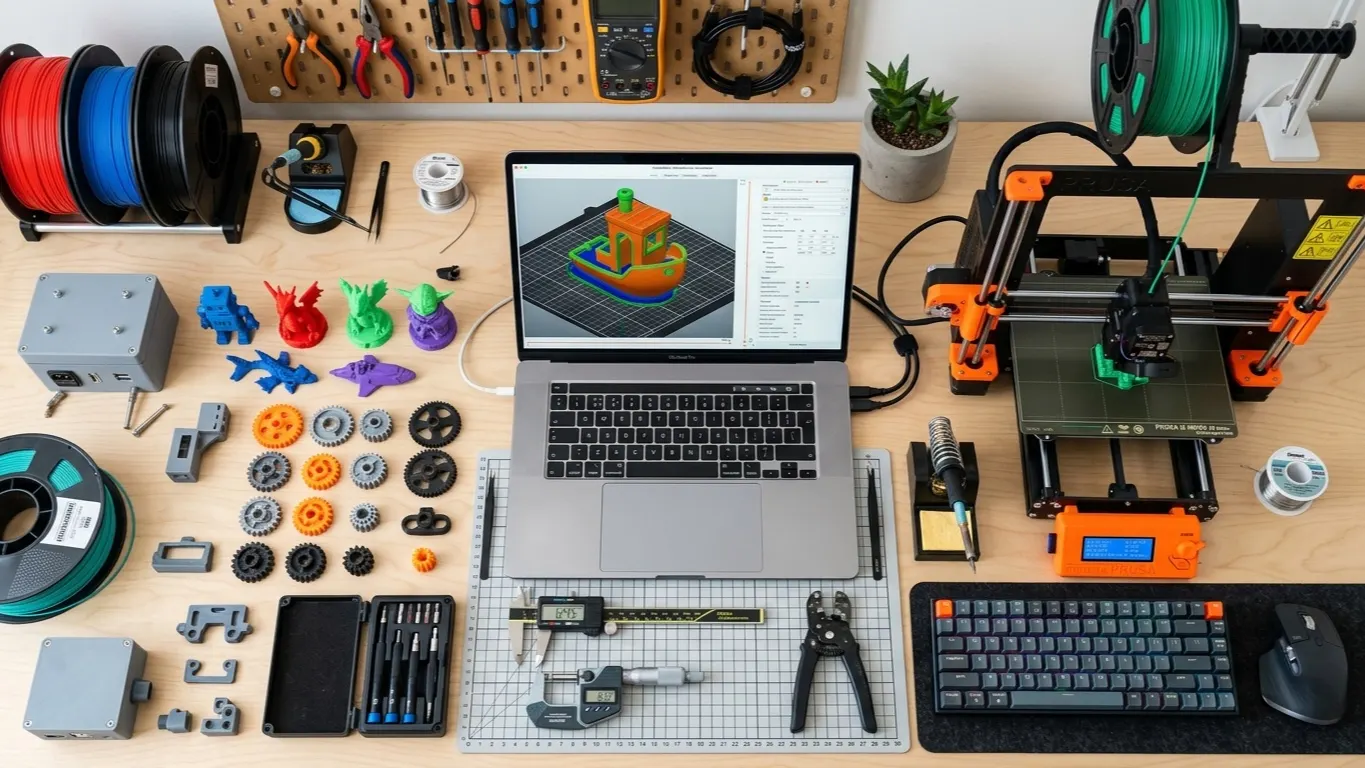
There are two separate families of program in 3D printing, and they get mixed up constantly. CAD draws the model; a slicer turns that model into commands the printer understands. If you only print models you download, you do not need CAD at all. The slicer you cannot skip.
Below is what each family does, which one you need for what, and how the free options compare.
The difference between the two
| CAD (design) | Slicer | |
|---|---|---|
| What it does | Draws a three-dimensional model | Cuts the model into layers and writes G-code |
| Its output | STL, STEP, 3MF | G-code |
| Mandatory | No, you can download models | Yes |
| Time to learn | Weeks | An evening |
There is a third family sitting in between: model repair and editing tools. If a downloaded model has an unclosed surface, or you want to change a dimension, these are what you reach for.
Slicers
This is the family you cannot skip, so we start here. All four are free, and all four trace back to the same root: Slic3r.
Cura
The most widely used. Developed by UltiMaker, brand-agnostic, with ready profiles for nearly every printer. There are a lot of settings (over 400), but in Recommended mode three sliders get the job done.
If you are starting out and your printer is not a Bambu, this is the natural choice. More detail in the Cura slicer guide.
Bambu Studio
Bambu Lab's own program. It only works fully with Bambu printers, and in return it is tied straight into the hardware: sending prints over the cloud, the camera and AMS handling are all built in.
If you have a Bambu printer, this is what you use. If not, there is no point forcing it.
Orca Slicer
A community project forked from Bambu Studio. The interface is nearly identical, with two differences: built-in calibration tests and support for non-Bambu printers.
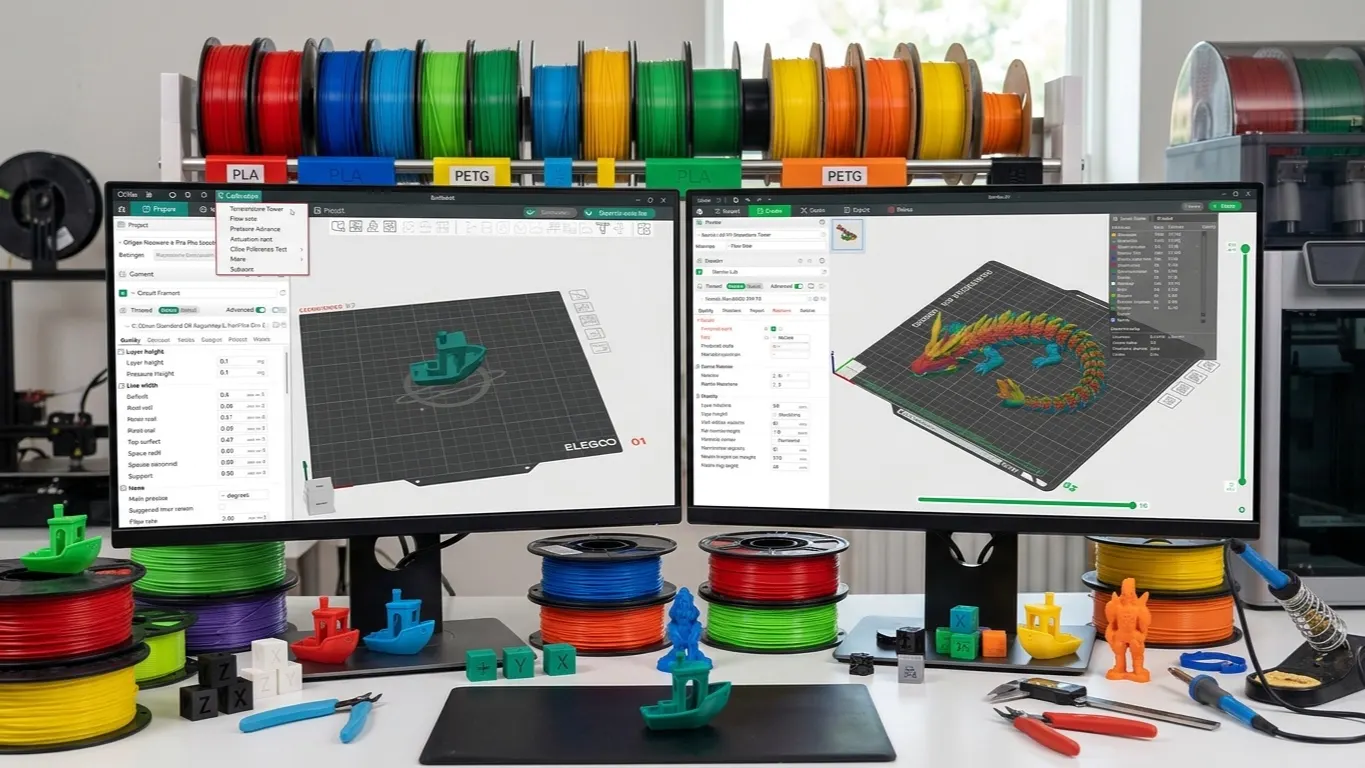
The calibration tools can be reason enough on their own: temperature tower, flow rate and pressure advance all sit ready in a menu. More detail in what Orca Slicer is.
PrusaSlicer
Prusa's own program and, along with Cura, the oldest and most mature of the four. It is the default on Prusa printers and works with other brands too. It also supports resin (MSLA) printing, which none of the other three do.
Which to choose
| Situation | Program |
|---|---|
| Bambu printer | Bambu Studio |
| Bambu printer, and I will calibrate | Bambu Studio plus Orca alongside |
| Prusa printer | PrusaSlicer |
| Creality, Anycubic, Elegoo | Cura or Orca |
| A printer running Klipper | Orca |
| Resin printer | PrusaSlicer or the manufacturer's program |
All four can sit side by side on one machine, and 3MF files open in any of them. You do not have to pick one.
Drag a 3MF saved by another program into Bambu Studio and you get the not from Bambu Lab warning. That is not an error, just a notice that only the geometry is being read.
CAD programs
This is the family you need if you are going to draw your own models. Here the choice depends mostly on what you are drawing.
Dimensioned, mechanical parts
Fusion 360: there is a free tier for hobby use (a personal license, renewed yearly). It is parametric, so changing one dimension updates the whole model. It is the standard for work that needs real accuracy: screw bosses, mating parts, gears.
Onshape: runs in the browser, nothing to install. On the free tier your projects are public, which is a real constraint.
FreeCAD: fully open source and genuinely free. The interface is harder going than the other two, but you are not tied to anyone.
Organic, sculptural work
Blender: open source, very powerful, a steep learning curve. Better than parametric CAD for characters, sculpture and textured surfaces.
One warning: a model drawn in Blender is not dimensioned. If the part has to come out 40.2 mm, Blender is the wrong tool.
Something quick and simple
Tinkercad: runs in the browser, free, and you can learn it in half an hour. The logic is combining and subtracting basic shapes. More than enough for boxes, holders and simple organizers.
You hit its limits quickly: rounding, chamfering and dimensioned changes are all awkward. That is the point where you move up to Fusion 360.
Model repair and editing
Downloaded models are not always sound. An unclosed surface, a flipped normal, intersecting geometry: slicers do strange things with all of these.
Microsoft 3D Builder (Windows, free) does simple repairs in one click. Meshmixer is more capable but no longer developed. Blender can also repair meshes.
For small changes the slicer itself may be enough: in Bambu Studio you can cut a hole or round an edge with a negative part.
Print management
If you want to monitor the printer remotely and manage a queue, there is one more family.
OctoPrint: runs on a Raspberry Pi connected to the printer by USB. Browser monitoring, camera, queue, a plugin ecosystem.
Klipper: replaces the printer's own firmware. It gives you faster printing and better motion control, but setting it up takes real work.
On Bambu printers neither is needed; the cloud and phone app do the same job.
Starting from nothing
The minimum set to install:
- A slicer: from the table above, according to your printer.
- A model source: Printables, MakerWorld, Thingiverse. Not a program, but half the job.
- Leave CAD for later. Printing models you download is enough for the first few weeks. When you actually need to draw your own part, start with Tinkercad.
I walk through using a slicer step by step in the Cura article; everything up to your first print is in how to use a 3D printer.