3D printing cost comes down to five items: filament, electricity, printer depreciation, failed prints and labor. The figure your slicer shows after slicing is only the first of them, about a fifth of what the part really costs. Quote a price without the rest and you pay the difference yourself.
Below is how each item is worked out, how to enter filament pricing in your slicer, and a full worked example at the end.
The five items
Most people work out the first one and skip the other four.
1. Filament
This is the easy one, because the slicer already tells you the weight in grams.
Spools normally hold 1 kg net. Cost per gram:
per gram = spool price ÷ 1000
A $20 spool works out at 2 cents per gram. If the slicer says 24 g, filament is 48 cents.
Two details are worth knowing. The plastic spool body is not part of that 1 kg; it weighs extra on top. And the last 20-30 grams at the core are never really usable. For a tighter figure, divide by 970 instead of 1000.
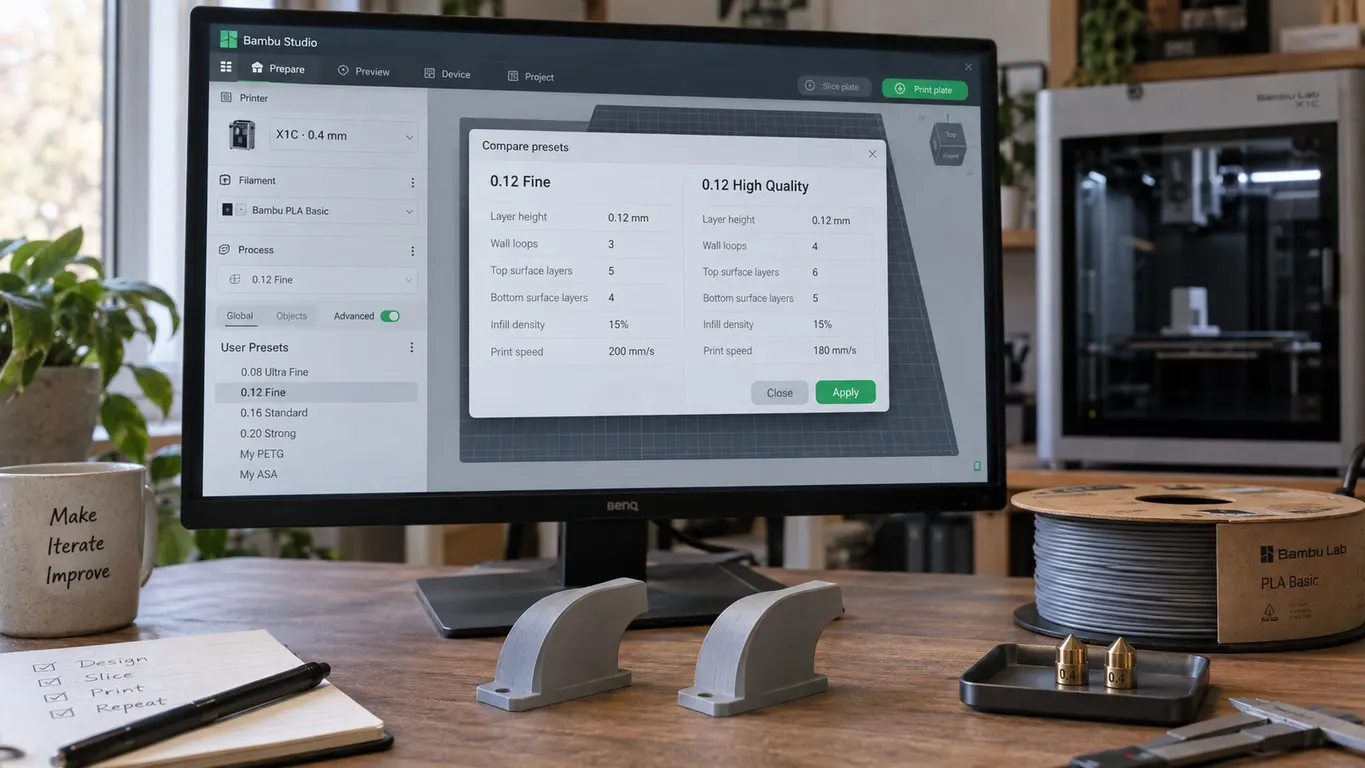
Enter the price per kilo into your slicer once and it does this for you. In Bambu Studio the filament profile settings have a Price field; fill it in and cost appears in the estimate panel after slicing. You have to do it for each filament profile, because the price belongs to the profile. On multi-color prints the filament burned on the purge tower counts toward that figure, which is usually why it comes out higher than you expect.
2. Electricity
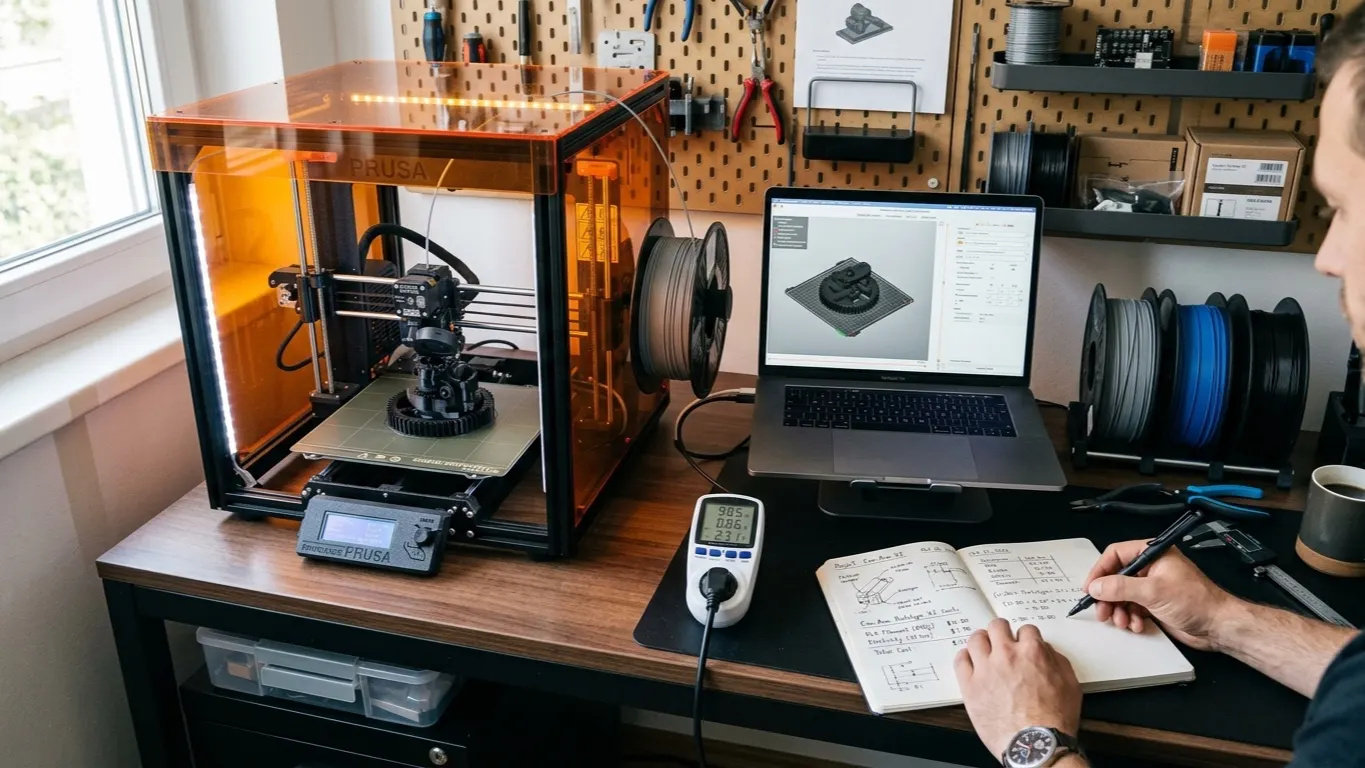
3D printer power draw is not constant. It peaks while the printer heats up and falls off during the print. The only reliable way to learn your average is a plug-in energy meter. Measure once and you never have to think about it again.
If you cannot measure it, here is a rough range: a desktop FDM printer with a heated bed averages 100-150 W over a print. Materials that need a hot bed sit near the top of that range, PLA near the bottom.
electricity = (average watts ÷ 1000) × hours × price per kWh
Take the unit price from your own bill; domestic and business tariffs differ and change often. At 120 W a 5-hour print uses 0.6 kWh, which is small next to filament. Electricity only starts to matter on long jobs: a 30-hour print uses 3.6 kWh.
3. Printer depreciation
The printer does not last forever. Divide its price by its expected life and you get an hourly figure.
per hour = printer price ÷ expected life in hours
For desktop FDM, 2,000-5,000 hours is a reasonable assumption. Divide a $600 printer by 3,000 hours and you get about 20 cents per hour.
Consumables belong here too: nozzles, PTFE tubing, build surfaces, belts. Rather than tracking each one separately, add a small margin to the depreciation figure and you are close enough.
If you print as a hobby, you can skip this item. If you sell, you cannot: this is how the printer pays for itself.
4. Failed prints
This is the item people skip most often, and the one that hurts most.
A failed print burns through filament, electricity and time, and gives you nothing back. If you do not know your own rate, keep notes for a while. On a settled setup 5-10% is reasonable; when you switch to a new material it runs much higher for the first few days.
adjusted cost = cost ÷ (1 − failure rate)
At 10% you divide each part's cost by 0.9, which adds roughly 11%.
Cutting that rate pays you back directly. If prints keep stopping halfway for a mechanical reason such as a Z axis homing failure, fixing it once pays off on every print after that.
5. Labor
If you sell, this item is not optional. Preparing the model, slicing, clearing the bed, removing supports, sanding, packing: it all takes time.
Print time is not labor; the printer runs while you get on with other things. What you count is the minutes your hands are on the part. Ten minutes on a small one, up to an hour on something with supports and sanding.
Worked example
A 24 g part, 5 hours of printing, a $20 PLA spool, 120 W average, 30 cents per kWh, depreciation at 20 cents per hour, 10% failure rate, 15 minutes of labor at $15 per hour:
| Item | Calculation | Amount |
|---|---|---|
| Filament | 24 g × 2 cents | $0.48 |
| Electricity | 0.6 kWh × 30 cents | $0.18 |
| Depreciation | 5 h × 20 cents | $1.00 |
| Subtotal | $1.66 | |
| Failure allowance | ÷ 0.90 | $1.84 |
| Labor | 0.25 h × $15 | $3.75 |
| Total cost | $5.59 |
The slicer said 48 cents. The real cost came out about twelve times that.
The numbers are examples; put in your own spool price, tariff and hourly rate and the table shifts. The proportions are what stay the same: filament is a small slice of the total.
What actually moves the cost
The largest line in the table is depreciation: $1.00 of $5.59. Printer time is the expensive part, and that points straight at the most effective way to cut cost.
Fit four parts on the same bed and print time goes from 5 hours to 7, but depreciation splits four ways: 25 cents per part instead of $1.00. Labor splits too, since clearing four parts in one go takes less time than clearing them one at a time.
Filling the bed changes the number more than printing fast does.
The second largest line is labor. You cut it by orienting parts so they need no supports and putting surfaces that need sanding against the bed: in short, by designing the hand work out before you print.
Filament is the smallest line. Hunting for cheap filament saves money at the least important point in the sum, and if it pushes your failure rate up it is a net loss. With a difficult material the gap is starker still: nylon (PA) will not print undried, and wet nylon fails often.
This is a cost, not a price
Cost is the floor under a price, not the price itself. If you are selling the part, margin goes on top and then you check the market; a common approach is 1.5 to 3 times cost.
Here is the key point: the customer is not thinking about your cost, but about what the part is worth to them. This calculation only gives you the line below which you lose money. The market sets the ceiling.
If you are thinking about selling, making money with a 3D printer compares three markets and shows which kind of work actually pays.