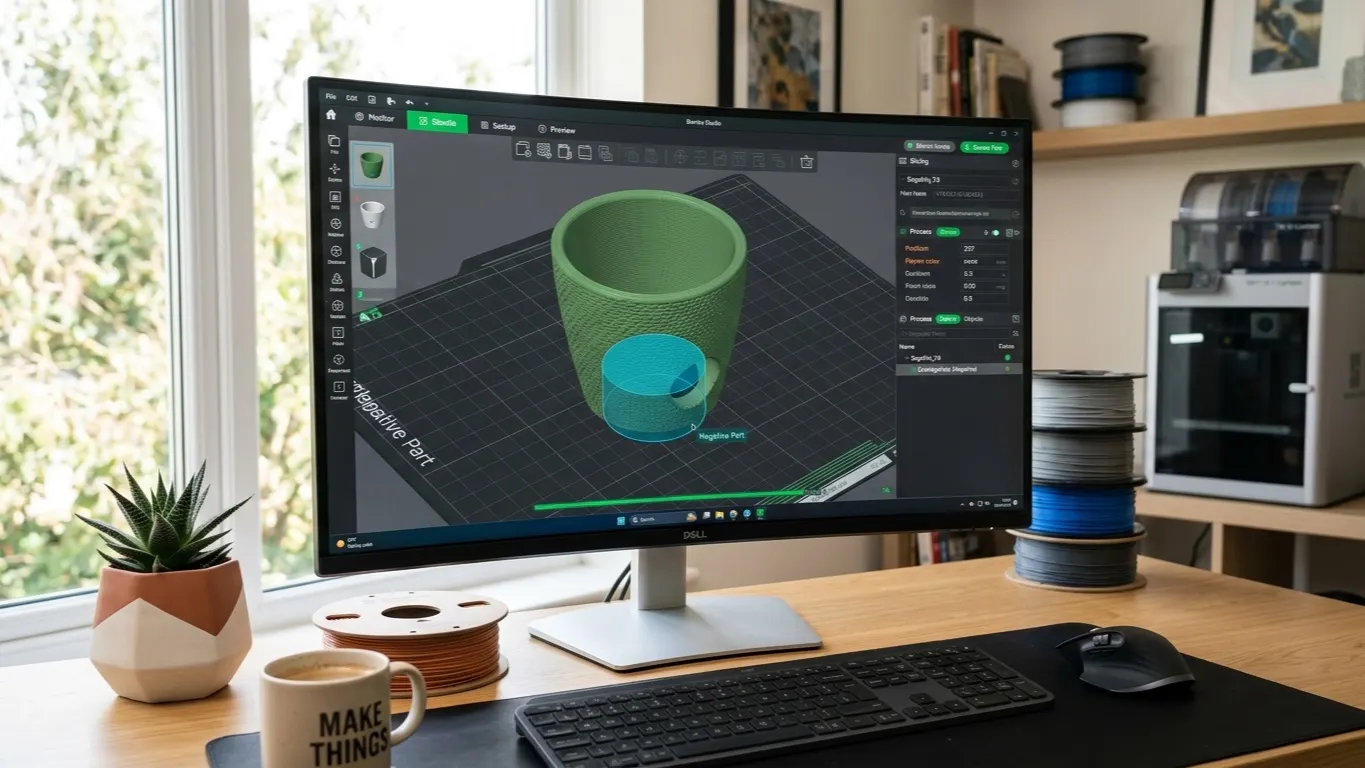
To make a hole in a model you downloaded, use Bambu Studio's negative part feature: you add a cylinder to the model, mark it negative, and the slicer subtracts that volume.
The common uses are a drainage hole in a pot, a cable pass-through in a box, and vents in a lid. The same tool also works for rounding edges.
Step by step
- Place the model on the plate.
- Right-click the model → Add negative part → Cylinder.
- Move the cylinder to where the hole should be (Move tool, shortcut M).
- Set its diameter and length with Scale.
- Make sure the cylinder passes all the way through, protruding at both ends.
- Slice and confirm the hole in Preview.
If the cylinder stays inside the model, you get a cavity rather than a hole: an air pocket you cannot even see from outside.
Getting the size right
The negative part's dimensions go in as millimeters in the Size field on the right. Do not eyeball it, type the number.
Allow for clearance when you choose the diameter:
| What the hole is for | Clearance |
|---|---|
| Drainage, ventilation | None needed |
| A screw passing through | Screw diameter + 0.4 mm |
| A cable passing through | Cable diameter + 1 mm |
| A rod as a tight fit | Rod diameter + 0.1 mm |
Holes in 3D printing always come out smaller than designed, because plastic squeezes slightly inward as the nozzle turns internal corners. Leaving 0.2-0.4 mm of clearance is standard practice.
Why horizontal holes come out oval
A hole through a side wall has to bridge across its top, and that bridge droops. A hole that should be round comes out flattened at the top.
The fix is a teardrop shape. Point the top of the hole and there is no flat surface left to droop. Doing that in Bambu Studio is fiddly, because you have to add a cube rotated 45 degrees on top of the cylinder. If the hole matters, drawing it in CAD is faster.
On small holes, under 5 mm, the droop hardly matters. Teardrops are for the large ones.
The limits of negative parts
The model file does not change. What you did lives in the slicer project. Send someone the STL and there is no hole in it. To share the result, save as 3MF.
No dimensional checking. The program will not tell you how close the hole runs to a wall, or whether it weakens one. You check that yourself by stepping through the layers in Preview.
It does not scale. Three or four holes is manageable. Go for dozens of vents and the scene fills up with cylinders.
When to move to CAD
More than three holes, a dimension that has to be right, or a teardrop you need: CAD is faster and more accurate.
Even if you did not draw the model, you can take the downloaded STL into Fusion 360, FreeCAD or Tinkercad. Editing a mesh is coarse work, but it is enough for putting a hole in something.
The negative part method is right for one thing: a single hole, done quickly, too simple to be worth opening CAD for.