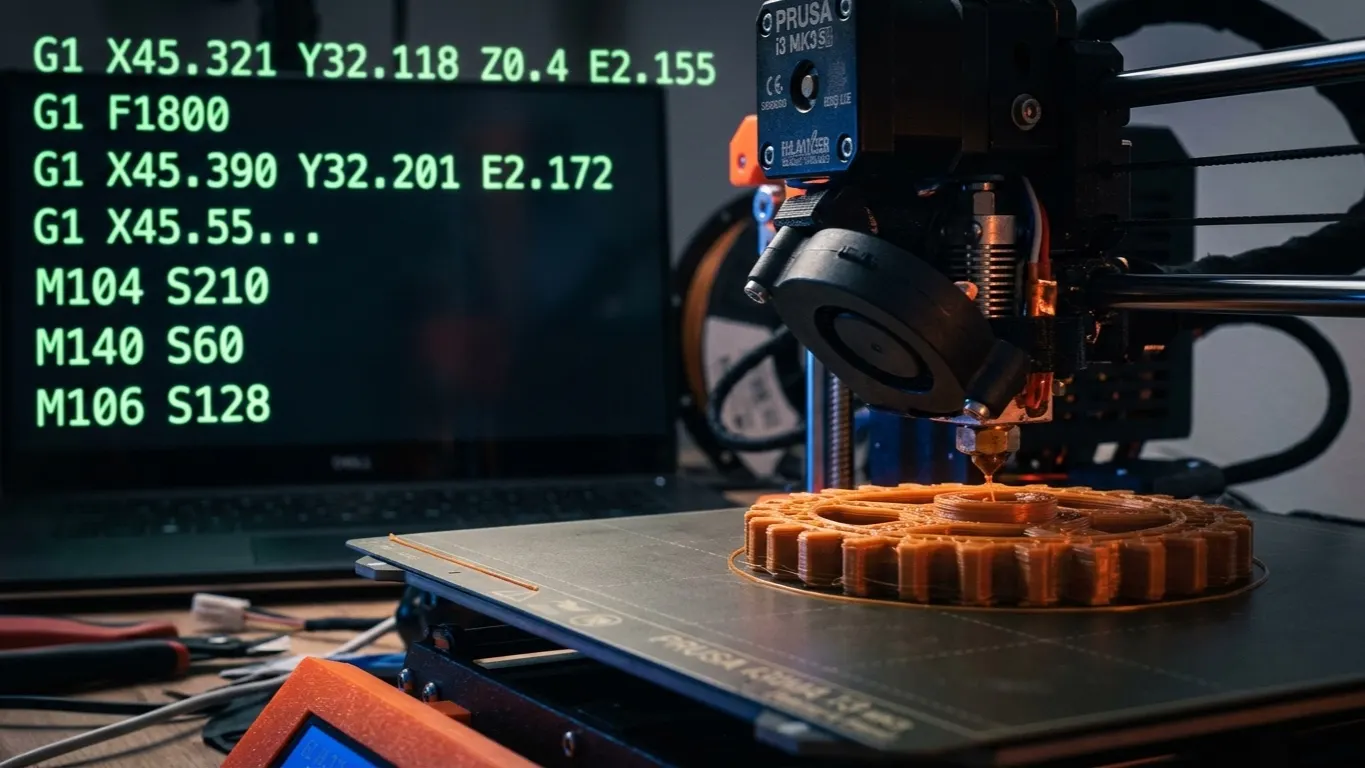
G-code is the list of commands a 3D printer reads. Once the slicer has cut the model into layers, it writes out every move: go here, at this speed, push this much plastic, reach this temperature. The printer never sees the model at all; it just runs the list.
It is a plain text file. You can open it in any text editor, read it and edit it.
What a line looks like
G1 X125.4 Y98.2 E0.0412 F1800
In pieces:
| Part | Meaning |
|---|---|
G1 |
Linear move, with extrusion |
X125.4 Y98.2 |
Target coordinate, mm |
E0.0412 |
Filament to push over that move, mm |
F1800 |
Speed, mm per minute (1800 = 30 mm/s) |
A single layer is thousands of lines like that one.
The commands you see most:
| Command | What it does |
|---|---|
G0 |
Move without extruding (travel) |
G1 |
Move while extruding |
G28 |
Home the axes |
M104 |
Set nozzle temperature, do not wait |
M109 |
Set nozzle temperature and wait |
M140 / M190 |
The same for the bed |
M600 |
Filament change (pause) |
G92 |
Reset position |
M commands are machine settings, G commands are movement. That is the rough split.
Editing a sliced file
Bambu Studio and Orca output .gcode.3mf. That is really a zip archive holding the G-code, the model and the settings, so a text editor will not open it directly.
There is a way to get at the G-code inside without breaking the archive:
- Open the file with an archive tool such as 7-Zip (Windows) or Keka: open, not extract.
- Go into the Metadata folder.
- Right-click the
.gcodefile and choose Edit. It opens in a text editor. - Make the change, save, close the editor.
- The archive tool asks whether to update the archive. Say yes.
The file stays intact and still opens in Bambu Studio for preview. Extracting the archive and re-zipping it does not work; that breaks the structure.
When hand-editing is worth it
For most work it is not worth it. The slicer's Machine G-code section has fields for start, end, layer change and filament change code, and anything you want to keep permanently belongs there. Some things cannot go in there at all: no one can source a command for the chamber light, which is covered in turning the light off after a print.
Hand-editing makes sense when:
- It is a one-off. Dropping the temperature at a single layer, for this print only. There is a way to do that from the slicer interface too: changing temperature at a layer.
- The slicer will not do it. Ramping fan speed at a specific height, say.
- You are debugging. When a print fails at the same place every time, reading that layer's code often shows you why.
Finding a layer number
Layers are marked with comments:
;LAYER_CHANGE
;Z:21.4
;LAYER:107
To edit a specific layer, find a line like ;LAYER:107 and add your commands below it. The comment format varies by slicer; Bambu Studio, Orca and Cura each write their own.
Example: drop nozzle temperature by 5 degrees after layer 107.
;LAYER:107
M104 S200
Take care
Keep a backup. Bad G-code can drive the printer off the bed or make it extrude cold.
Leave the extrusion values alone. E values are cumulative; change one line and every extrusion after it is off.
Preview it. Open the edited file in Bambu Studio and step through Preview. If you broke something, it shows up there.
The printer's own checks are limited. Give it a coordinate off the bed and most printers will try to reach it rather than stop.