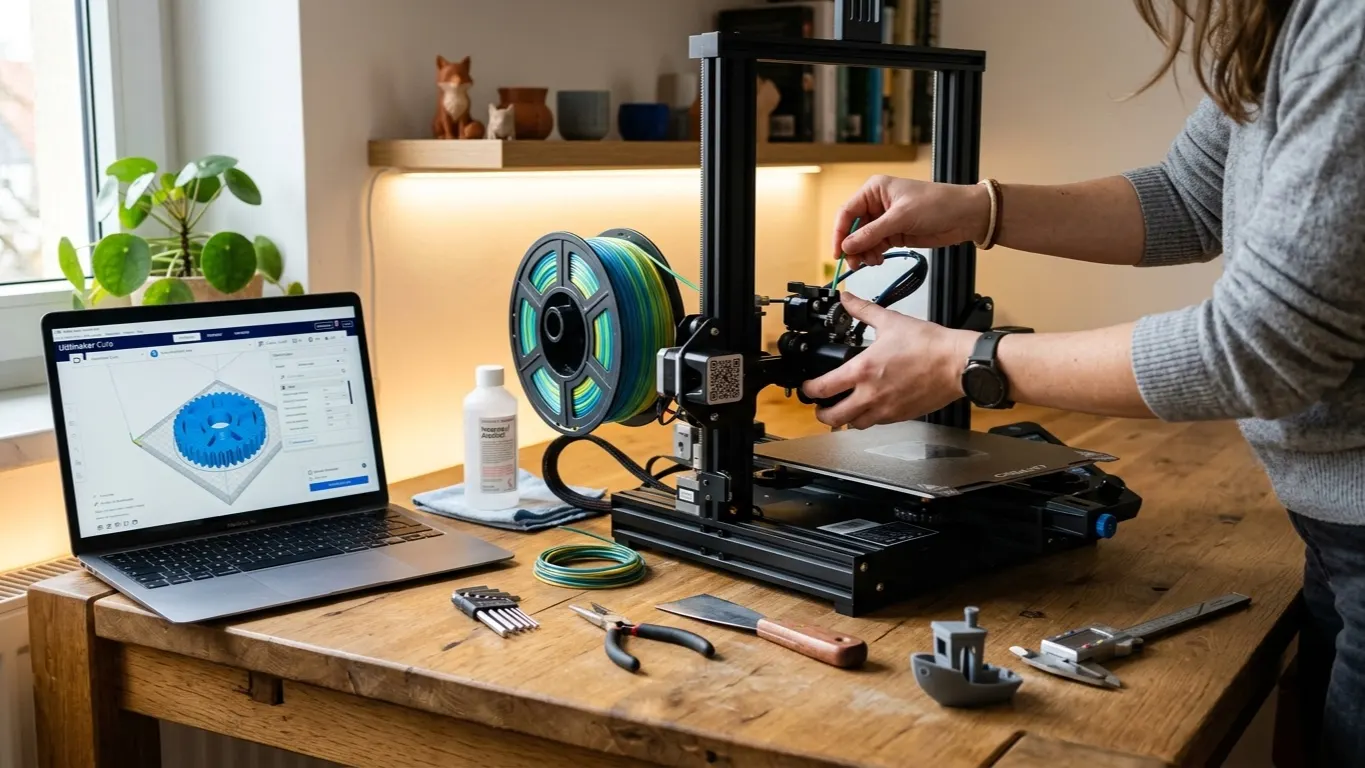
Using a 3D printer comes down to four steps: set the printer up, load filament, prepare the model in a slicer, print. From opening the box to a first print takes one to three hours.
Below is what to do in order, what to watch at each step, and where beginners most often get stuck.
1. Setting up
A printer out of the box usually arrives partly assembled. Follow the manual, but pay extra attention to two things.
Remove the shipping locks. Moving parts are secured for transport with foam, plastic clips or screws. Running the printer without removing them strains the motors. It is usually on the first page of the manual.
Put it somewhere solid. The printer shakes as it accelerates, and a flimsy table passes that vibration into the print. Pick a spot that is solid, level and free of drafts. Next to a window or under an air conditioner is a bad choice.
Check the cables. A connector loosened in transit is the most common first-day problem.
2. Leveling the bed
If the distance between nozzle and bed is wrong, nothing works. Too close and the nozzle drags plastic across the bed; too far and the first layer will not stick.
On a printer with auto-leveling (Bambu, Prusa, newer Creality models) this is one command in a menu. The printer probes the bed and maps it.
On a manually leveled printer you adjust with the screws at the four corners. The method: slide a sheet of paper between nozzle and bed and leave enough of a gap that the paper drags but does not tear. Repeat at all four corners, then check the middle.
Leveling is not a one-time job. Do it again when the printer gets moved, when the plate has been taken off, and when first-layer problems start.
3. Loading filament
Make PLA your first filament. It is the easiest material to print: low temperature, no smell, little warping.
- Fit the spool and check the filament turns freely.
- Cut the end of the filament cleanly, at an angle. A crushed or crooked end will not feed into the extruder.
- Run Load from the menu. The printer heats the nozzle and pulls the filament through.
- Wait until clean color comes out of the nozzle. The old color or some residue comes through first; that is normal.
Unloading is a menu command too: Unload. Pulling filament out cold by hand damages the extruder.
4. Preparing the model
A model you want to print comes as a file, usually STL or 3MF, but the printer cannot read that file directly. Something has to sit in between: a slicer.
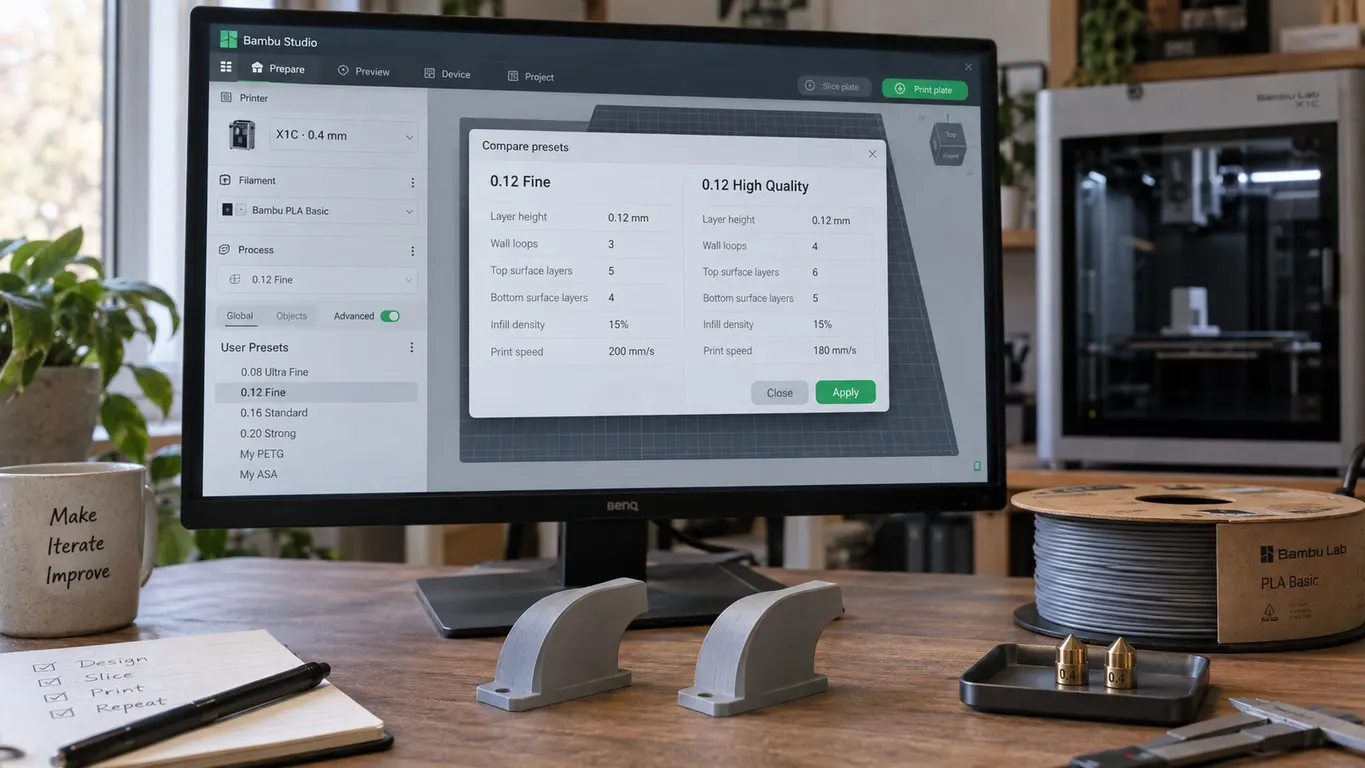
The slicer cuts the model into horizontal layers, draws the path the nozzle follows on each layer, and turns that into the command list the printer reads (G-code). Which one you use depends on your printer; I compared them in 3D printing software.
Where to find models: Printables, MakerWorld and Thingiverse, all free. For a first print the small boat known as a "benchy" is the classic; it shows what your printer does well and badly in one part.
Settings for a first print: do not change the stock profile. 0.2 mm layers, 15-20% infill, support off. The slicer's defaults are good, and on a first print you want fewer variables.
Look at Preview after slicing. Do not skip this step. You step through the layers and check that the model looks right, that nothing is left hanging in mid-air, and that the first layer is complete. You do not want to find out three hours later what you could have seen in three seconds.
Then send the file to the printer: over the network, on an SD card, or by USB.
5. The first print
Once printing starts, watch the first layer. The fate of the print is decided there.
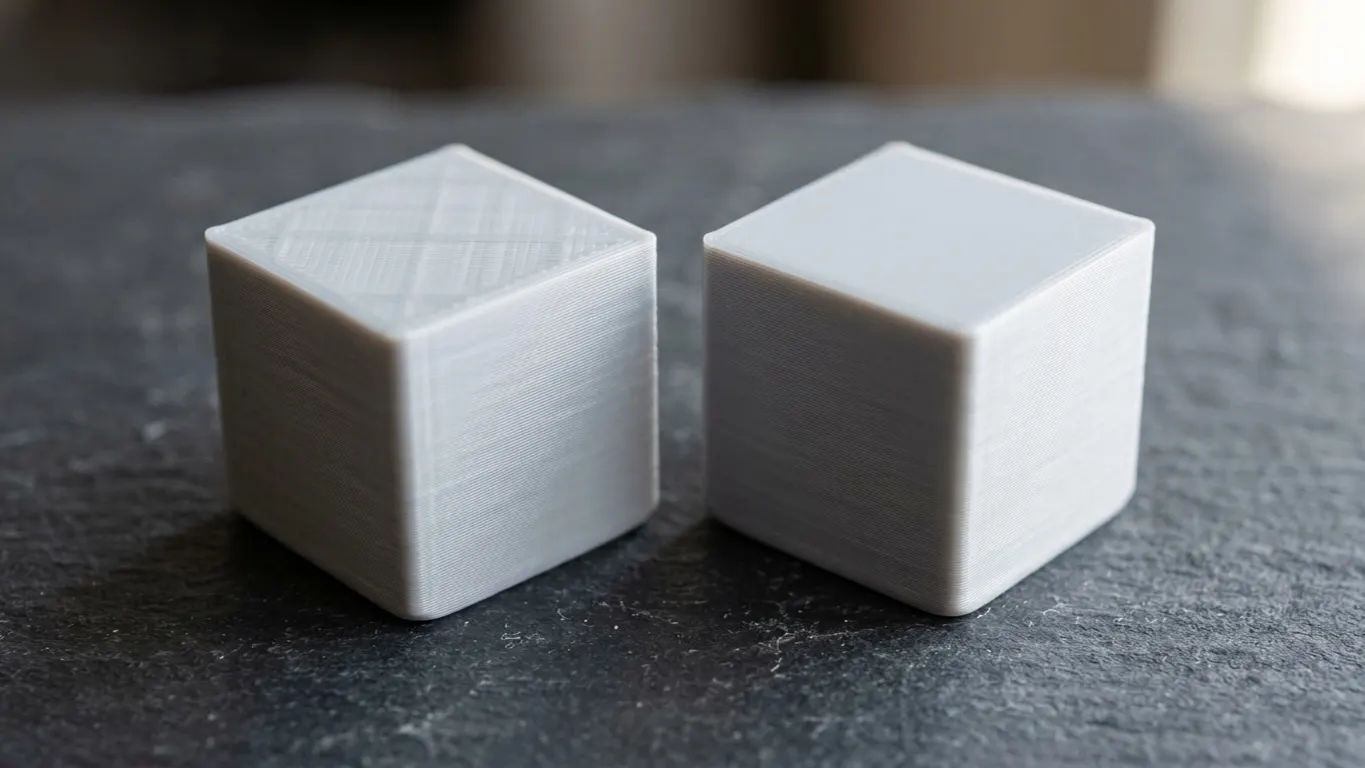
A good first layer looks like this: the lines touch with no gaps between them, the whole thing is stuck down to the bed, and the surface is an even matte.
| Symptom | Cause | What to do |
|---|---|---|
| Thin, separated lines | Nozzle too high | Lower the Z-offset |
| Nozzle dragging plastic | Nozzle too close | Raise the Z-offset |
| The part lifts | Poor adhesion | Clean the bed, add a brim |
| No plastic at all | A clog, or filament run out | Check the filament |
If the first layer is clean, the rest usually takes care of itself. If it is bad, stop the print. There is no point continuing.
When it finishes, let the bed cool. As the plate cools it releases the part on its own; forcing it off while hot damages both the part and the surface.
The five most common sticking points
Not cleaning the bed. Oil from a fingerprint ruins adhesion and the cause is invisible. Wiping with isopropyl alcohol solves most first-layer problems.
Not looking at Preview. I said it above, but it is worth saying twice, because it is the most expensive mistake on the list.
Fiddling with the stock profiles. Changing five settings at once when a problem shows up makes it impossible to tell which one helped. One setting at a time.
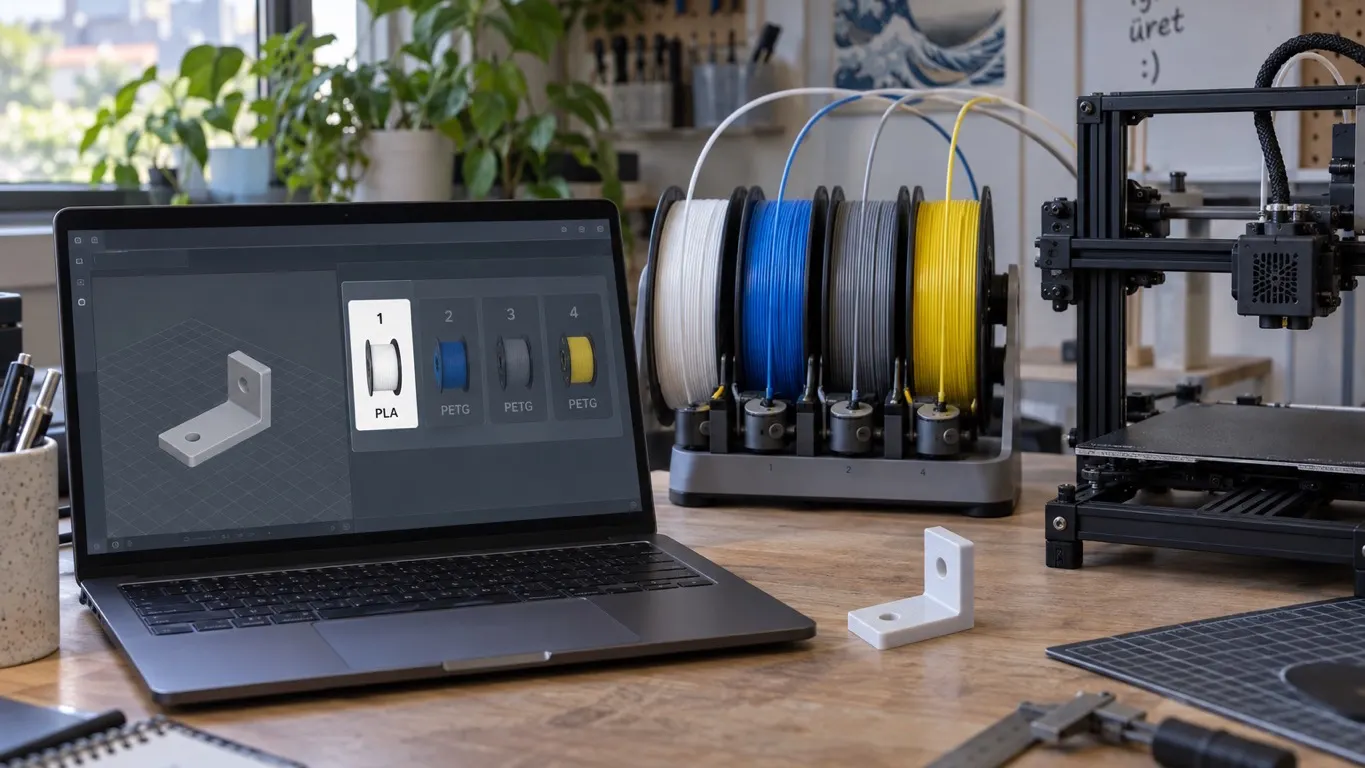
The wrong material profile. Printing PETG on a PLA profile gives you clogs and parts that will not stick. You pick the material in the slicer; loading the filament does not do it for you.
Wet filament. Filament left out in the open picks up moisture. The signs are crackling at the nozzle and a furry surface finish. With PLA it happens slowly, but with PETG and especially nylon it happens fast.
After the first week
Once the basics are settled, here is what comes next:
- Calibration. Printing a temperature tower to find your filament's temperature.
- Support. Support settings for models with overhanging surfaces.
- Orientation. Printing the same model at a different angle changes the result: rotating and scaling.
- Cost. If you are going to keep printing, it is worth knowing what a part actually costs you: 3D printing cost.
Drawing your own parts is the last thing you learn, and there is no hurry. Printing models you download is plenty for the first few months.