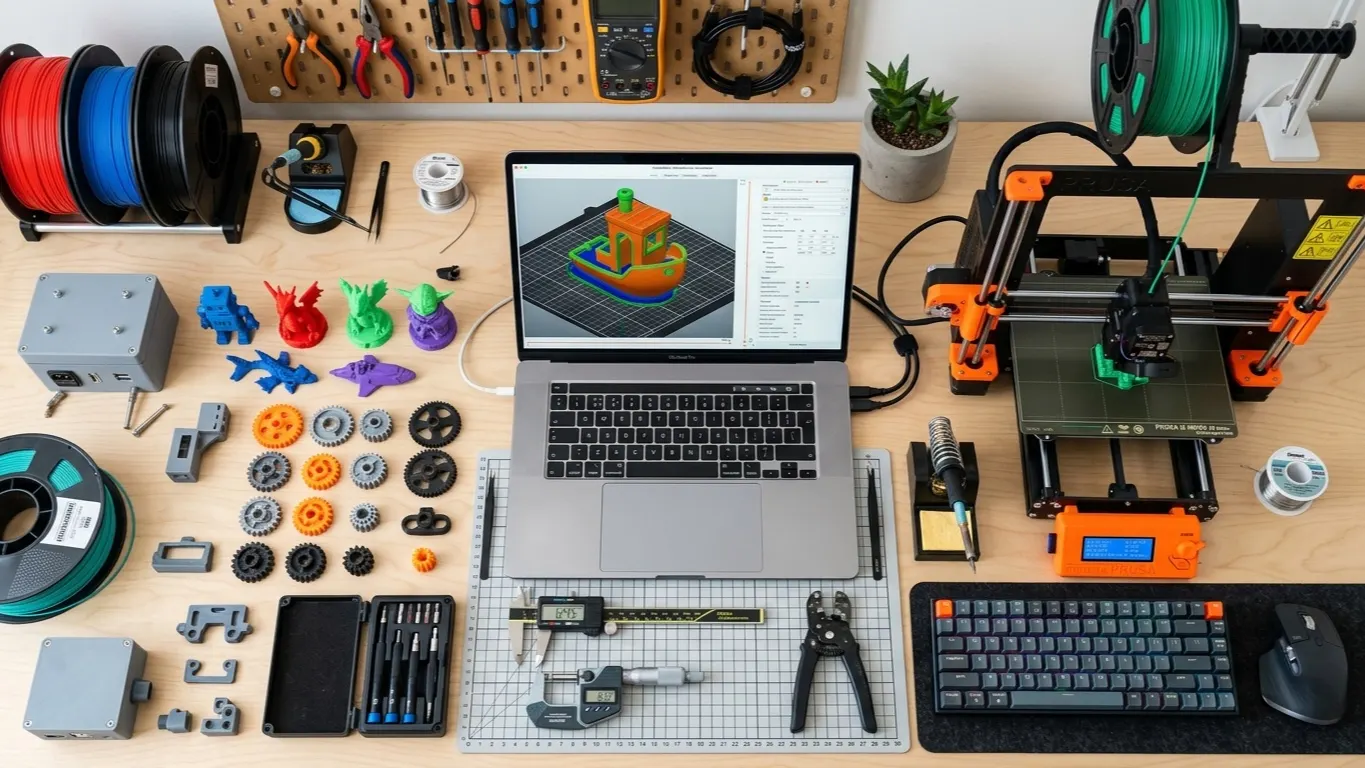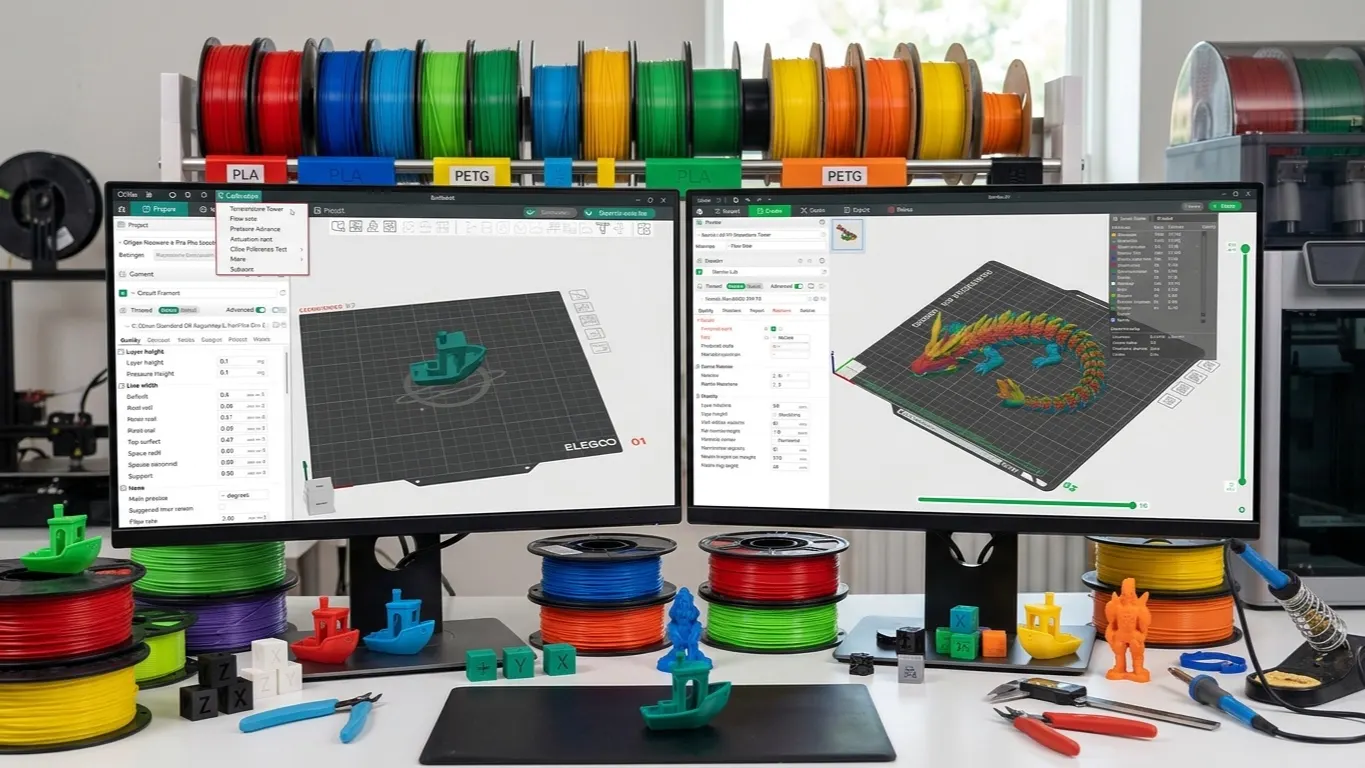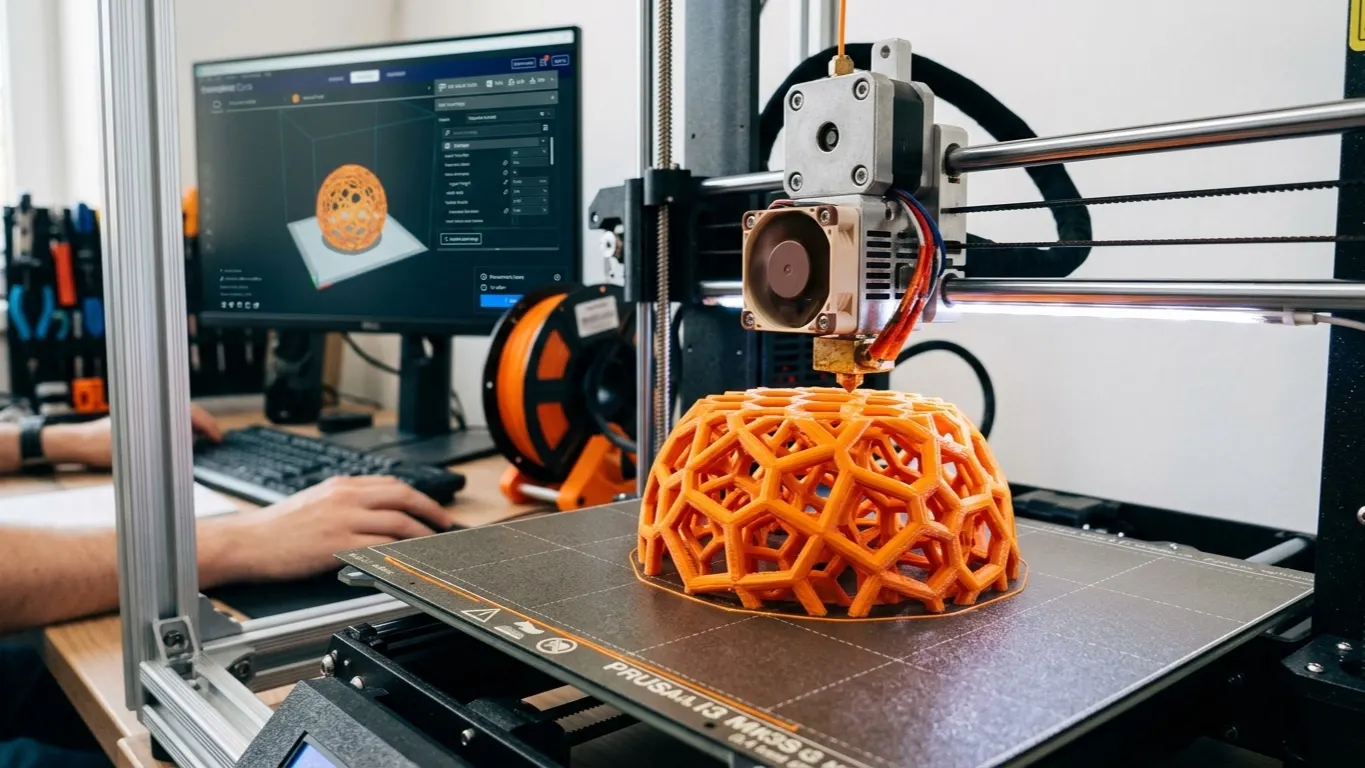
Cura is a free slicing program that turns a 3D model into commands your printer understands. UltiMaker develops it, it is open source, and it runs on Windows and macOS. You cannot print an STL file on its own; Cura turns it into a layer-by-layer route and produces the G-code file the printer reads.
Below is the install, adding your printer, the six settings that actually matter, and how a first print goes.
What slicing means
The printer does not see a model. What it sees is: "go here, at this speed, extrude this much plastic, now rise 0.2 mm." That list of commands is called G-code.
The slicer cuts the model into horizontal layers, draws the path the nozzle will follow on each layer, and turns that into commands. Cura is not the only option; I compare which program suits which situation in 3D printing software. Same model, same printer, different slicer settings, and you get a completely different result. Most of your print quality is decided right here.
If you want to look inside the file it produces, what G-code is walks through it line by line.
Installing
Download from ultimaker.com/software/ultimaker-cura. Free, and no account required; you can skip the sign-in prompt at startup.
Accept the file associations it offers during install (STL, OBJ, 3MF); after that, double-clicking a model opens it straight in Cura.
Add your printer
At first launch you are asked to pick a printer. Choose your model if it is listed, otherwise Add a non-networked printer → Custom → Custom FFF Printer.
If you are adding one manually, there are five numbers you need:
| Field | What goes in |
|---|---|
| X / Y / Z (Build plate) | Bed dimensions, mm |
| Nozzle size | Nozzle diameter, usually 0.4 mm |
| Filament diameter | 1.75 mm on most desktop printers |
| Start G-code | The printer's heating and homing commands |
| End G-code | End-of-print commands |
You do not write the start and end G-code yourself; the manufacturer publishes it, or it comes with a community profile. Get it wrong and the printer starts extruding before it is hot, or the motors are left energized at the end.
Entering the wrong nozzle diameter is the most common mistake. Put in 0.4 with a 0.6 nozzle fitted and Cura underestimates how much plastic to push, leaving gaps in the walls.
The six settings that matter
Cura has hundreds of settings. You can stay in Recommended mode at the start; the ones below appear in Custom and decide most of your print quality.
Layer Height
The thickness of each slice. For a 0.4 mm nozzle:
| Value | Result |
|---|---|
| 0.12 mm | Fine detail, long print |
| 0.20 mm | Default, right for most work |
| 0.28 mm | Fast, visible layers |
Rule of thumb: do not exceed half your nozzle diameter. Above 0.3 mm on a 0.4 nozzle you start getting adhesion problems.
Wall Line Count
How many lines make up the part's outer shell. The default is 2-3. On a part that needs strength, adding walls is more effective than adding infill: you get a stronger part and use less plastic.
Infill Density
Internal fill percentage. 10% for decorative, 20-25% for a part in use, above 40% for something carrying mechanical load.
100% infill is almost never the right answer: it multiplies print time and plastic without a matching gain in strength.
The infill pattern matters too. Gyroid gives even strength in every direction and prints quickly; Grid is the default and fine; Triangles does better under lateral load.
Printing Temperature
Use the range printed on the filament spool label. Roughly:
| Material | Nozzle | Bed |
|---|---|---|
| PLA | 200-215 °C | 55-60 °C |
| PETG | 230-245 °C | 75-85 °C |
| ABS / ASA | 240-260 °C | 95-110 °C |
Different brands of the same material behave differently. The way to find your own temperature is to print a temperature tower, a test that tries several temperatures in a single part.
Support
Temporary scaffolding for surfaces printing in mid-air. Support Overhang Angle defaults to 45°: anything leaning more than 45 degrees from vertical gets support.
Support is not always needed. Rotating the part to cut down the overhang usually beats adding support, because support leaves marks where you break it off. I go into why overhangs come out badly, and how to fix them without support, in the overhang article.
Build Plate Adhesion
Skirt draws a few loops around the part and primes the nozzle; it does nothing for adhesion. Brim adds a collar at the base, which stops small-footprint parts from lifting. Raft prints a full platform underneath: rarely needed, it wastes plastic and spoils the bottom surface.
A first print
- Drag the model into Cura.
- Position it on the bed. R to rotate, S to scale.
- Pick a profile top right: Standard Quality, 20% infill, support off.
- Hit Slice, bottom right.
- Switch to Preview. Step through the layers and drag the slider up and down. Do not skip this step: where the support went, whether the first layer is complete, whether anything is left hanging in mid-air, it all shows up here.
- Save to Disk and write the G-code to an SD card or USB stick.
Time and filament estimates appear at the bottom right. Enter the filament price under Preferences → Materials and you get a cost figure too.
Three common mistakes
Printing without looking at Preview. If the slicer has done something strange, you catch it in three seconds instead of three hours.
Disliking the profile and fiddling with every setting. Cura's defaults are good. When something goes wrong, change one setting at a time, look at the result, then move on to the next. Change five at once and you will never know which one worked.
The wrong material profile. Printing PETG on a PLA profile gives you clogs, stringing and parts that will not stick. You pick the material from the filament box, top right.