Bambu Studio has three ways to add support, and people get stuck because it is not obvious which one applies when. If you have not got the basic workflow down yet, start with the first-print guide. The common complaint: you paint the model red with support painting, slice, and no support appears.
The usual reason: painting alone does not generate support. It only marks where support is allowed.
One defect that gets blamed on support but has nothing to do with it: the infill pattern showing on the top surface. The slicer still applies its own angle threshold, and it puts no support under a face below that threshold.
The three methods
| Method | What it does | When |
|---|---|---|
| Automatic | Places support everywhere past the angle threshold | Most work |
| Support painting | Marks specific faces | When automatic overdoes it |
| Support enforcer | Forces support inside a volume | When painting does nothing |
Automatic
You tick the Support box and leave Support/object XY distance and Threshold angle at defaults. The threshold is usually 30°: anything leaning more than 30 degrees from vertical gets support.
The problem is automatic support putting material where it is not wanted. On a complex model it fills every cavity and makes removal miserable.
Support painting
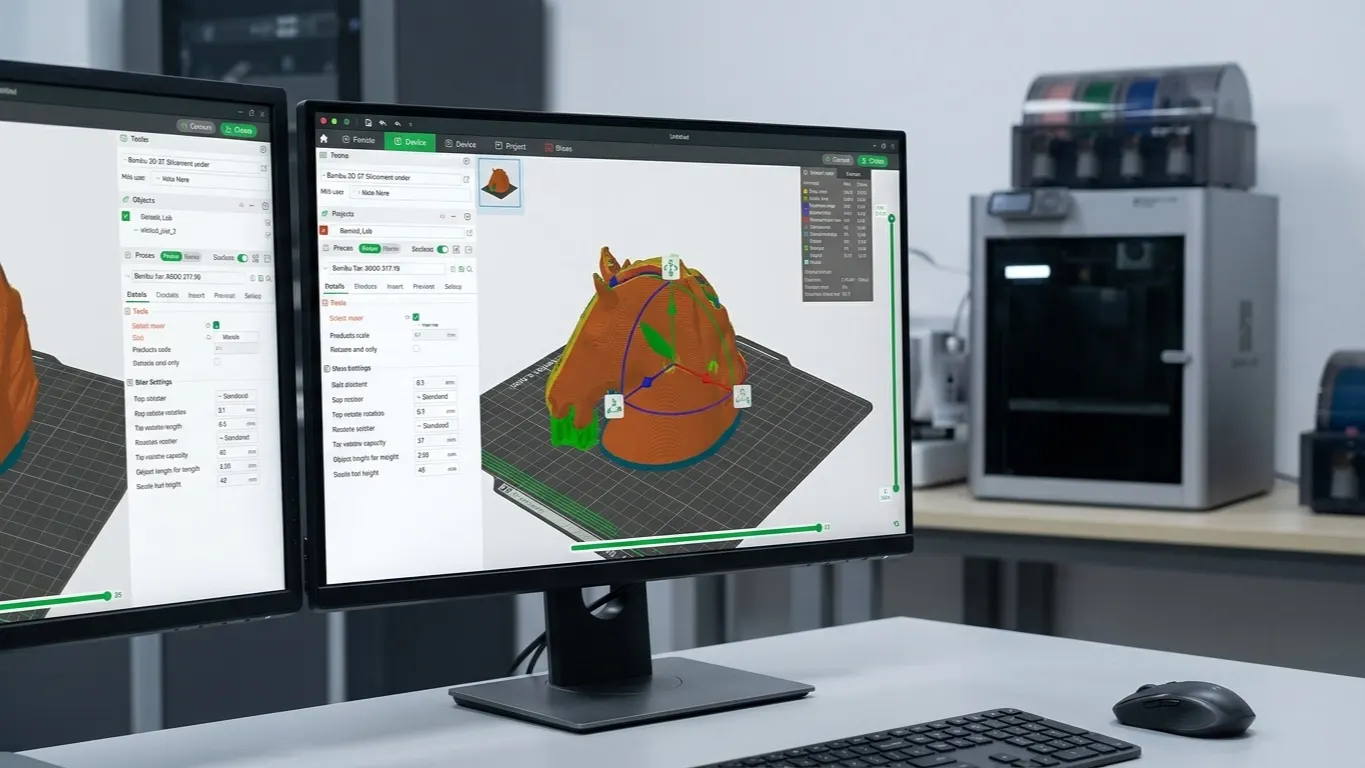
With Support painting you brush over the model. Two colors: where you want support (red) and where you do not (blue).
For it to do anything, Support must be enabled and support type set to manual or hybrid. With support switched off, painting does nothing at all. This is the most common mistake.
Support enforcer
The method for when painting is not enough. This was exactly the fix in the forum thread.
- Finish painting and exit painting mode.
- Right-click the model → Add support enforcer → Cube (or another shape).
- Move the blue cube into the cavity you want supported.
- Scale the cube slightly smaller than the cavity.
- Slice.
The enforcer forces the slicer to place support inside that volume, whatever the angle threshold says. If the cube is larger than the cavity the support spills outside, so you start small and grow it if needed.
The opposite exists too: Add support blocker keeps support out of a volume.
Settings
| Setting | What it is for |
|---|---|
| Support type | Normal (vertical) or Tree |
| Threshold angle | Overhangs shallower than this get no support |
| Top Z distance | Gap between support and part: removal ease |
| Base pattern | The support infill pattern |
| Support/object XY distance | Side clearance |
Top Z distance makes the biggest difference. Near zero and the support welds to the part and will not come off; too large and the support does nothing and the surface droops. Around 0.2 mm is right in most cases.
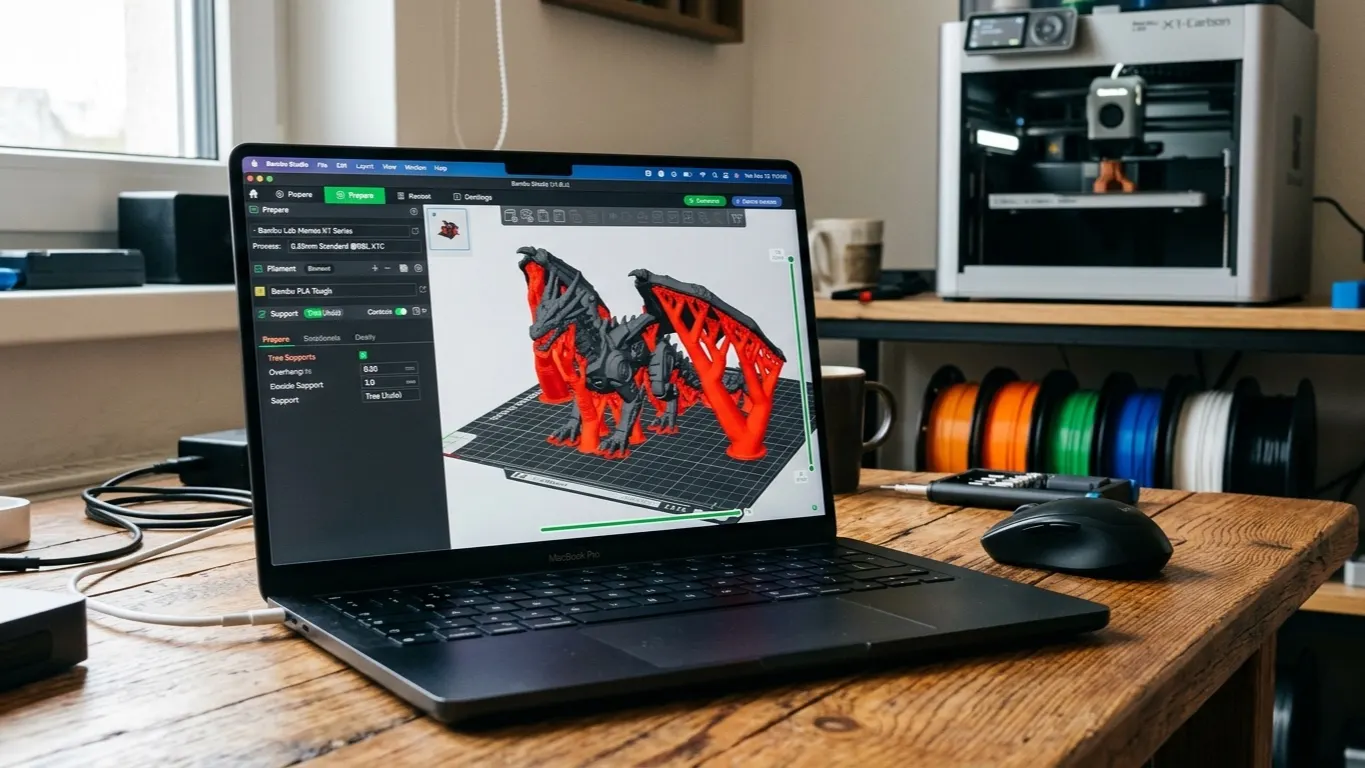
Tree support works with fewer contact points on organic models and removes more easily. Under wide flat surfaces, normal support is more reliable.
Avoiding support altogether
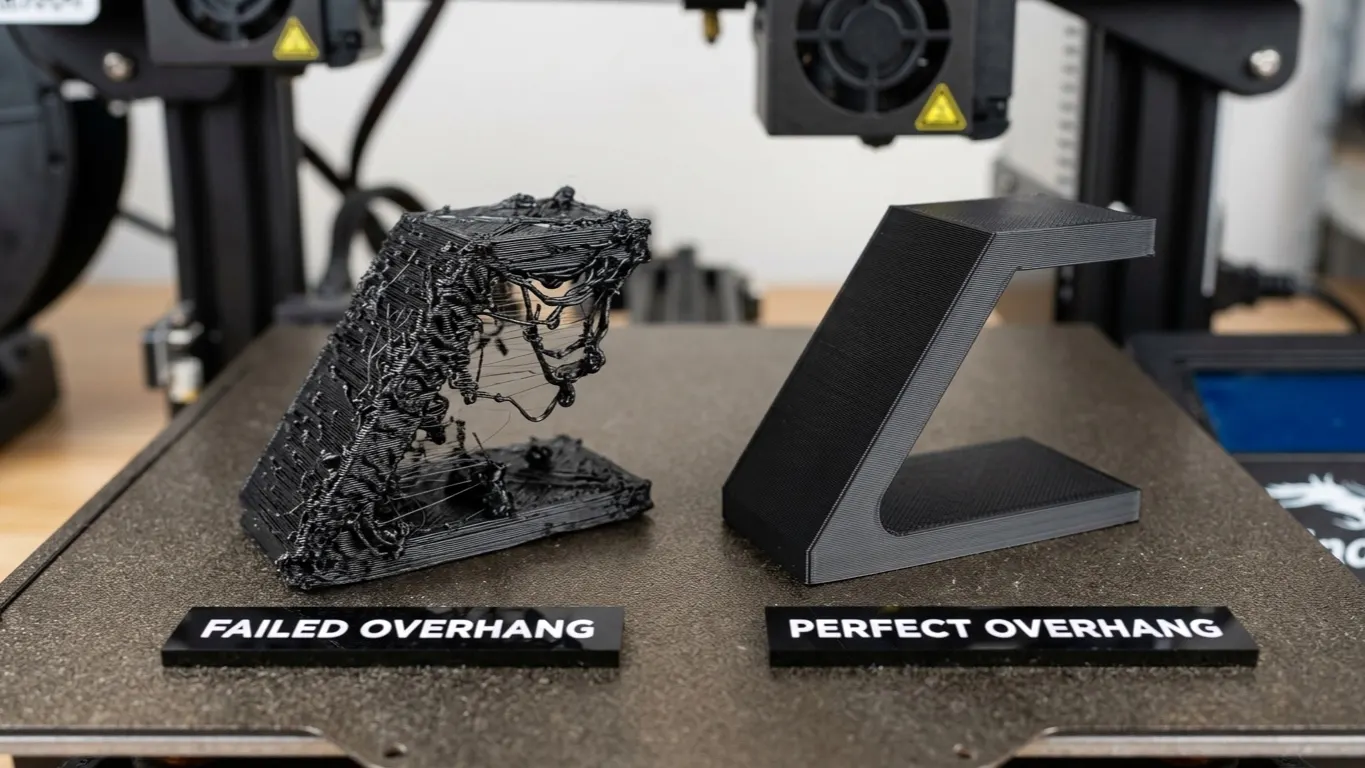
The best support is the one you never place, since it marks the surface wherever you pull it off. Ways to fix an overhang without support are in the overhang article.
- Rotate the part. Most models will print unsupported at some orientation, so try a few in Preview. The rotation tools are in rotating, scaling and mirroring.
- Split the model. Printing two pieces and gluing them beats printing one piece with support.
- The 45° rule. Overhangs up to 45 degrees from vertical print unsupported. If the design is yours, do not exceed it.
- Bridges print unsupported. A horizontal gap anchored at both ends needs no support unless the span is long.
If you came here to switch support on because the slicer threw a floating regions warning, check the cause first. Of the two causes behind the floating regions warning, one is fixed in the model rather than with support.