Bambu Studio fills small screw holes with support largely because its stock presets support every bridge, however short, and the flat ceiling of a hole that opens downward counts as one. Holes running sideways through a wall are a different case, because the top of the circle is an overhang. Both can be printed clean, but the fix depends on which way the hole points.
Quick fixes
- Tree supports inside a downward-facing hole: raise Max bridge length (Support tab, Advanced group) clearly past the hole diameter. Bambu's presets set it to 0, which supports every bridge. Normal supports use the Don't support bridges checkbox instead.
- Still getting support: close the hole's mouth with a one-layer cylinder added to the model, then let the screw punch through it or drill it out.
- A hole through a side wall: orient the part so the hole stands vertical, or cut the hole with the TearDrop or Double Tear Romboid Cylinder negative part.
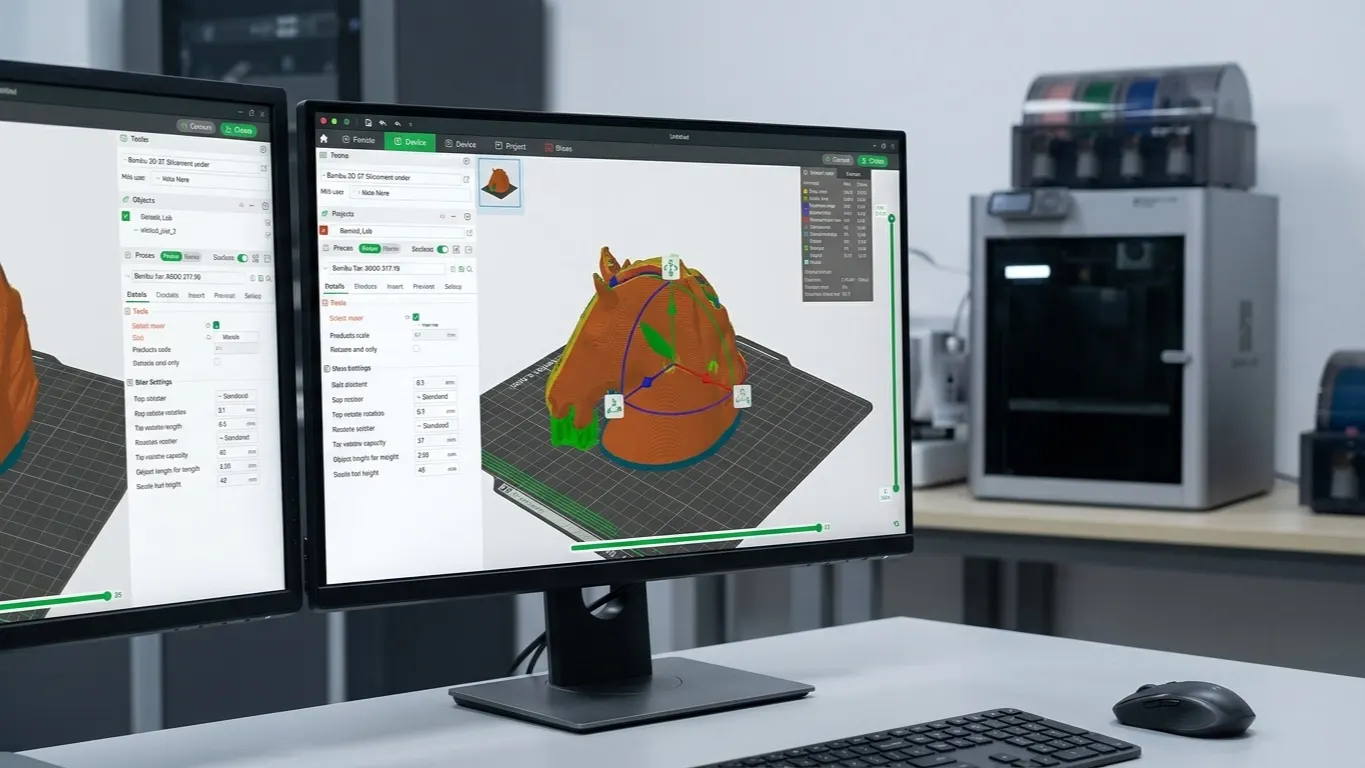
- Either way: slice and check the hole in Preview, where support has its own color.
Holes through a side wall
A horizontal hole gets support because the upper part of its circle flattens out. Near the top, the surface tilts below the Threshold angle, 30° in Bambu's 0.20 mm presets (25° at 0.16 mm, 20° at 0.12 mm), and per its tooltip, overhangs whose slope angle is below the threshold get support. Support under threads and sideways screw holes has been seen to vanish with the angle at 29 instead of 30. That is one observation, it depends on how the hole is oriented, and the setting applies to the whole part. It cannot help the flat ceiling of a downward-facing hole: a flat face has a slope of 0°, below any threshold.
Turning the part is the fix that costs nothing. Stand the hole upright and there is no ceiling left to hold up, only a straight wall. Hubs' FDM design guide makes the same point: support in horizontal-axis holes is often hard to remove, and rotating the build direction 90° does away with it. The rotate tool is covered in rotating and scaling models.
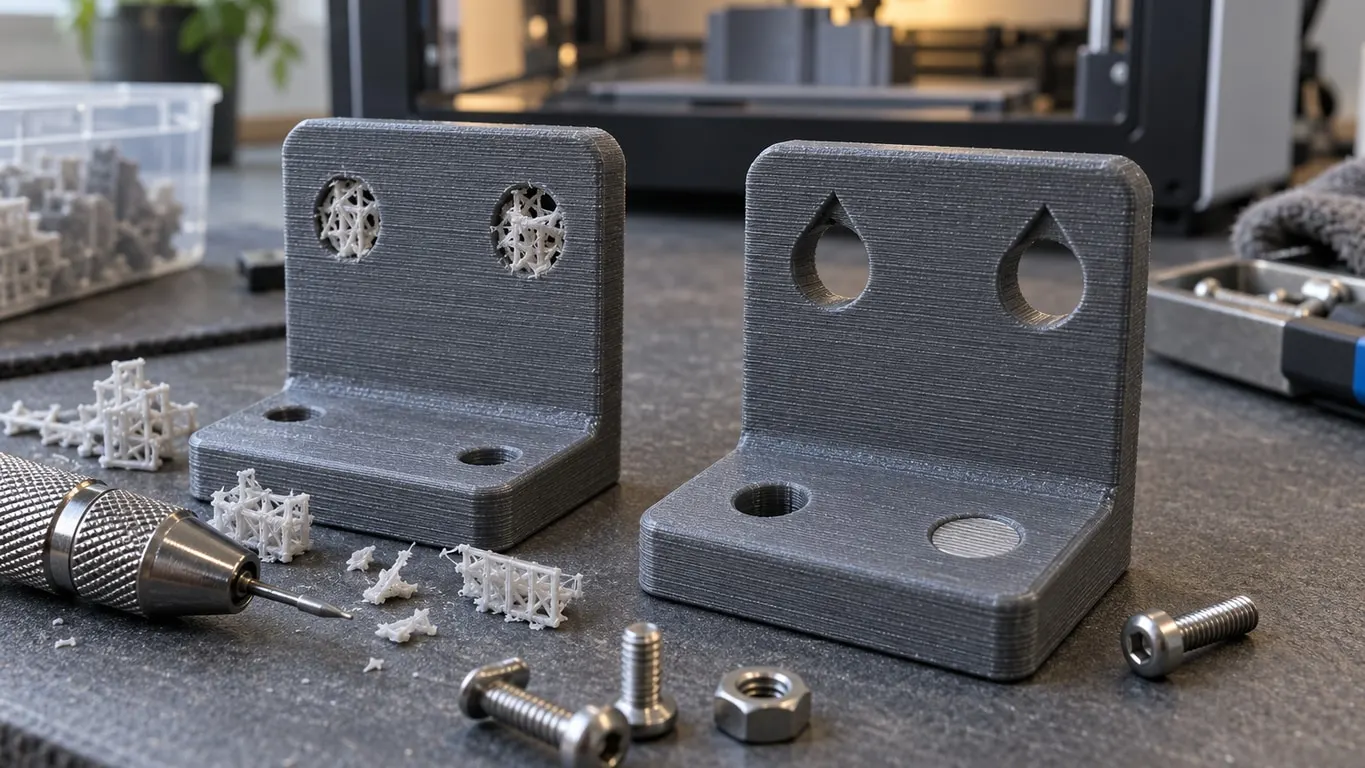
If the hole has to stay sideways, change its profile instead. A teardrop swaps the flat-topped arc for two faces meeting at a point, each at 45°, the overhang the same guide says most materials print without losing quality. Bambu Studio 2.8.2 (August 2026) has two such shapes ready under Add negative part:
| Shape | Profile | How it arrives |
|---|---|---|
| TearDrop | Circle with one point | Axis along Y, point aimed diagonally up; rotate 45° around Y to point it straight up |
| Double Tear Romboid Cylinder | Pointed top and bottom; 6 mm circle, 8.49 mm tip to tip | Axis along X, points up and down |
Positioning and sizing works like any other negative part, as shown in making a hole in Bambu Studio.
Holes that open downward
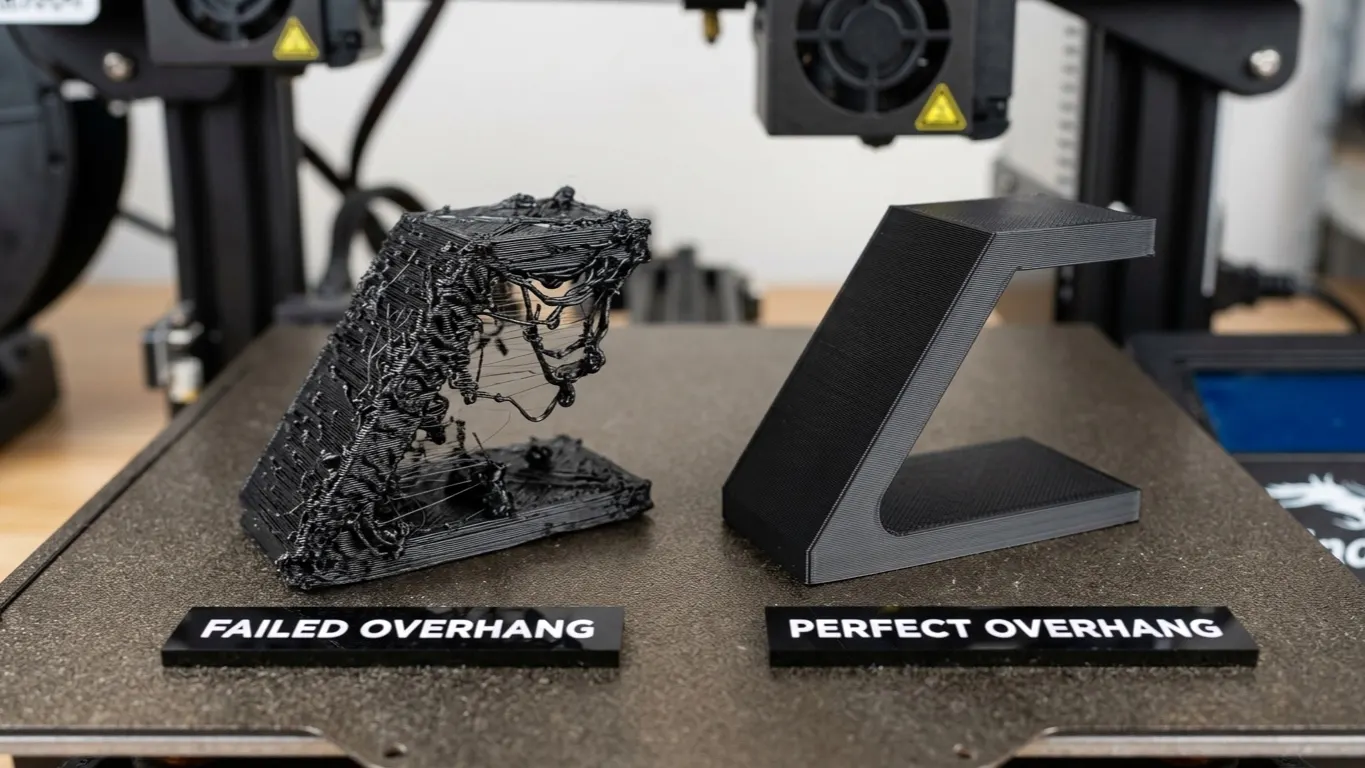
A blind screw hole under a supported ceiling is where support gets stuck worst. The hole's top is flat and floating, the slicer treats it as part of the surface it is supporting, and a narrow column rises inside the hole, wedges against the walls and chews up the threads on the way out. Hubs' guide says bridges up to 5 mm sag very little, so a printer can usually span that ceiling on its own. Bambu Studio just isn't told to let it.
Bambu's presets ship Max bridge length at 0, so tree supports fill in under every bridge; normal supports use the Don't support bridges checkbox instead. The hole-specific part is picking the number. Bridge surfaces shorter than the value in both directions drop out of the support area, and the bridge surface can spill slightly past the hole's edge, so set it clearly larger than the hole diameter and confirm in Preview that the hole is empty. The value is object-wide, so other bridges on the part that fall under the new limit lose support too. On a sideways hole it may not clear everything, since the curved sides of that ceiling count as overhangs, not bridges.
Tree supports are worth a try, with limits. Each branch starts at Branch diameter, 2 mm in Bambu's presets (Support tab, Tree Support group), and thickens toward the bed at Branch diameter angle, 5°. A narrow hole can leave a branch no room to grow, but a 2 mm tip can still fit inside an M3 hole, and no setting rules that out. When a tree does get in, it can be just as stubborn to remove.
A support blocker also works here if it encloses the ceiling of the hole rather than the space below it. Why that matters, and the part-wide cost of raising Support/object xy distance, are covered in stopping unwanted supports.
Plugging the hole with a one-layer skin
There is no setting in Bambu Studio that skins over a plain hole, so the surest fix, a sacrificial layer, is something you model yourself. Right-click the model, choose Add part and then Cylinder, size it slightly wider than the hole and one layer thick (0.2 mm on a 0.20 mm profile), and line its bottom up with the hole's mouth. With the underside now one continuous surface, support holds up the plug and never reaches the hole. Afterward the screw pushes through the skin, or a small drill opens it. Printers with an AMS can assign the plug to a different filament from the part (PLA on a PETG print, say) so it pops off; that is a suggestion, not a documented result.
One catch: the plug turns the space above it into a sealed pocket, and the slicer can still drop a support column onto the hole's real ceiling inside it. Check Preview, and if a column shows up, fill the hole's interior with a support blocker.
The one built-in version is for counterbores, where a wide recess facing down narrows into the screw hole. Bridge counterbore holes, in the Advanced group of the Quality tab, offers None (the default), Partially bridged and Sacrificial layer; the tooltip describes the last as a full sacrificial bridge layer. It builds the bridge over that step. Per the 2.8.1 release notes, support that kept appearing in the sacrificial-layer area was a bug, caused by Max bridge length not taking effect, and was fixed in that release. On an older version, or if support still shows up inside the counterbore, fall back on the fixes above.
Ragged slopes on hex holes and nut traps
Curled, lifted lines on the upper slanted faces of a horizontal hex hole are a quality problem, not a support one, and one likely cause is the seam. With PETG, an outer wall that starts on an overhanging corner doesn't grab right away; the line drags until it sticks. If the defect follows the same corner after the model is rotated 90°, that points to the geometry rather than one axis of the printer. Speed plays a part too: on a P1S printing PETG, cutting outer wall speed to 150 mm/s and its acceleration to 4000, with the seam set to Back, reduced the defect.
The controls live in the Seam group of the Quality tab:
| Setting | Options | Default |
|---|---|---|
| Seam position | Nearest, Aligned, Back, Random | Aligned |
| Seam placement away from overhangs(experimental) | Checkbox, shown only with Aligned or Back | Off |
To pull the seam off the slope, set Seam position to Back or Random, or paint the seam onto the flat stretch of wall between two holes with the Seam painting tool (left mouse button Enforce seam, right button Block seam). Turn on the Seams row in Preview to confirm where each loop now starts; the G-code viewer guide shows where that row lives. If the curls survive the seam move, check that the filament is dry and pressure advance is calibrated.