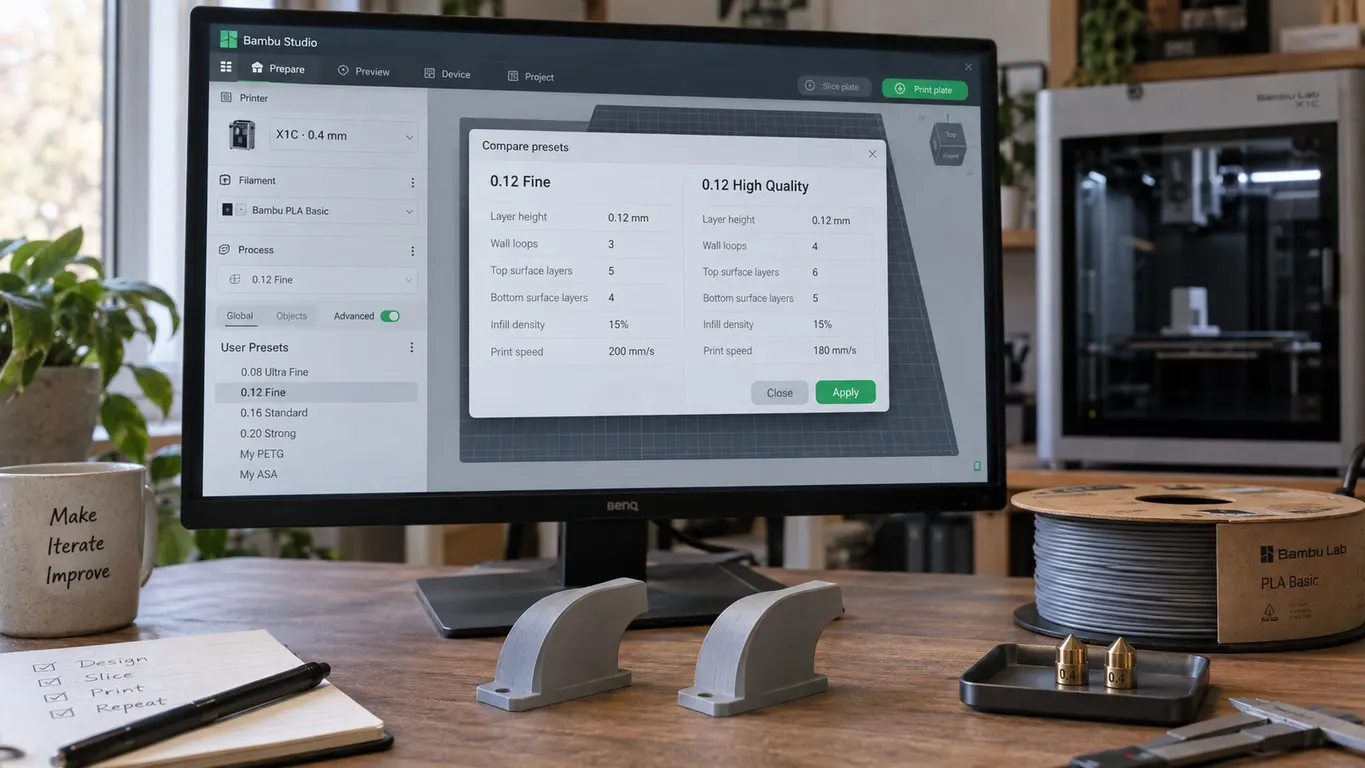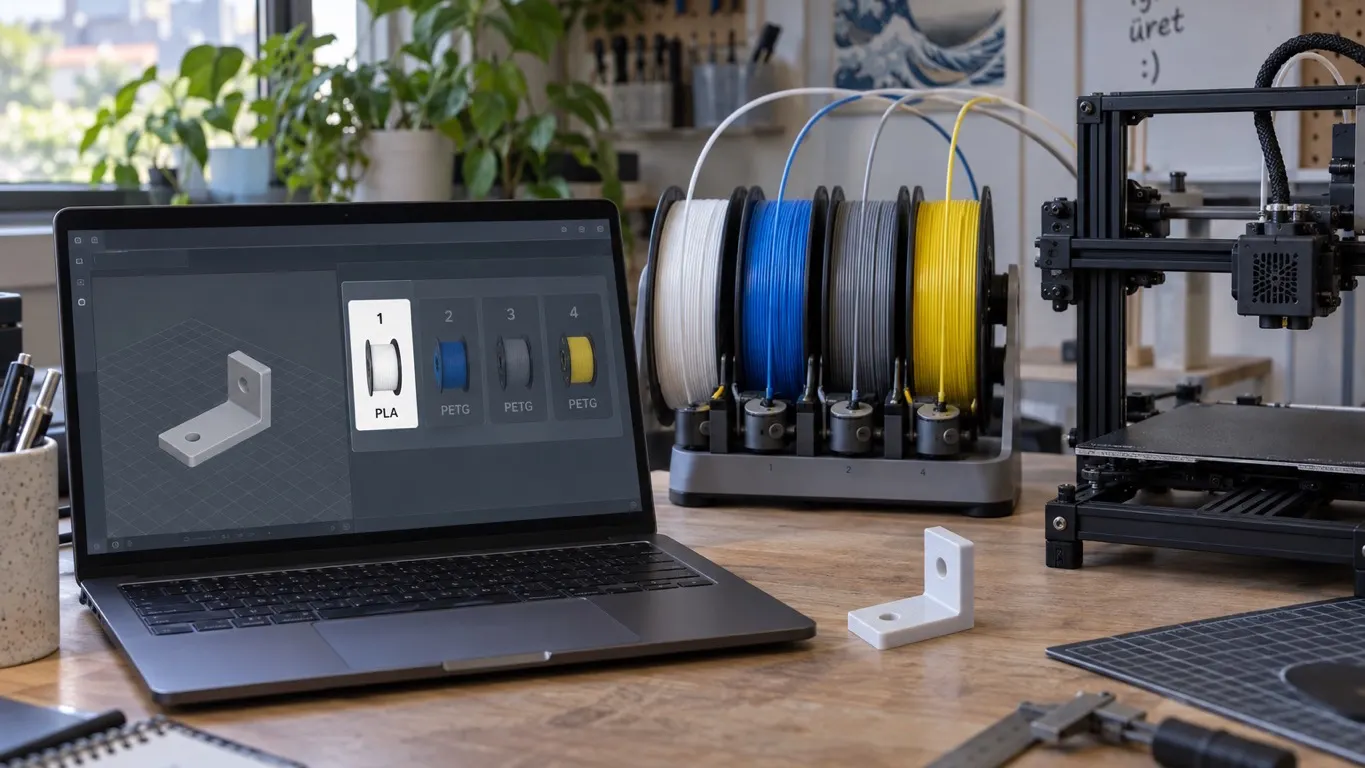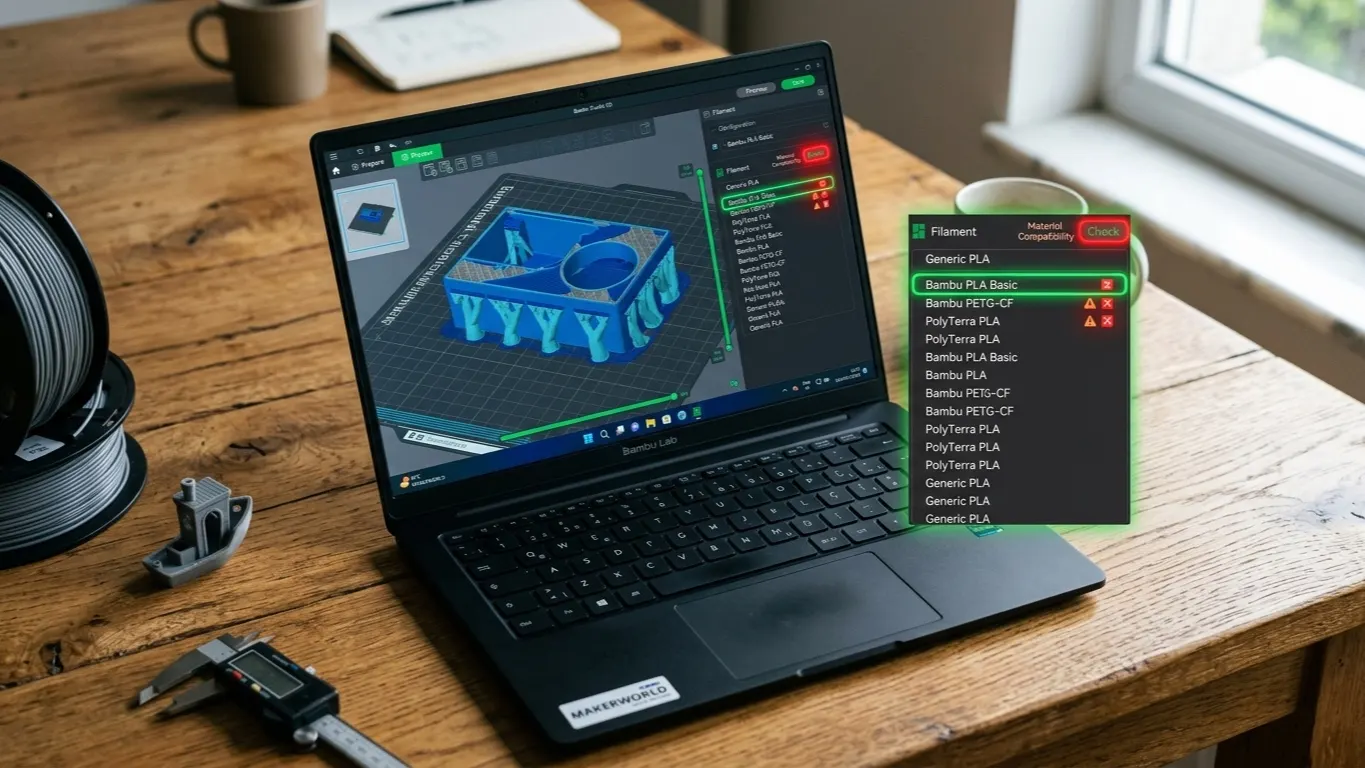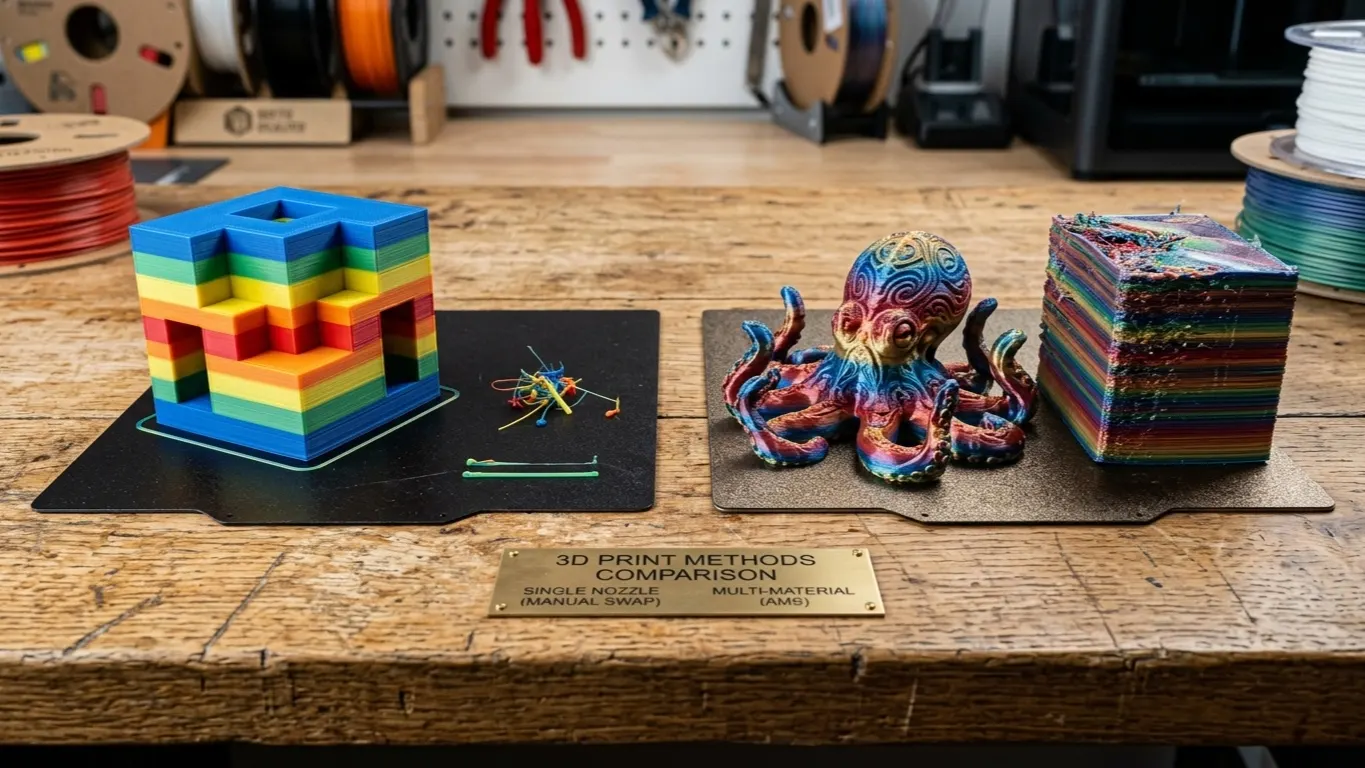
To print in several colors on a single-extruder printer, you stop at chosen layers and swap the filament by hand. In Bambu Studio this is set up with the + button beside the layer slider in the Preview tab.
The method works for horizontal color bands: one color for the base, another for the body, a third on top. It will not give you two colors inside the same layer, though. That needs an AMS or a multi-extruder printer.
Setting it up
- Slice the model and switch to Preview.
- Move the layer slider on the right to the layer where the color should change.
- Click the + button beside the slider.
- Choose Add filament change.
- Repeat for as many changes as you want.
- Send the print.
At that layer the printer stops, retracts and waits for new filament. If you want to embed a part rather than change filament, use the pause method. Pull the old filament out, feed the new one in, purge until the old color is gone, then press Resume.
If the add options in the slider menu come up greyed out, the cause is most often the Print sequence setting. The detail is in the greyed-out Add Pause option article.
Which layer
To find the right height, drag the slider in Preview: the model builds up layer by layer and you can see where you are.
The slider shows both the layer number and the Z height. If you want the change at a specific height, 10 mm say, go by Z.
Pick the layer one early. The change happens at the start of the layer you choose, so that layer prints in the new color. Confirm in Preview exactly where the boundary lands.
How much filament it saves against an AMS
With an AMS the printer changes color itself, but that costs something: it has to clear the old color out of the nozzle, and it dumps the waste into a purge tower printed beside the model.
| Manual change | Automatic with AMS | |
|---|---|---|
| Human intervention | At every change | None |
| Purge tower | None | Yes |
| Filament spent | Little (manual purge) | Noticeably more |
| Several colors in one layer | No | Yes |
For a few horizontal bands, swapping by hand uses noticeably less filament. That was the conclusion of the forum thread. On a model that changes color every ten layers, the filament an AMS spends on the tower can exceed the part itself.
The trade is that you have to be at the printer for every change, which rules out an overnight print.
The AMS side has a friction of its own: even with the slots loaded, if the slice is tied to a single material, three of them come up greyed out in the print window. The cause and the fix are in the greyed-out AMS slot article.
Keeping the color change clean
After a swap, residue of the old color is still in the nozzle and the first few centimeters come out mixed.
- Purge enough. Keep extruding until the new color runs pure. Light to dark is easy; dark to light takes a long time.
- Avoid black to white. That is the hardest transition, because black pigment lingers. Order your colors light to dark.
- Make the purge useful. Some people put a small sacrificial part at the edge of the plate and purge into it.
The alternative: split the part
Sometimes splitting the model beats changing color. Print the two pieces in different colors, glue them together, and:
- The color boundary is perfect, with no mixing
- Both pieces print at once
- You do not have to stand over it
If the boundary is horizontal and flat, this is nearly always cleaner. Changing color earns its place on complicated boundaries, or on parts that cannot be split.