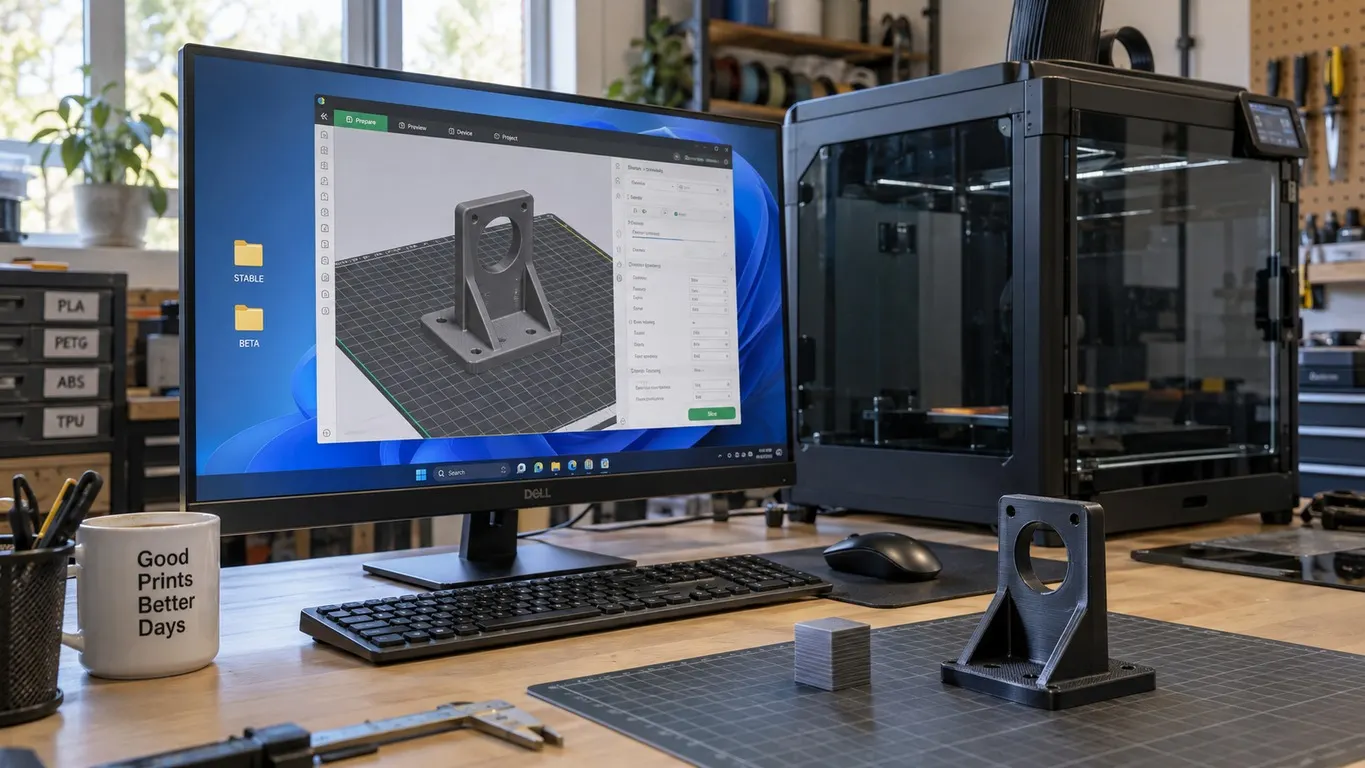
Orca Slicer's max volumetric speed (MVS) test hands you a number: the highest flow at which the filament still extrudes without breaking down. If the part has to be strong, that number is the wrong target. In the CNC Kitchen measurement quoted on the forum, the PLA test runs cleanly up to 23 mm³/s, yet layer adhesion peaks around 12 mm³/s and falls from there. The extrusion limit and the strength peak are not in the same place.
In the flow article I covered the speed ceiling: how much the hotend can melt, where the filament stops melting all the way through, and how to enter the number in the slicer. This one is about how far below that ceiling to stop when the part has to carry a load.
The test ceiling and the strength peak
The forum question comes from someone weighing up a P1S. Since the X1C and P1P share the same extruder, they went looking at tests run on those machines. The CNC Kitchen measurement they cite compares MVS against layer adhesion directly, on PLA:
| Flow | What happens |
|---|---|
| ~10 mm³/s | Surface starts turning from glossy to matte |
| 12 mm³/s | Layer adhesion at its highest |
| 20 mm³/s | Layer adhesion about 92% of the peak |
| 21 mm³/s | Factory value in the Bambu Lab PLA profile |
| 23 mm³/s | Where extrusion breaks down in Orca's MVS test |
The table says two things. First, the factory value (21) sits just under the extrusion limit (23) and nowhere near the strength peak (12). Second, Orca's test takes you straight to that limit, because what it watches is whether the wall breaks down, not how well the layers hold each other. The accepted answer agrees with every point the asker made and puts it down to a speed race: Bambu swept the market, and everyone else is trying to catch up.
An 8% loss may sound small, but that is the figure for one PLA; in the accepted answer's own observation the loss reaches 30% (below). It varies by filament, which is why no single universal number exists. Another user on the forum lands in the same place: there is no general rule covering every material, and the only way to be sure is to break the same material printed at different speeds. That user also questions how much the difference matters in practice, and that discussion is at the end of the article.
Silent mode says the same thing
The second measurement on the forum gets to the same conclusion by another route. It compares speed modes on Bambu PLA: normal mode's layer adhesion is about 88% of silent mode's (the 'normal mode' in the forum post is the 100% setting, Standard on the printer's screen). Since silent mode pulls every move down to 50% speed, the forum user reads this as 10.5 mm³/s against 21 mm³/s, almost the same pairing as 12 against 20 in the first test.
There is a practical conclusion in that. By the forum's measurement, printing in silent mode raises layer adhesion over Standard, and it takes no change in the slicer at all; you pick the mode on the printer's screen. What the modes do is in the speed modes article. It is a blunt tool, though, because it halves every move when what you actually want is a cap on flow. Lowering MVS in the filament profile brakes only the moves where flow would go over the cap. With the formula from the flow article, 12 mm³/s at a 0.2 mm layer and a 0.42 mm line width comes to about 143 mm/s: every move above that slows down, and anything below it is left untouched. The outer wall sits at 200 mm/s in Bambu Studio's 0.20 Standard profile for the X1C, so the outer wall is one of the moves that gets braked.
Glossy to matte: the visual clue
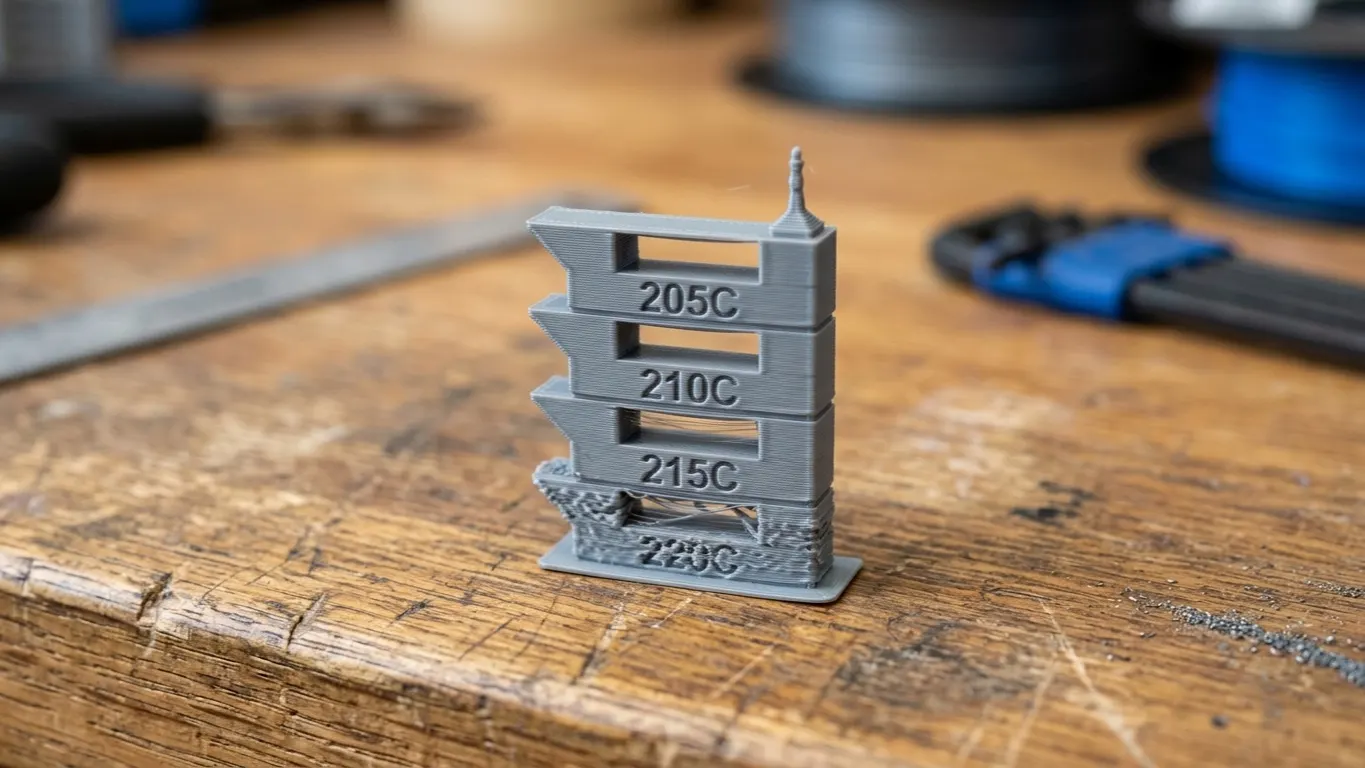
Even without a testing rig you have one indicator: the surface. In the video quoted on the forum, PLA loses its gloss and turns matte around 10 mm³/s, and that point lines up with the 12 mm³/s where strength starts to fall. The asker reads it this way: once the filament starts going matte, the hotend is no longer melting it all the way through, and that is why strength drops. But the overlap comes from a single PLA. In the same thread, another user broke 6 PETG brands at 120 and 300 mm/s, 4 samples each, on a jig of wooden levers and a peak-hold force meter. Most came out weaker at the fast speed, but not all: one filament gave the same strength at both speeds, and the spread between brands was wide. Their note on the glossy-to-matte transition is that it can be an indicator but not a reliable one, and they add that there is no point generalizing the findings. A matte surface is a starting point; how much strength a given filament loses, you cannot know without breaking it. On a temperature tower a matte surface pointed to low temperature; here the same symptom comes from flow. So do not read a matte surface on its own, ask first whether temperature or flow is behind it.
The accepted answer lays out the trap of the matte surface using its author's own filament. They have a PLA that looks great printed fast:
it is beautiful matte, but unfortunately it loses about 30% of its strength
They go on to say that printing it slowly not only brings the gloss back but also makes ringing visible, which they call a strange relationship. The choice that follows depends on the part: glossy with a little ringing for a functional part, the reverse for a display piece.
A strength test without a rig
The real question is this: for PLA the number 12 is already on the table, but what about ASA, or any other material? Every material has its own MVS, and the forum user has no testing rig. The method in the accepted answer needs no special equipment:
- Print Orca's MVS test. Mark where it turns from glossy to matte and where adhesion is lost entirely; those two marks narrow the range you have to look at, they do not hand you the answer.
- Divide the sample into 5 parts; write on each the MVS value it corresponds to in the test.
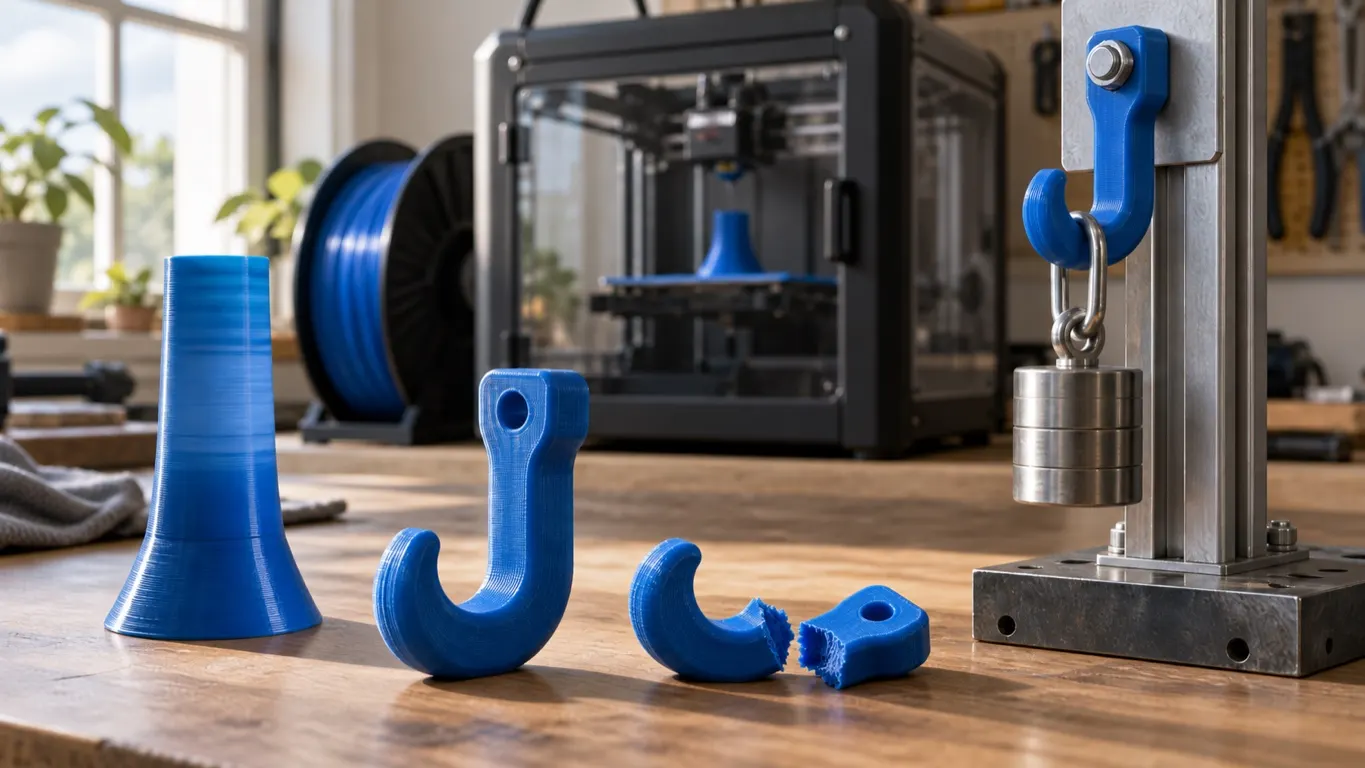
- Print the same hook at those 5 values.
- Hang weights from the hooks, or clip a luggage scale with a peak-hold (max) function onto a hook and pull until it breaks; those are the two routes suggested on the forum. For hanging, the asker suggests somewhere like the edge of a desk or a folding clothes rack, with the weight going up step by step. Write down which MVS value broke at which load, side by side, and you have the filament's limit on your own printer.
The warning in the answer matters: this is the simplest test there is. No single test piece covers every case unless you know whether the part has to resist tension, bending or compression, so pick the piece that matches the load you expect. What I wrote about reading a temperature tower holds here too: the eye misleads, you have to break it.
With a Bambu printer selected, the test does not appear in Bambu Studio's Calibration tab. Select a third-party printer, or switch on Developer Mode in the preferences, and it shows up in the top menu as Calibration → More → Max flowrate. In Orca's calibration menu it is there by default. To enter the value you settle on, open the filament profile in Bambu Studio; in the Filament tab, the Max volumetric speed field sits in the Volumetric speed limitation section.
Test every filament
The accepted answer has two more observations. The first is the lesson its author drew over two years: stick to proven filaments, but do not stop trying new ones, and run the test again on every new one you bring into production. The second is more striking: at home, a cheap PLA can beat PETG, ABS or PA-CF on mechanical properties. That is an observation rather than a measurement, but it does say that the name on the spool is no guarantee of strength.
The conclusion: run the basic tests on every material before it goes into functional production. A fast setting can look like it works, because the strength loss does not show until you break the part by hand.
Which parts it matters for
| Part | Approach |
|---|---|
| Load-bearing, functional | Pull MVS down to the strength peak; the forum's reference for PLA is 12 mm³/s |
| Load unknown, room to spare | Increase wall thickness, keep the speed |
| Visible, decorative | Keep the factory profile and the speed |
| New material, functional job | Hook test first, production after |
On a decorative part an 8% difference in strength changes nothing, and there is no point in a slower print. Printing a bracket, a hinge or a gear, the arithmetic changes: a longer print is one of the prices you can pay for a part that does not snap under load, but it is not the only route.
Another user on the forum argues the opposite way. They have yet to meet a design where a drop to 80% strength decides between failure and no failure, and the force it took to tear apart a 6 mm diameter sample printed standing up surprised them. The hooks they printed to hang the children's bikes from the ceiling were drawn a bit beefier to stay on the safe side; going by their preliminary test, the hooks would hold even if the bikes weighed 100 kg. Their conclusion: if you cannot simulate the stress inside a part, you cannot design close to the limit anyway, so ±30% will not make much difference. That leaves two routes: keep the speed and add wall thickness, or drop the speed. Where space or material is the constraint, the second one wins. The asker's own job combines them: an e-bike battery box with undefined loads (the worst case being a crash), so 5 mm walls, impact-resistant ABS and maximum-strength slicer settings, all three at once.
One more user in the thread writes that since fitting an E3D Obxidian hotend they print PLA with a 40 mm³/s flow limit and, on simple boxes, 450 mm/s outer walls, with no strength problems; they add that past a certain speed the extrusion temperature has to go up too. That is their own observation rather than a measurement, but it is a reminder that the numbers in the table are for a standard hotend.