Bolts that will not go in, pins that need a hammer, a bearing seat you have to sand: when Bambu Studio holes come out too small, X-Y hole compensation is the setting built for it. It also has a trap that catches a lot of people on the first try. Measure a hole 0.15 mm undersized, type 0.15, reprint, and the hole is now oversized by roughly the same amount; in the example below, 0.16 mm on average. The setting did exactly what it says. It just measures in a different direction than your calipers do.
Why entering the full error overshoots
Calipers read a diameter. The slicer works on edges. In the Bambu Studio source, the value you type is an offset applied to the outline of each hole on every sliced layer, so the wall moves outward by that amount all the way around. Opposite walls both move, and the diameter grows by twice the number. The Bambu wiki confirms the same doubling, and the tooltip keeps the sign simple: positive makes holes bigger, negative makes them smaller.
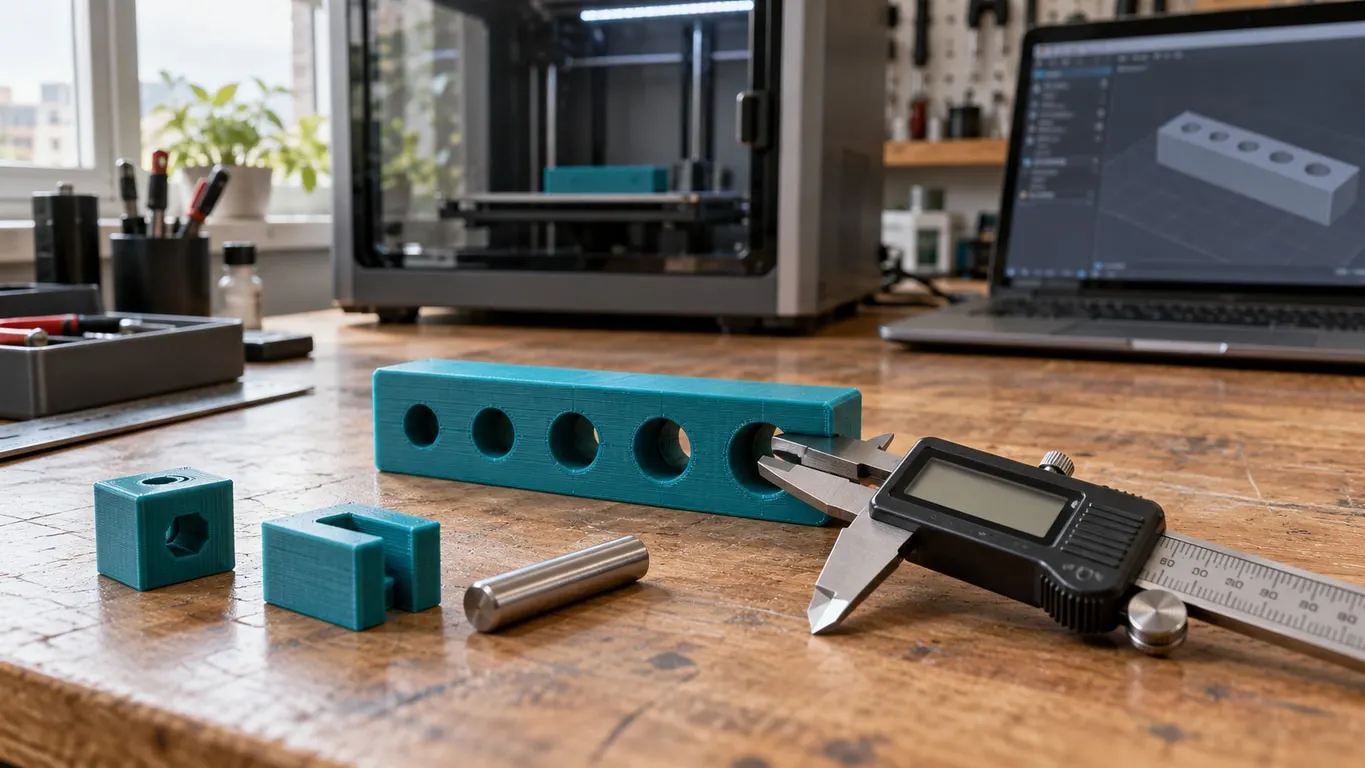
Real numbers make the doubling obvious. Take an 80 x 20 mm test plate in ASA with five holes designed at 10.0, 10.1, 10.2, 10.3 and 10.4 mm:
| Hole 1 | Hole 2 | Hole 3 | Hole 4 | Hole 5 | |
|---|---|---|---|---|---|
| Designed | 10.0 | 10.1 | 10.2 | 10.3 | 10.4 |
| First print | 9.85 | 9.96 | 10.05 | 10.16 | 10.25 |
| Reprint with 0.15 | 10.14 | 10.28 | 10.35 | 10.47 | 10.56 |
All values in millimeters. The first print averaged 0.15 mm small. With 0.15 entered, every hole grew by 0.29 to 0.32 mm and the plate landed 0.16 mm large on average. So the right entry was half the error, 0.075 mm. Treat that as arithmetic: nobody reprinted the plate at 0.075 and measured it.
Find your value
Print a test piece with several hole sizes, using the process and filament presets you will use for the real part. The wiki calls this calibration filament-specific, so a new material means a new test. Measure each hole, average the errors, and halve the result:
compensation = (designed diameter - measured diameter) / 2
Oversized holes give you a negative number, and that is fine; the code handles growing and shrinking as separate passes.
Take the reading somewhere above the bottom of the hole. Elephant foot compensation is applied to the first layer only, so the hole at the plate is not representative. Very small holes are a weak reference, too: the wiki lists holes under 1 mm as hard to tune and names the seam as one of the things that can throw off hole precision.
If the second print is close but not exact, keep what you have and add half of what is left. Say 0.075 leaves the holes 0.04 mm small; the next value is 0.095 mm. Keep the numbers small, because this field is for fine-tuning. Enter more than 2 mm in either direction and Bambu Studio warns you, suggests scaling the model, and resets the field to 0.
Two neighboring problems look similar. If outside dimensions are short by the same percentage as the holes, that is shrinkage, handled by Shrinkage in the filament preset. And if you suspect flow ratio, read flow ratio vs hole compensation before changing anything.
Holes XY compensation never touches
The most common reason the setting "does nothing" is that the slicer never saw a hole. Detection happens per layer: only a gap enclosed on all sides in that layer's cross-section counts.
A plain vertical bore is a closed ring on every layer, so it gets compensated. A slot or half circle that opens onto the edge of the part is a notch in the outline instead, and only X-Y contour compensation reaches it; dovetails and other edge fits are covered in XY contour compensation. A horizontal hole entering from a side face is never closed in any layer either. Even contour compensation cannot fix its height, because none of these XY settings act on Z. If a side hole prints oval, change its shape instead, for example to a teardrop negative part as shown in making holes in Bambu Studio.
The case that surprises people is a vertical bore with a cross hole through it. On the layers where the two meet, the bore is open to the side, so compensation skips those layers. The result is a bore at the compensated size above and below and at the uncompensated size in between, with a step at each transition. This exact report is GitHub issue #2359 from August 2023. Bambu's reply was that compensation runs on the sliced 2D section and cannot detect the hole on those layers, and that they would try to improve it. The issue is labeled as a feature request, not a bug, and it is still open. If that bore matters, put the allowance in the CAD model.
Setting it per object, and when it gets ignored
The field lives in the process preset: Quality tab, Precision group, directly above X-Y contour compensation. Both are advanced options that default to 0, so flip the Advance switch if they are missing.
To limit a value to one part on a crowded plate, right-click that object and choose Edit Process Settings; the panel switches from Global to Objects, and changes stay with that object. The option is stored per object, so a modifier or a part inside an object cannot carry its own value.
Bambu Studio drops the value without much fuss in two situations. Turning on Auto circle contour-hole compensation grays out both X-Y fields and sets them to 0. An object color-painted with more than one filament skips compensation entirely and shows a warning when you slice. Painted Fuzzy Skin also produces a warning saying compensation will not be used, but in the source the value is only zeroed for color painting, so check the hole in Preview rather than relying on that message.
Auto circle compensation and User Customized Offset
The automatic mode arrived in 2.0.0 in March 2025. The release note says it cannot be combined with the manual X-Y options. The tooltip calls it experimental, aims it at circles under 50 mm, and limits it to five Bambu filaments, PLA Basic and PETG HF among them.
Instead of one fixed number, it calculates an offset from the circle's diameter using coefficients stored in the profile of the filament printing the walls, and smaller holes get more. In 2.8.2, the PLA Basic profile for the X1, P1 and A1 series opens a 10 mm hole by about 0.15 mm per side; the H2D's PLA Basic profile, by about 0.09 mm. According to the wiki it only recognizes complete, non-overlapping circles in the horizontal plane, so half circles, ellipses and vertical circles are left alone. It also changes how those circles print: a uniform 200 mm/s, cooling at full power, and a scarf seam on their walls. The wiki adds that it is tuned for dry, official Bambu filament; damp filament prints tighter, and other brands may miss.
Since switching it on silently wipes your manual X-Y values, write them down first. Both modes can be set per object, which gives you a way to mix them: put a hex nut trap or a square hole on a separate object with manual compensation, and use the automatic mode on the object with round holes.
Fine-tuning happens in User Customized Offset, visible only while the automatic mode is on. Its tooltip, in English and in the Turkish translation alike, says positive tightens. The release note and the wiki say positive loosens, and the code agrees with them. In November 2025 Bambu acknowledged the wrong explanation in GitHub issue #8873, yet the tooltip on the master branch still has the old text. Scale is the other catch: the code halves this value before applying it to each edge, so the number you type is the diameter change, not half of it. Moving a value over from X-Y hole compensation will double your correction. The wiki suggests 0.02 mm steps.
Which control to reach for
Vertical holes undersized by a steady amount, regardless of size? That is X-Y hole compensation at half the diameter error. Holes and outer dimensions short by the same percentage point to Shrinkage. A slot open to the edge or a tight dovetail means X-Y contour compensation. Round holes and shafts under 50 mm in one of the supported Bambu filaments are what the automatic circle mode was built for, while a step inside a cross-drilled bore and an oval horizontal hole are design problems that no compensation value will solve.
Once a value works, save the process preset under a new name. The wiki recommends exactly that, a precision-fit profile you can reuse. Just remember that it belongs to the filament you calibrated with.