There are three separate ways to change print speed in Bambu Studio, and it is easy to mix up what each one does. In short: before the print, the process profile or the detailed settings. During the print, the speed mode on the printer's screen.
1. During the print: speed mode
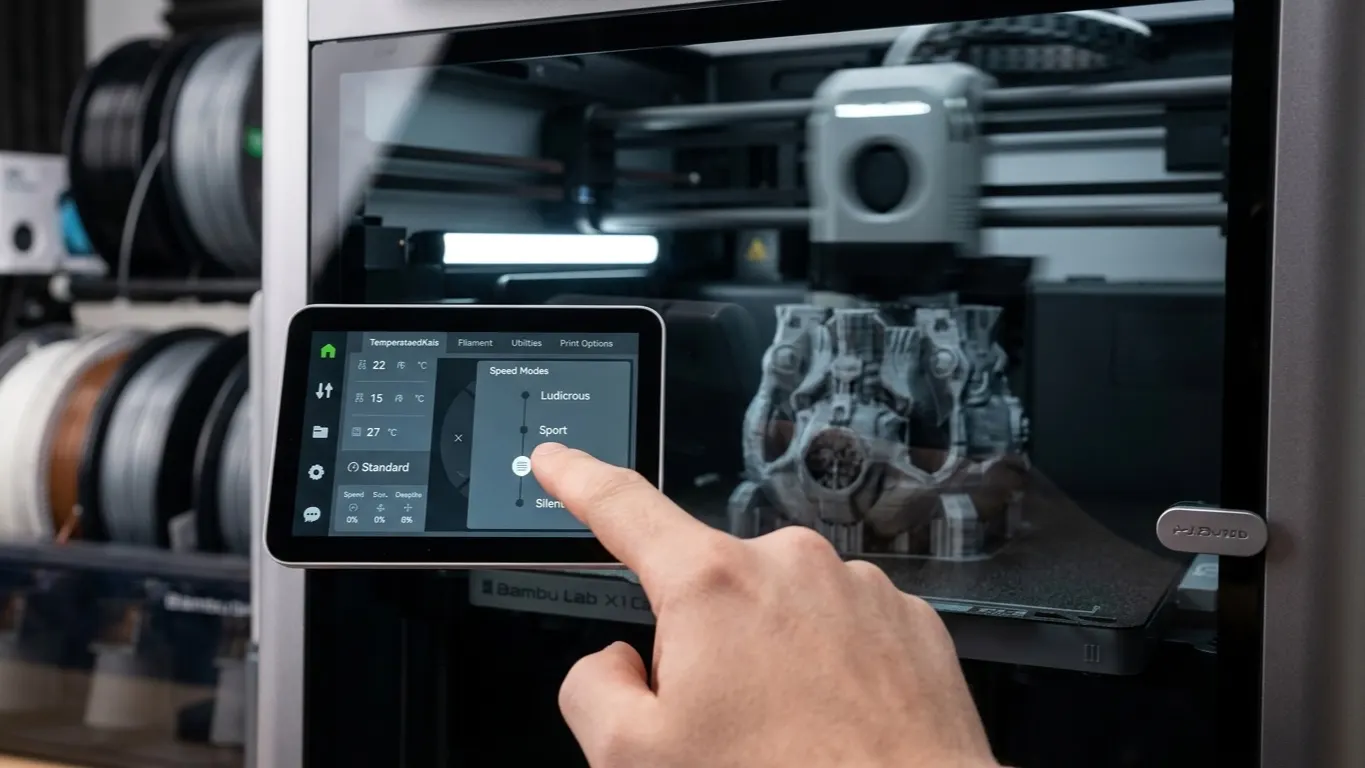
This is the only way to change speed once a print is running. Tap the speed indicator on the printer's screen or in the Bambu Handy app and pick one of four modes:
| Mode | Effect |
|---|---|
| Silent | Slowest, quietest |
| Standard | Default |
| Sport | Fast |
| Ludicrous | Fastest, quality drops |
These modes scale the speeds in the sliced G-code by a multiplier, so you do not have to re-slice and the change takes effect immediately.
When it is useful: the print has started, the first layers are noisy or shaky, and you drop to Silent. Or a long print is running, you are in a hurry, and you go up to Sport.
Ludicrous has a cost. Ringing at corners, a risk of layer shifting, and more noise. That may be fine on a functional part, but it shows on anything with a visible surface.
Silent has one more thing going for it. According to a measurement shared on the Bambu Lab forum, its layer adhesion comes out higher than Standard's. The details are in volumetric speed and part strength.
2. Before the print: choosing a profile
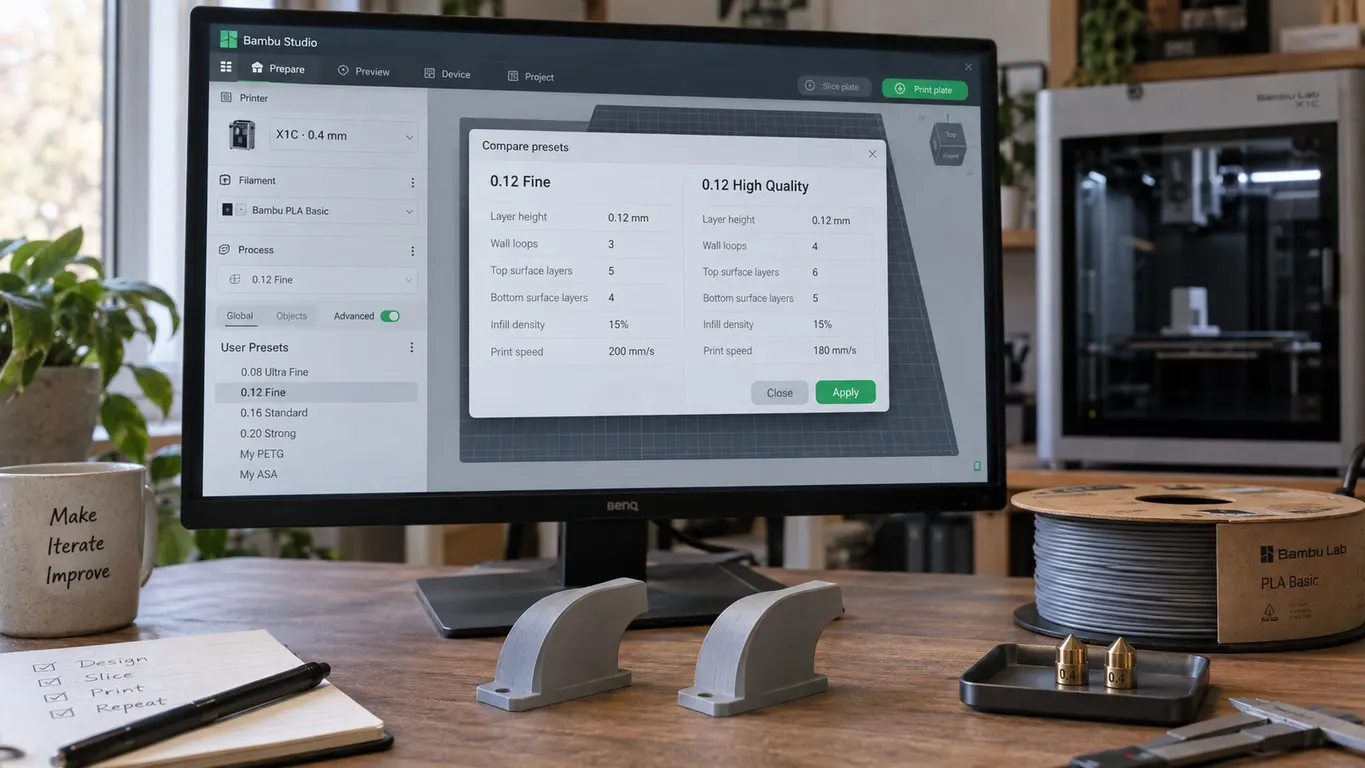
The process profile in the right panel sets the speed as well. The names talk about quality, but speed is what sits behind them:
| Profile | Layer | Speed |
|---|---|---|
| 0.08 Extra Fine | 0.08 mm | Slow |
| 0.12 Fine | 0.12 mm | Slowish |
| 0.20 Standard | 0.20 mm | Default |
| 0.28 Draft | 0.28 mm | Fast |
Changing the profile changes layer height as well as speed, and layer height is what really moves print time. Going from 0.20 to 0.28 shortens the job noticeably because there are fewer layers to print. Where ready-made profiles come from and how to pick one is in MakerWorld print profiles.
3. Detailed speed settings
In the Prepare tab, open the process settings and look under Speed. Every type of move has its own setting there:
| Setting | For what |
|---|---|
| Initial layer speed | First layer: kept low for adhesion |
| Outer wall | The visible surface: quality shows here |
| Inner wall | Internal walls: can be fast |
| Sparse infill | Infill: the fastest part to print |
| Travel | Non-printing moves: no effect on quality, can be high |
Raising everything at once is the wrong approach. Keeping the outer wall slow and the infill fast shortens the job and protects the visible surface at the same time.
Leave the first-layer speed alone. The default is low for a reason. If the first layer does not stick, everything after it is wasted.
Raising speed does not always shorten the print
Making the number bigger does not mean the printer will print at that speed. The real limit is how much plastic the hotend can melt, and once you are up against it the speed setting changes nothing. I worked the numbers in the flow article.
What actually shortens a print, in order:
- Increasing layer height
- Going up in nozzle diameter
- Reducing infill
- Filling the plate and printing many parts at once
- Raising the speed number
The last one is at the bottom because it does the least.