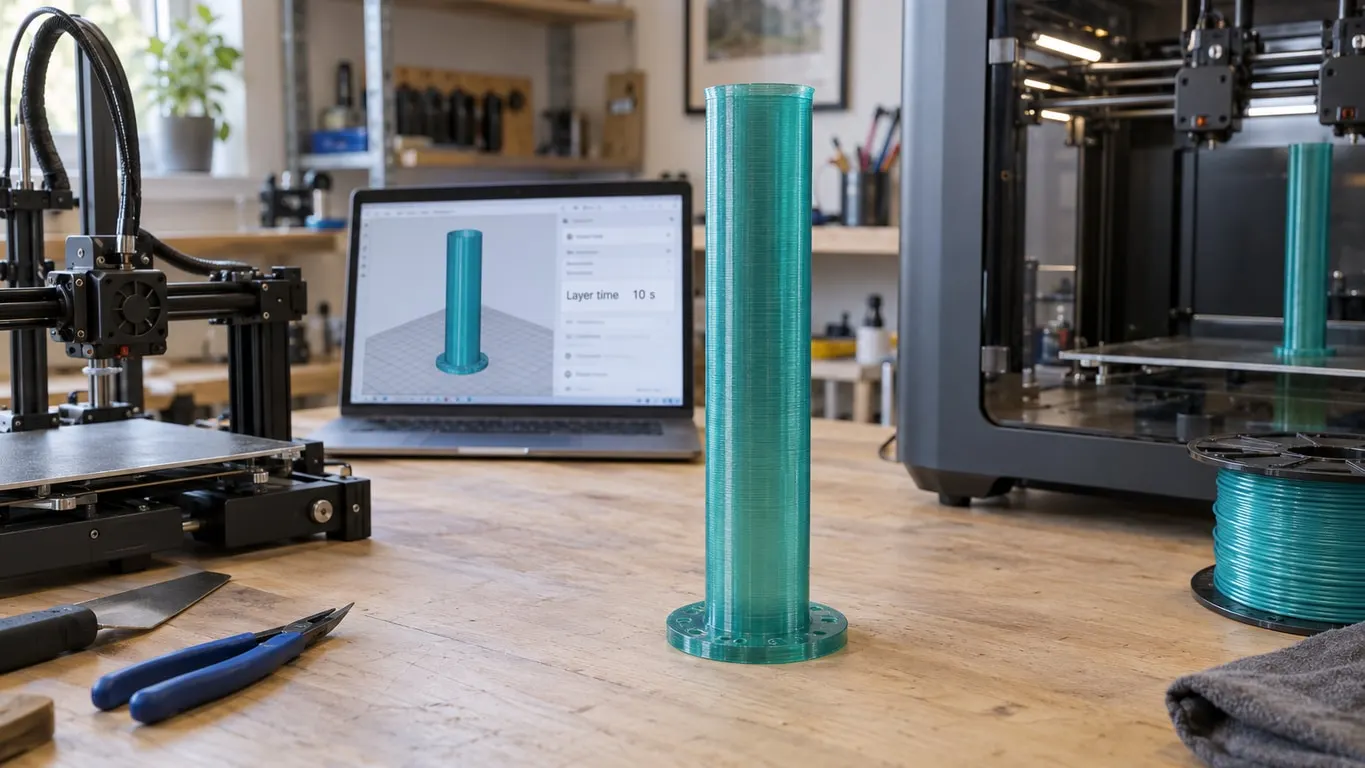
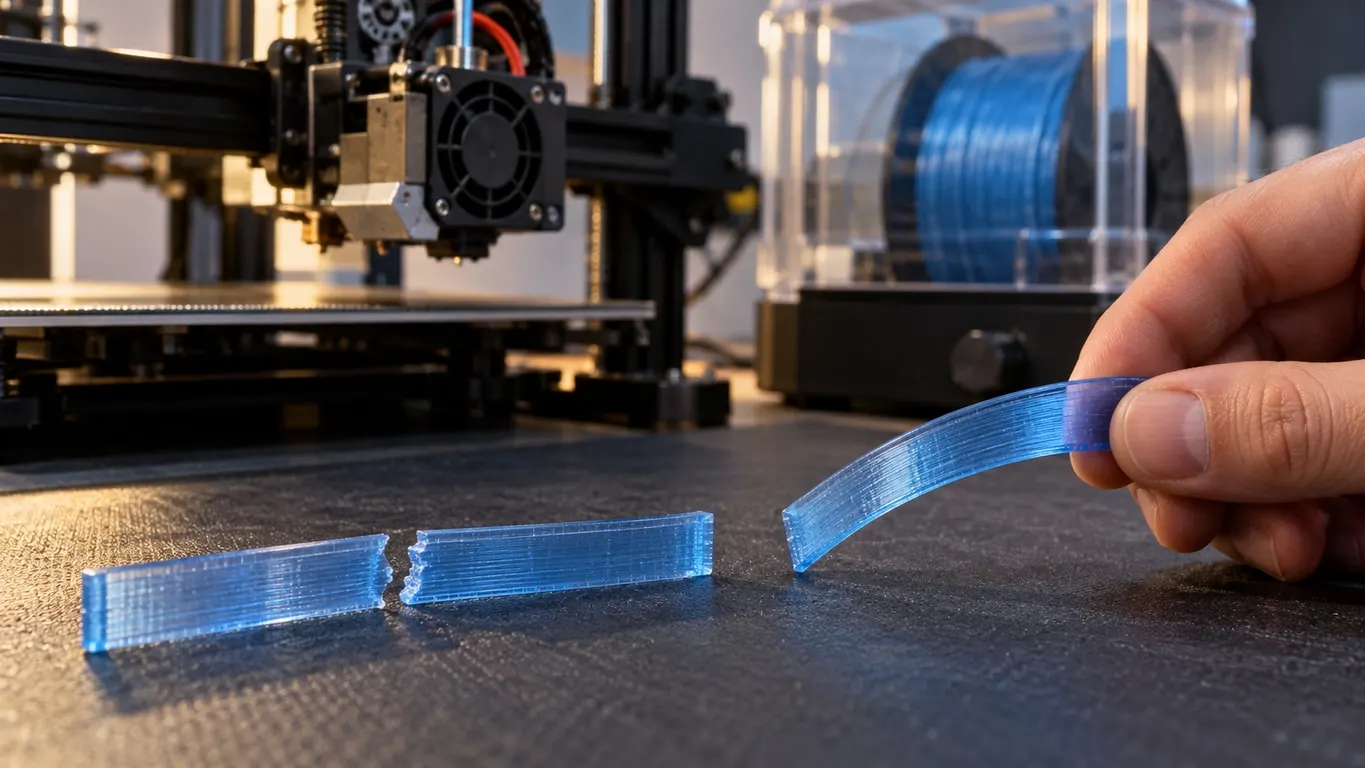
PETG that comes off the plate looking fine, then snaps with barely any flex where the same model in PLA bends, gets blamed on moisture first, and moisture is a documented cause. The less obvious suspect is the part cooling fan. Bambu Studio sets fan speed from how long each layer takes, so on a tall, thin part almost every layer gets the profile's maximum. In one case, lowering that maximum from 100% to 20% turned a part that broke like a stick into one that bent and only cracked late, while temperature, flow and speed changes made no clear difference.
The short version
- Dry the spool and confirm it is dry (last section). Popping, stringing or blobs while printing mean moisture is not solved yet.
- In the filament settings, open the Cooling tab and find Max fan speed threshold. The percentage is the fan ceiling; the Layer time beside it is the layer duration below which the ceiling applies.
- Slice, switch to Preview and pick Fan Speed under Color Scheme. If most layers sit at the ceiling, that is your part's fan.
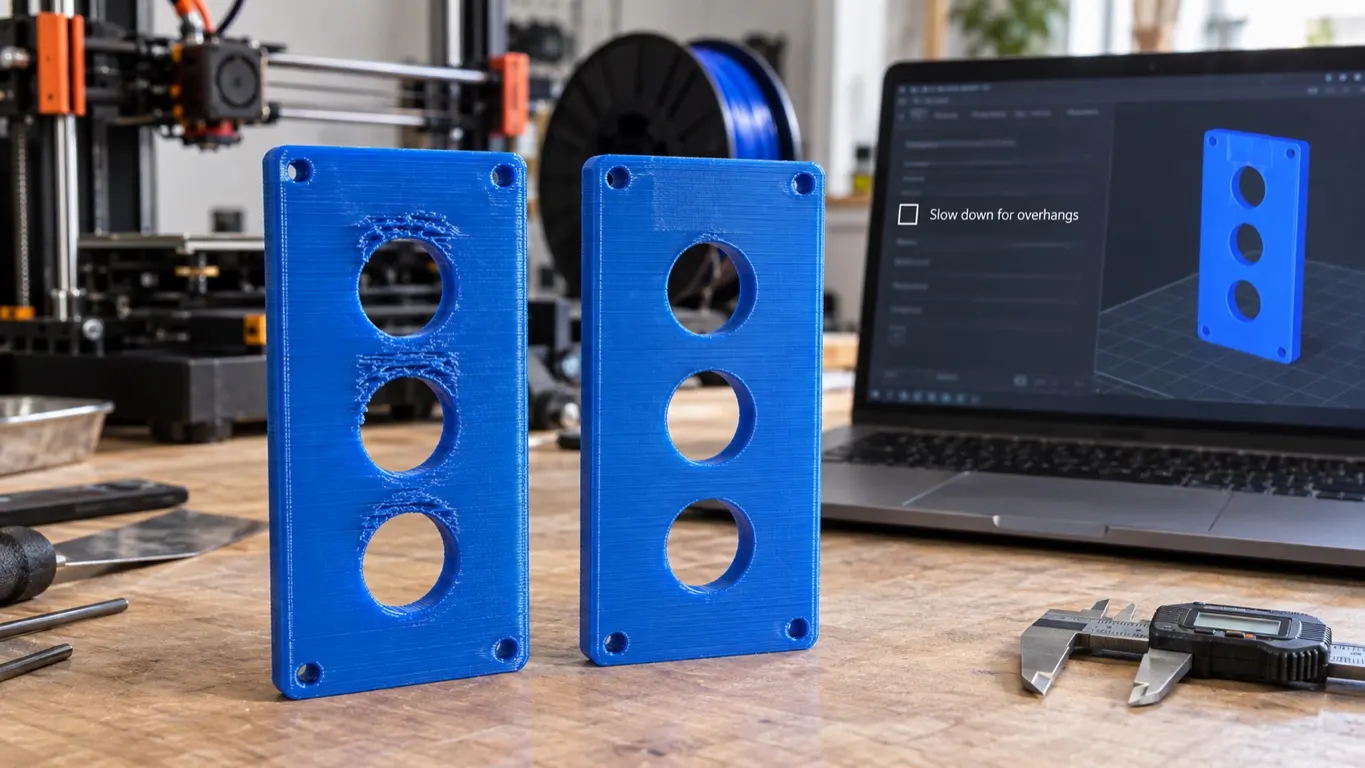
- Lower the ceiling in steps, print the same test piece at each step and break it by hand. Watch overhangs and bridges, where less cooling costs you.
- If only one section needs the strength, cut the fan on those layers alone with
M106 P1 S.
Why a tall, thin part gets the strongest fan
The Cooling tab pairs a fan percentage with a Layer time in two rows, Min fan speed threshold and Max fan speed threshold. Per Bambu's wiki page on cooling settings, a layer shorter than the max row's time gets the max fan, a layer longer than the min row's time gets no fan (or the minimum, with Keep fan always on), and anything between is interpolated linearly.
Now add Slow printing down for better layer cooling, on in the PETG profiles. A layer that would finish under the max row's time, 12 seconds here, gets stretched toward it, and the fan speed is computed from the stretched time, which still lands at the threshold. The layer time article covers the slowdown itself. A wide part with layers past 30 seconds drops to the minimum fan instead, so one profile can give you a tough wide part and a brittle thin one.
Why more fan would weaken PETG is a reasonable reading, not a documented fact. Bambu's material table recommends an enclosed printer for PETG so that low ambient temperature does not reduce interlayer strength, and a fan chilling each layer before the next one lands fits that picture of weak layer adhesion. The wiki's cooling page, though, discusses the fan only for overhang, bridge and sharp-tip quality.
What the PETG profiles ship with
Bambu Studio repository, October 2026, identical in the 2.8.2 release (0.4 mm nozzle profiles):
| Setting | Generic PETG | Bambu PETG Basic, A1 | Bambu PETG Basic, X1C and P1S |
|---|---|---|---|
| Min fan, layer time | 40%, 30 s | 30%, 30 s | 20%, 30 s |
| Max fan, layer time | 90%, 12 s | 50%, 12 s | 40%, 12 s |
| Keep fan always on | On | On | On |
| Fan speed for overhang | 90% | 50% | 50% |
Those Generic PETG numbers live in Generic PETG @base, the second file in a four-file chain (Generic PETG, Generic PETG @base, fdm_filament_pet, fdm_filament_common), and the A1 copy of Generic PETG inherits them untouched. The always-on fan is set one level further up, in fdm_filament_pet, so every PETG profile gets it.
Under 12 seconds Generic PETG cools at 90%, and a 21-second layer still gets 65%. Bambu PETG Basic tops out at 50% on an A1 and 40% on an X1C, so a third-party spool on Generic PETG gets roughly twice the airflow on short layers. One row ignores whatever ceiling you choose: overhangs and bridges keep getting the overhang fan speed.
The case behind the 20% figure: an A1 with third-party PETG, tall thin test pieces, minimum fan fixed at 10%, maximum stepped down 10% per print from 100%. Each step down came out stronger, and at 20% the piece was as tough as the job required. One printer, one part, one jig: treat 20% as a data point and keep the method.
Turning the fan down on selected layers
Fan settings apply to the whole print, but one command in the file can override them for a stretch of layers. That helps when only a clip or a hinge pin has to carry load.
In Preview, drag the layer slider to the first layer of that section. The active thumb carries a small + sign; right-click it and choose Add Custom G-code, which inserts your code at the start of that layer. The same menu is covered in changing temperature at a layer. The command is M106 P1 S followed by a value from 0 to 255: S51 is 20%, S128 roughly 50%, S255 full speed. Bambu printers also read a bare M106 as the part fan, and that bare form is what Bambu Studio writes.
Your value does not last long, because the slicer never sees it. Bambu Studio keeps issuing its own M106 lines whenever its layer-time speed changes, when a force-cooled overhang or bridge starts and ends, and after a filament change. Put a second command at the layer where normal cooling should return, then reopen the Fan Speed view. Preview plots the fan from the M106 lines in the file, so you can see where the slicer took over again.
Moisture, temperature, speed and the over-drying question
A fresh spool is not automatically dry. One that had never been dried popped, strung and blobbed straight out of the bag, which matches the moisture damage Bambu's drying page describes: water flashing to steam in the hot nozzle, bubbles in the melt, then stringing, oozing, holes, rough surfaces and reduced strength. The page does not mention it, but popping while extruding is the audible version.
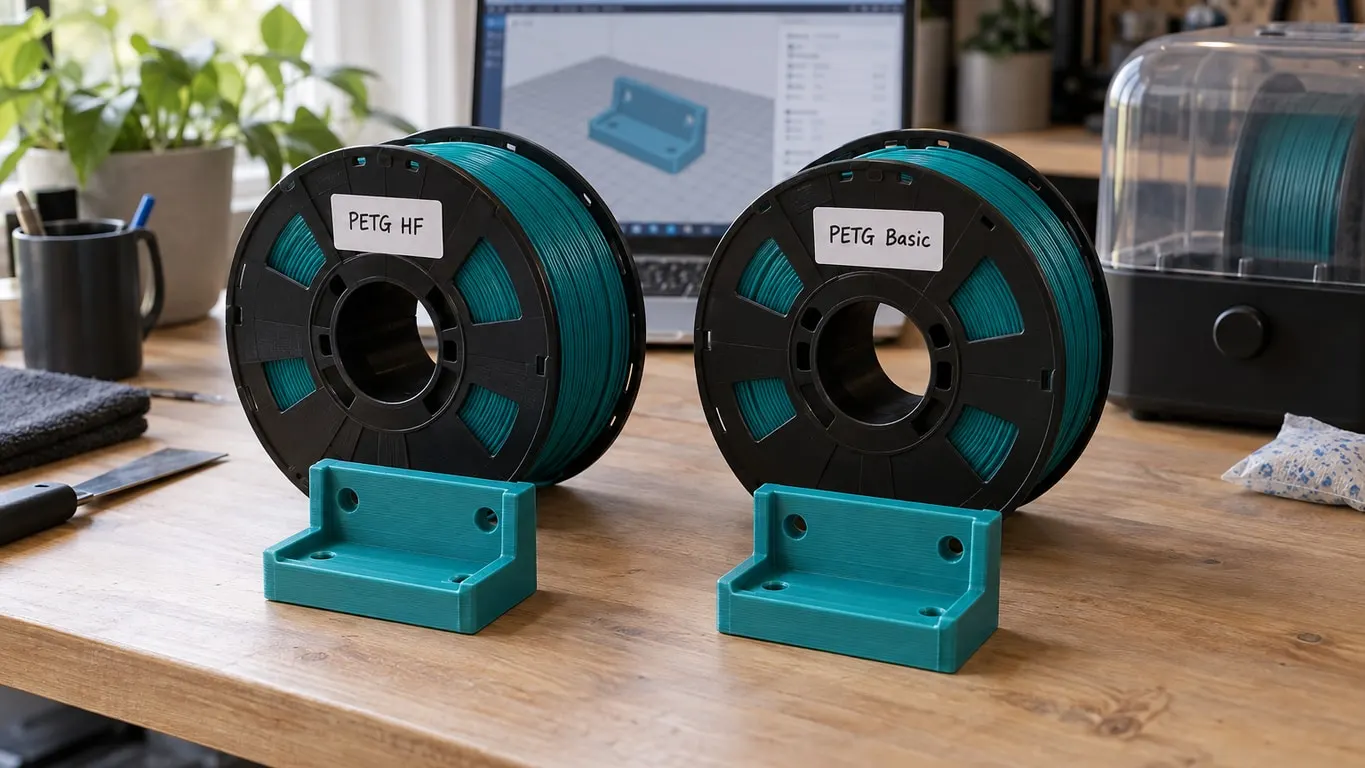
Its PETG targets are an oven at 60-65 °C for 8 hours or an AMS 2 Pro or AMS HT at 65 °C for 12 hours. Heated-bed drying, 75-85 °C for 12 hours, is limited to H, X, P2S and P1S series printers; open-frame machines like the A1 cannot do it. The wiki's material table gives a different oven figure, which PETG HF vs PETG Basic puts side by side.
To confirm drying worked, weigh the spool before and after, or seal it straight from the dryer in a zip bag with a hygrometer and read it after 10-12 hours; the reading tracks the filament's moisture. Drying is not always the fix, though. In the case above, a spool dried at 50 °C for 24 hours snapped just like a never-dried one, and a later 8-hour dry at 65 °C left the strength where it was.
That case also covered temperature. The best range was 240-250 °C, with the strongest bond at 250 °C; hotter helped at speed but brought stringing and distortion. Generic PETG already prints at 255 °C, Bambu PETG Basic on the A1 at 245 °C. Recalibrating flow ratio, pressure advance and temperature helped only slightly, and changing max volumetric speed and general speeds made no meaningful difference. That fits the volumetric speed article, where most of six PETG brands got weaker at speed but one held the same strength at both.
Bambu's wiki does connect drying with brittle filament, but only for PC: repeated heating and cooling cycles can leave the strand fragile enough to break during printing, and the wiki adds that this does not affect the printed part's mechanical properties. Nothing similar is written for PETG, so over-drying stays a suspicion. Filament that snaps on its way off the spool is a separate problem; a printed part that snaps points you to the fan check first. User reports pull both ways: one spool printed straight from a dryer reportedly snapped like uncooked spaghetti, while others keep PETG at 65 °C in a dryer around the clock without trouble.