Slow printing down for better layer cooling is a checkbox on the Cooling tab of Bambu Studio's filament settings, and it is on by default. Whenever a layer would finish faster than the Layer time in the Max fan speed threshold row, the slicer stretches that layer by printing it slower. On most parts you never notice. On a small or thin-walled part in PETG it can dominate the print time, and it is the main reason an H2D can slice a PETG HF part slower than an A1.
So, on or off? For a thin-walled PETG part that takes far longer than expected, turning it off is worth a test print. For anything with sharp tips or fine detail, leave it on. Either way, judge by the printed part, not by the estimate.
On or off: the short version
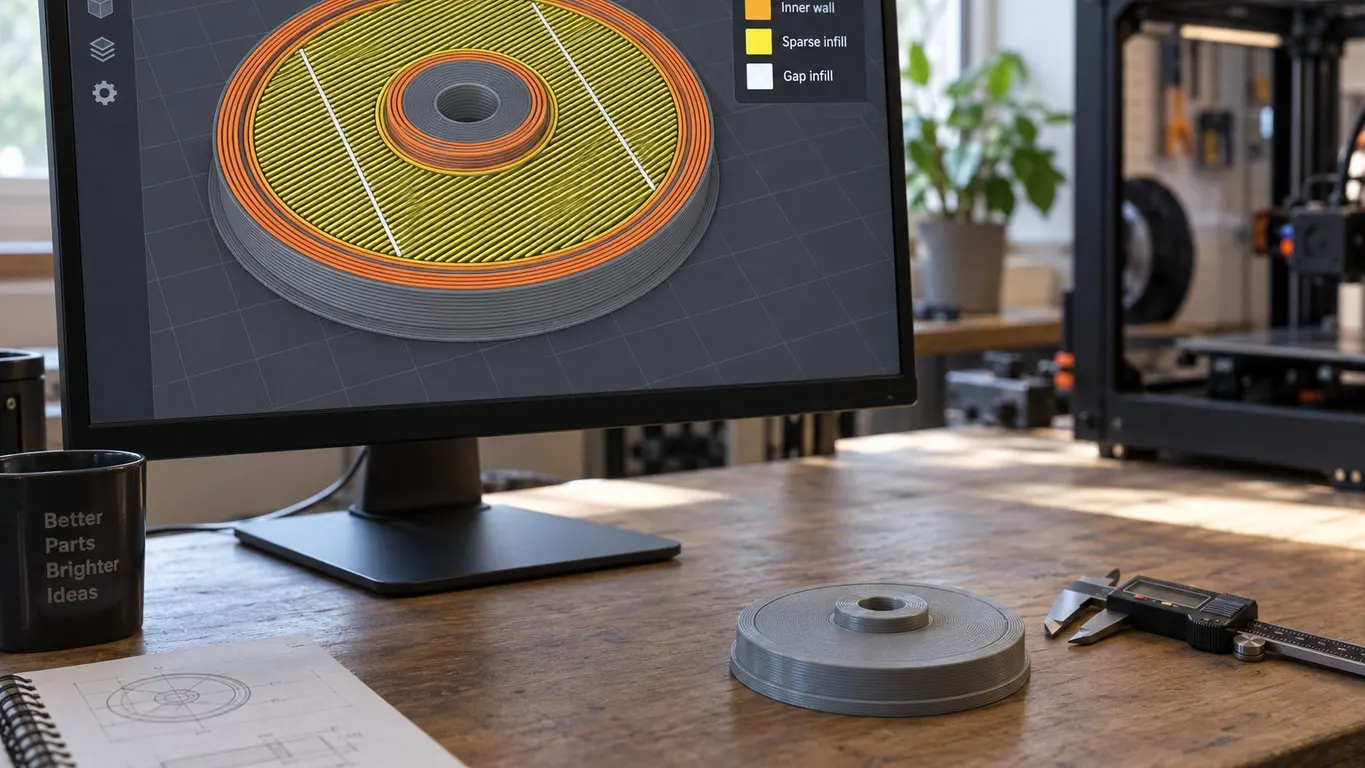
- After slicing, go to Preview, open the Color Scheme dropdown and choose Line Type. Walls and infill eating most of the time is the first hint; reading the Preview legend explains the rest of that panel.
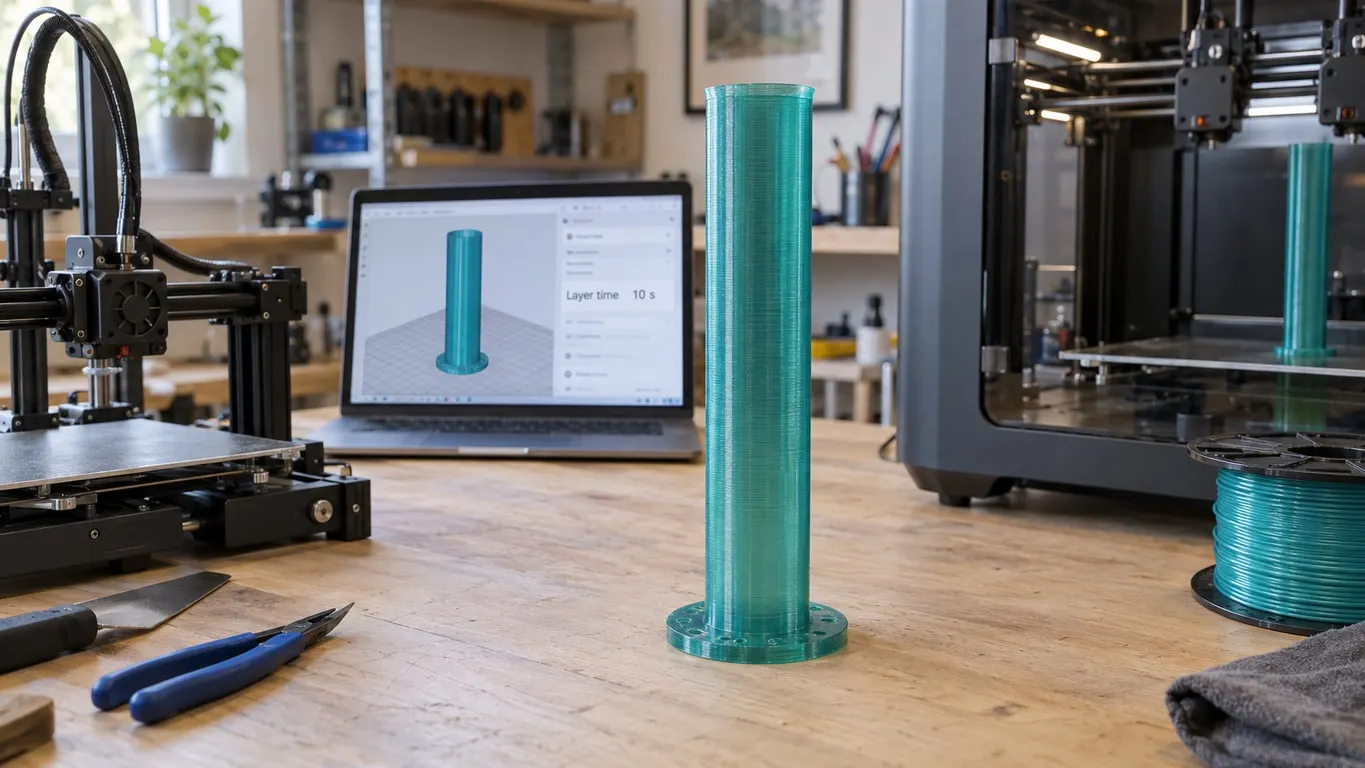
- Switch the list to Layer Time. If most layers sit at one value, around 10 seconds with the H2D PETG HF profile, the slowdown is doing the work.
- In the left panel, the filament row has a button beside it. Click it, pick Edit, then go to the Cooling tab.
- Either clear the Slow printing down for better layer cooling box or bring down the Layer time next to Max fan speed threshold. Slice again and see how much the total moved.
- Before committing to the full part, run a small test piece. If it looks worse, put the checkbox back.
What the checkbox actually does
Think of it as a floor on layer time. The fan gets the first try: as layers get shorter, Bambu Studio ramps the part cooling fan toward its maximum. If a layer would still finish in less than the Layer time set in the Max fan speed threshold row, this checkbox lets the slicer slow the layer down until it reaches that time. The Bambu wiki says that matters most for sharp spires and small details.
There is a limit. Speeds never drop below Min print speed, so a tiny layer can still come in under the target; the slicer then simply prints it at the minimum. Uncheck the box and the Min print speed field grays out, since nothing uses it anymore.
Big parts rarely trip it: if every layer already takes longer than 10 seconds, the setting does nothing. A tall, thin-walled part is the opposite case, and that is exactly the shape where the estimate balloons.
Turning it off trades cooling time for speed, and with PETG the trade is not one-sided. Overcooled PETG bonds poorly between layers, while PLA tolerates any amount of cooling. A test print of the real part is the only reliable judge.
If you only care about the outside surface, look at Don't slow down outer walls, added in 2.3.0 and shown in advanced mode. With it on, outer walls are never slowed to meet the layer time. Bambu added it for glossy filaments that change shine and for wall marks that look like Z-banding.
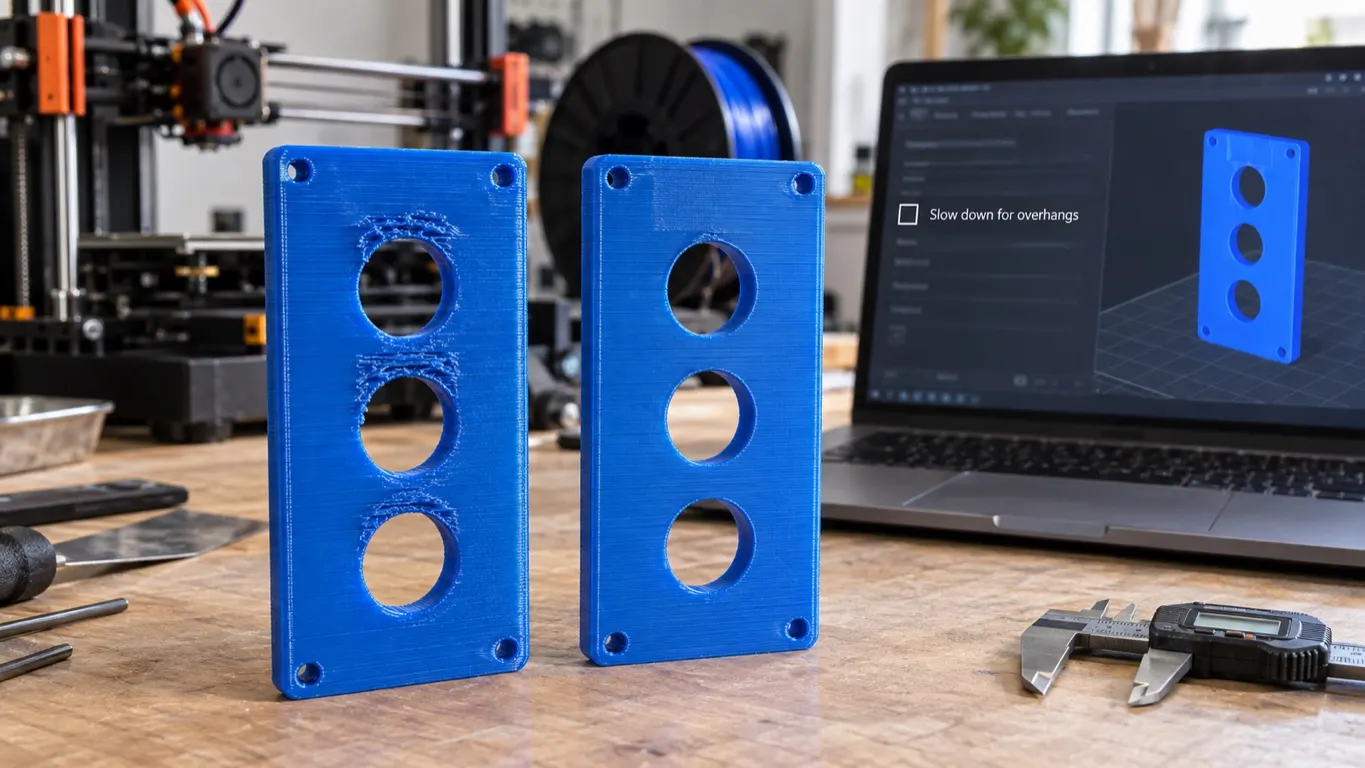
Don't confuse any of this with slow down for overhangs. That one is a process setting under Speed, it only touches overhanging walls, and its own PETG write-up covers it.
Why an H2D falls behind an A1 on PETG HF
Take a tall, thin-walled cable pass-through sliced in PETG with a 0.4 mm nozzle and the 0.20 Standard process on both machines (Bambu Studio 2.0.3.54, May 2025). The H2D estimate comes out 40 minutes longer, 24% more than the A1. The breakdown gives it away: the H2D spends only 13% of its time on travel against the A1's 31%, so the extra time is all walls and infill.
Switch the same part to PLA Basic and the H2D is faster. Keep PETG HF but uncheck the cooling slowdown, and the H2D estimate drops from 3h26m to 1h51m, ahead of the A1. The filament profile is doing it. Here is the relevant part (H2D values from the 0.4 mm nozzle file):
| Setting | H2D | A1 |
|---|---|---|
| Nozzle temperature | 245 °C | 240 °C |
| Layer time (Max fan speed threshold) | 10 s | 7 s |
| Min print speed | 20 mm/s | 10 mm/s |
| Layer time (Min fan speed threshold) | 20 s | 15 s |
| Fan speed, min and max | 20% and 40% | 30% and 50% |
| Slow printing down for better layer cooling | On | On |
The 2.0.3.54 release ships exactly these values. In 2.8.2, the current stable release, only one has moved: since 2.3.0 the H2D's maximum fan speed is 30% instead of 40%.
The 10-second floor and 20 mm/s minimum are not H2D-specific. The X1C and P1S PETG HF profiles use the same pair, and the A1 is the outlier at 7 seconds and 10 mm/s. Because the P1S shares the threshold, this setting cannot account for a gap between an H2D and a P1S. On PLA Basic the H2D profile asks for 4 seconds and the A1 for 6, consistent with the H2D coming out ahead there.
Max volumetric speed isn't holding the H2D back either: its current PETG HF profile allows 25 mm³/s on the standard nozzle, the A1's 18. The volumetric flow article covers when flow becomes the limit.
The process profile is not the culprit
Set the two 0.20 Standard profiles side by side and five lines differ. Every one of them should make the H2D faster, not slower:
| Setting | H2D | A1 |
|---|---|---|
| Sparse infill speed | 350 mm/s | 270 mm/s |
| Travel speed | 1,000 mm/s | 700 mm/s |
| Normal printing acceleration | 8,000 mm/s² | 6,000 mm/s² |
| Elephant foot compensation | 0.15 mm | 0.075 mm |
| Smooth coefficient | 4 | 80 |
Wall speeds, wall count, infill pattern and density, and line widths match. With the standard nozzle, 2.8.2 still ships the same numbers. The High Flow nozzle column is another story: in 2.3.0 its H2D wall speeds went up, with the outer wall moving from 200 to 500 mm/s.
Two of those rows are easy to misread. Smooth coefficient, in the Advanced group of the Quality tab, controls speed transitions; per its tooltip, the smaller the number, the longer the transition path, and 0 disables it. Elephant foot compensation shrinks the first layer only.
Other things that slow an H2D down
The fine-layer presets are the biggest one, and it is documented. The H2D's 0.12mm Fine and 0.08mm Extra Fine run 60 mm/s outer walls, 120 mm/s inner walls, 100 mm/s sparse infill and 4,000 mm/s² acceleration. The A1's 0.12mm Fine runs 200, 350 and 430 mm/s at 6,000 mm/s². The H2D's 0.16mm Standard goes back to the same speeds as its 0.20, which matches the big gap seen at 0.12 closing at 0.16. The 0.12 values are unchanged from 2.0.2 through 2.8.2.
Acceleration is the next lever. The H2D's 0.20 Standard uses 8,000 mm/s², where the X1C profile, which the P1S also uses, runs 10,000. The machine profile has allowed 20,000 on X and Y since 2.2.0 (16,000 through 2.1.1), so there is room to raise Normal printing in the Acceleration group of the Speed tab. Check quality with a test print.
The rest is anecdotal:
- The H2D's pre-print routine reportedly runs close to 10 minutes, versus about 6 on a P1S. Preview shows the slicer's own estimate for this as Prepare time, separate from Model printing time, though it may not match the real routine.
- On multicolor work, a P1S came out ahead with few swaps, but past 100 swaps the H2D took 16 hours against 24. That is one comparison.
- In early September 2025 the H2D was reported as faster after a profile update. PETG HF's layer time and minimum speed are unchanged from 2.0.2 through 2.8.2, so whatever changed, it was not this slowdown.
- "The toolhead is heavier" comes up constantly, with no evidence behind it. Either way, the slicer's estimate only knows the profile's speeds and accelerations, not toolhead mass.
During a print you can step up to Sport or Ludicrous from the printer screen or Bambu Studio's Device tab; the print speed article explains the modes. If the part still looks good, carry the higher speeds back into the slicer.