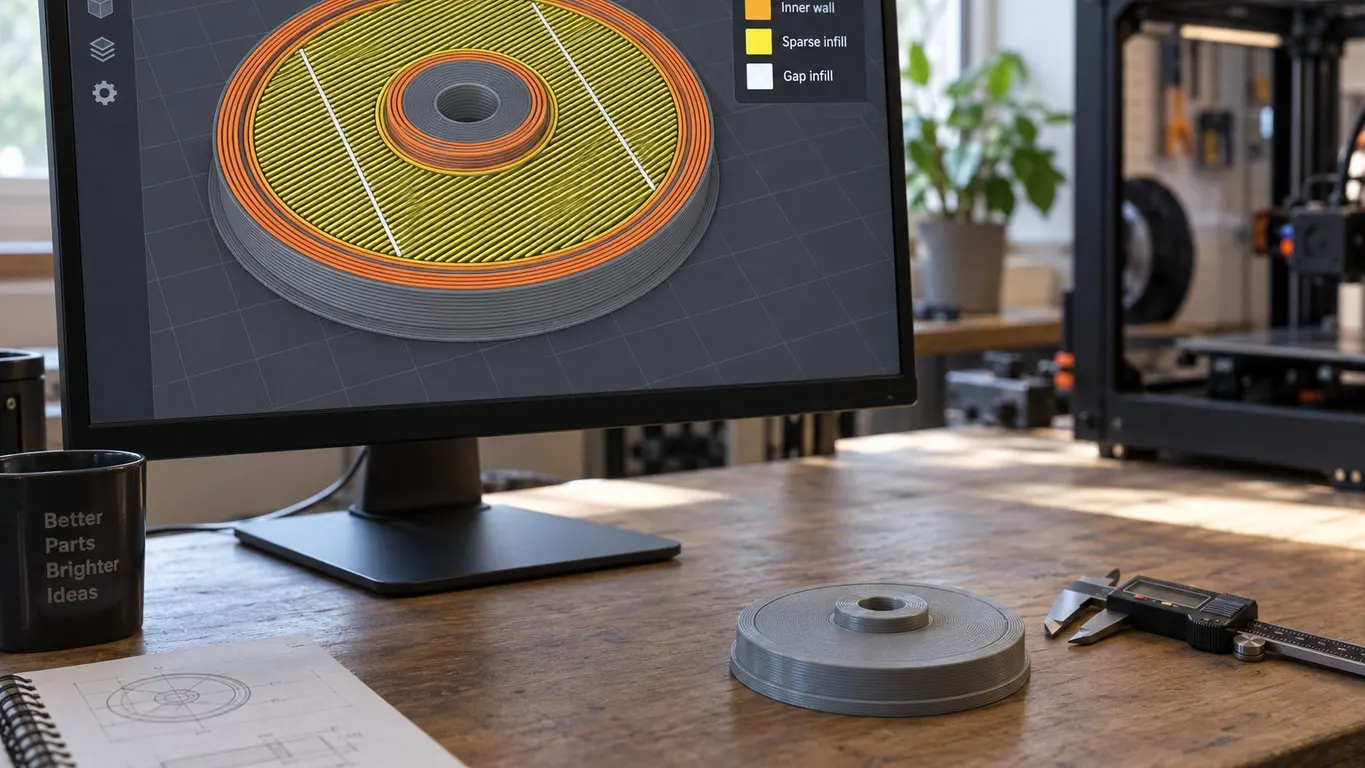
Gap infill is what Bambu Studio puts into a strip that is too narrow for a full wall line. A few short pieces of it between walls are normal. White bars running straight through the middle of a part are not, and two settings decide whether you get them: the wall generator and Slice gap closing radius. On one documented model, lowering the radius improved the slice and switching to Arachne removed them entirely. Adding infill or walls did neither.
The quick fix
- Slice, open Preview and pick Line Type in the legend. Gap infill is drawn in white; if the bars are white, this is your problem. The Preview walkthrough covers toggling line types one by one.
- Turn on the Advanced switch at the top of the settings panel, go to Quality, and in the Precision group drop Slice gap closing radius from 0.049 to 0.001. Re-slice.
- Bars still there? On the same tab, change Wall generator from Classic to Arachne.
- Do not start with infill density or wall count; in the documented case, raising both left the bars in place and only made the print longer.
Faint lines on the top surface that follow the infill pattern are a separate issue, covered in the infill showing through article.
Classic vs. Arachne for gap infill
Every Bambu process profile ships with Classic, because the common profile they all inherit from sets it. The setting's own tooltip spells out the difference: Classic produces walls with constant extrusion width and uses gap fill for very thin areas, while Arachne produces walls with variable extrusion width. So Arachne handles a narrow strip by widening or narrowing the wall itself, and its wall stage generates no gap infill at all.
Picking Arachne reveals six options in the Wall generator group that stay hidden under Classic: Wall transitioning threshold angle (10° by default), Wall transitioning filter margin (25%), Wall transition length (100%), Wall distribution count (1), Minimum wall width (85%) and Minimum feature size (25%). The percentages are of nozzle diameter, so the 85% minimum works out to 0.34 mm on a 0.4 mm nozzle, the example the Bambu wiki uses.
The trade-off shows up on the outside of the part. Bambu's wiki describes a Classic wall as a single closed loop, so each layer gets one seam and the surface stays clean. Arachne can split a wall into separate paths where two equal-width lines do not fit, and those breaks can show. On the plus side, the same wiki says Arachne walls do not overlap the way walls made with Detect thin wall can. You cannot combine the two anyway: with Arachne selected, the Detect thin wall checkbox under Strength → Walls is grayed out.
Short white lines on top surfaces after the switch are expected. They come from the top surface pattern, not the walls: Bambu's stock profiles (except most 0.8 mm nozzle ones) use Monotonic line there, and that pattern adds gap infill of its own. Those are edge fills, not stripes.
What slice gap closing radius actually does
The tooltip reads: "Cracks smaller than 2x gap closing radius are being filled during the triangle mesh slicing." In practice Bambu Studio grows each layer's cross-section outward by the radius and then shrinks it back, which seals any slit narrower than about 0.1 mm at the default of 0.049 mm. No Bambu process profile changes that default. The setting sits first in the Quality → Precision group, is an advanced option, and accepts values down to 0. The same tooltip warns that closing gaps may reduce print resolution and advises keeping the value reasonably low.
Does lowering it help with stripes? On one model it did, partly. That was May 2023, Bambu Studio 1.4, an X1C on the stock 0.20mm Standard profile, and a mesh with no errors. Infill went from 15% to 100% and walls from 2 to 3 without touching the bars; the only thing that changed was the estimate, from 47 to 57 minutes. Under Classic, a radius of 0.001 gave a better slice that still was not clean, and Arachne at the default radius cleared it completely.
Why the closing step added gap infill on that particular model is not documented anywhere, so 0.001 is an experiment, not a known cure. It also has a price that follows directly from how the setting works: below the default, tiny cracks in the mesh are no longer sealed and stay in the slice.
How to disable gap infill, and what it costs
There is no on/off checkbox for gap infill in Bambu Studio. What you can do is starve it.
The closest thing to a switch is the Gap infill speed under Speed → Other layers speed. It is 250 mm/s on the stock X1C 0.20mm Standard profile, and the neighboring settings are in the print speed guide. With Classic, a value of 0 stops gap infill between walls entirely. That sounds like a fix for stripes, but look at what it leaves behind: those narrow strips get no plastic at all. Top surfaces set to Monotonic line are the second problem. Their gap infill is generated no matter what this speed says, and 0 does not mean slow. Bambu Studio then runs those lines as fast as the filament profile's max volumetric speed allows, while the setting's own tooltip says gap infill should be printed more slowly. On Arachne there is no wall gap infill to remove, so 0 only buys you the fast top-surface lines. If you try it, do it on Classic and check the result in Preview.
Filter out tiny gaps is the finer tool, and it is hidden by default. It only appears in the Sparse infill group of the Strength tab after you turn on Develop mode in Preferences. Enter a length in mm and Classic drops any wall gap infill line shorter than that; the default of 0 drops nothing. It does not touch Monotonic line surface gap infill, and it will not remove a stripe longer than the threshold.
One search result to ignore: Gap Fill in the color painting tool. It patches small unpainted spots between painted areas and has no connection to gap infill in the slice.
When the gap is in the outer wall
Sometimes Preview shows holes in the outer wall instead of stripes. The thin walls article covers what line width and Detect thin wall can do; this section is about what happens when neither is enough.
A May 2024 example shows the limit. The part measured 9.4 × 9.4 × 10.7 mm and held a 5 mm magnet, which left roughly 1.165 mm of material at the corners and not enough wall around the chamfer. On the stock 0.2 Standard profile the outer wall came out with gaps, and none of these changed it: Arachne, Detect thin wall, a 0.3 mm outer wall line width, a 0.2 mm nozzle.
Close holes did seal it, at a cost. According to the Bambu wiki, that mode (Slicing Mode, in the Special mode group of the Others tab) closes every gap or open contour in the XY plane, not just round holes. So the magnet pocket filled in too and the part came out solid. The wiki itself warns that the mode can change a model's design.
When nothing gets a line into the space, the geometry is the problem: thicken the walls in the model and reslice.