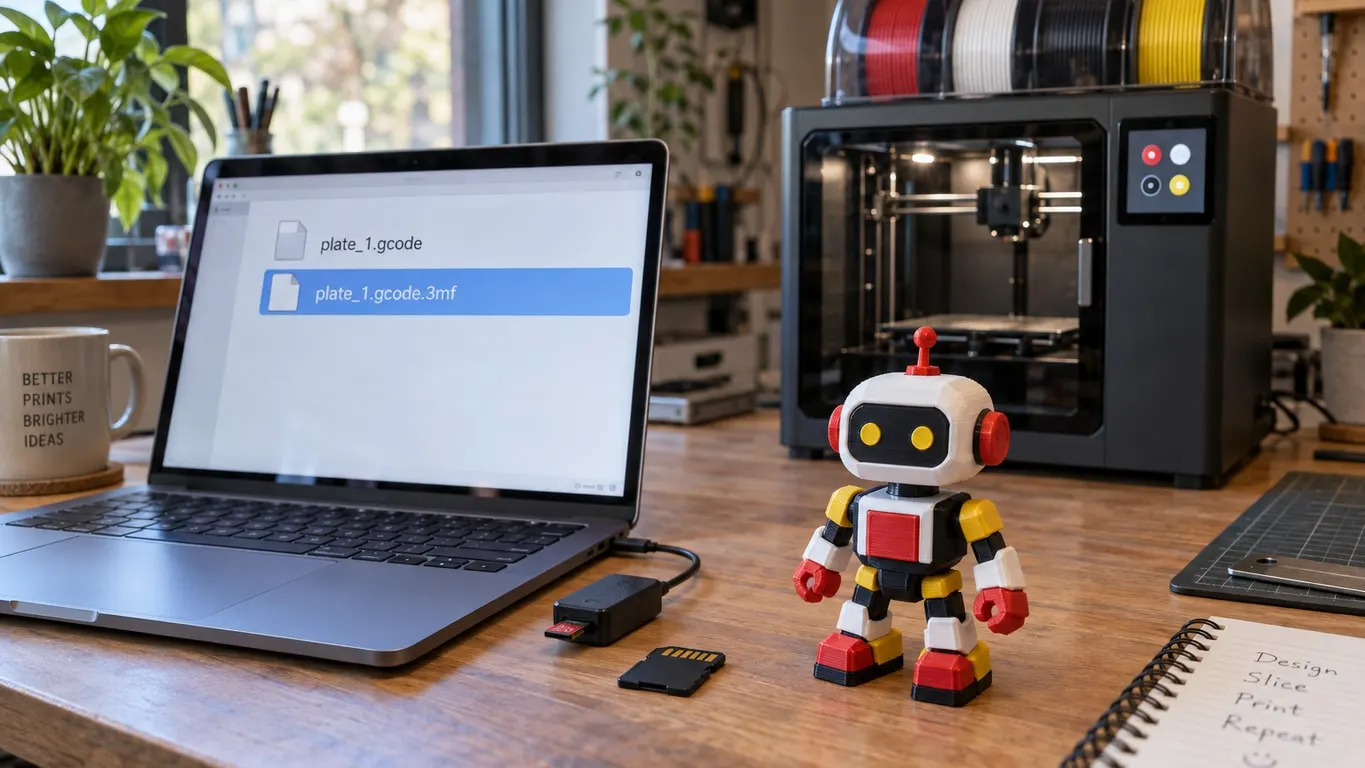
Export plate sliced file or plain G-code: on a Bambu printer with an AMS, the choice decides whether the AMS does anything at all. Start a bare .gcode from the SD card and the printer never asks about slots, loads nothing and halts on a no-filament error, even though the AMS was assigned in the slicer. Start a .gcode.3mf of the same slice and the slot prompt appears and the print runs.
The G-code itself is not the difference. Pull it out of the .gcode.3mf and compare it with the plain export, and the two files match line for line. What the plain file is missing is the rest of the package.
Quick fix
Short version: whenever the AMS has to feed filament, print from a .gcode.3mf, never from a bare .gcode.
- After slicing, open the small arrow beside Print plate, choose Export plate sliced file, then click the main button, which now carries that label. Ctrl+G (Cmd+G on macOS) or File > Export > Export plate sliced file opens the same save dialog.
- Save it to the root of the SD card. Bambu's own SD card guides say the root, not one of the card's folders.
- Pick the file on the printer, check that the AMS is on and the slots match, and start.
- If you need to hand-edit the G-code, do it in
Metadata/plate_1.gcodeinside the package and repack it as shown below.
Three ways out of the slicer
Bambu Studio gives you three ways to get a sliced plate out, and only one of them leaves the package behind. Export plate sliced file and Export all plate sliced file write a .gcode.3mf, and Send puts that same kind of file on the printer. Export G-code writes the G-code with no companion files. With a Bambu printer selected, the dropdown on the print button has no Export G-code file entry at all; that one shows up only for third-party printers. For a bare .gcode, the menu is the only route.
Which printers does this hit? On the A1 mini it is clear-cut: a plain .gcode never brings up the AMS prompt. The X1C most likely behaves the same way. The AMS dialog seen there belonged to a .gcode.3mf, and the plain export was later tied to the same AMS-less behavior, though nobody ran a separate plain-G-code test on an X1C. A similar problem has been reported on a P1S, with nothing confirmed.
Bambu's documentation never says outright that plain G-code skips the AMS. It simply describes the package route and nothing else. The SD card guides for the A1 and A1 mini and for the P1 series both say Export plate sliced file, saved to the card's root. The X1 multi-color guide explains what happens next: the printer maps each filament to a slot with the same material type and the closest color, you can change the mapping on screen, and a slot whose material type does not match cannot be selected.
Inside the package, and the filament list
A .gcode.3mf is an ordinary zip archive. These are the main entries Bambu Studio writes, with paths counted from the archive root:
| Entry | Contents |
|---|---|
Metadata/plate_1.gcode |
The G-code, identical to a plain export |
Metadata/plate_1.gcode.md5 |
MD5 of that G-code, 32 uppercase hex characters |
Metadata/slice_info.config |
Plate summary and the filaments used |
Metadata/model_settings.config |
Plate and object settings |
Metadata/project_settings.config |
Printer, filament and process settings from the slice |
Metadata/plate_1.png |
Thumbnail shown on screen |
3D/3dmodel.model |
Model file, without geometry in a .gcode.3mf |
[Content_Types].xml, _rels/.rels |
Standard 3MF entry files |
A second plate gets plate_2.gcode, plate_2.gcode.md5 and so on. Bambu Studio finds every one of these by its exact path from the root, so a slice_info.config buried one folder deeper simply is not seen.
Of all these, slice_info.config is the one that matters for the AMS. It is XML: summary entries per plate (printer model, nozzle diameter, predicted time and weight, pause count), then one line for each filament the slice uses:
<filament id="1" tray_info_idx="..." type="..." color="..." used_m="..." used_g="..." ... />
id is the filament's number in the project, counted from 1, so a slice that only uses filaments 2 and 4 lists ids 2 and 4. Next come type and color, exactly what a "same type, closest color" mapping needs, and used_m and used_g for the amount consumed.
Firmware is closed source, and the evidence here comes from a single test. When slice_info.config was missing some of the filaments a print used, the printer did not change filament, whatever the G-code said; at worst it heated to 250°C and stalled. If you add a filament change to the G-code by hand, give that filament a job in the model, slice again and let Bambu Studio write the list.
Bambu Studio leans on the same file. When it prints a .gcode.3mf that already sits in the printer's storage, it pulls slice_info.config and project_settings.config out of the archive, and if the package has no G-code it asks you to re-slice and export a new .gcode.3mf.
Rebuilding the archive after an edit
The least risky edit never unpacks anything: open the archive, edit the one file in place and let the archive tool update it. The G-code explainer covers that route with 7-Zip.
Extracting and re-zipping is an option too, with one condition: zip what is inside the folder, not the folder. Unpacking part.gcode.3mf leaves a folder called part. Compress part itself and every path gains a level, so Metadata/plate_1.gcode turns into part/Metadata/plate_1.gcode. Bambu Studio then complains that there is no model data, and the printer cannot use the file. Open part instead, select Metadata, 3D, _rels and [Content_Types].xml, zip those with standard Deflate compression and rename the result to .gcode.3mf. An unusual compression method is another possible cause of a file that will not open.
The md5 entry is the other loose end. Bambu Studio writes it at export time from the G-code and never checks it when opening a file. Send a .gcode.3mf you opened in Bambu Studio and the file on disk goes to the printer unchanged, with no fresh hash.
How the printer treats a stale hash is less settled. A package with a wrong md5 printed in May 2024, both through Bambu Studio and from the SD card, but which printer model that was, and whether others behave alike, is unknown. A package edited on a Mac in March 2026 without touching the md5 also printed after being sent from Bambu Studio. That still does not show every model and firmware version ignoring the hash, so rewrite it; it takes two lines. PowerShell on Windows, run inside the extracted folder:
$h = (Get-FileHash Metadata\plate_1.gcode -Algorithm MD5).Hash
Set-Content -NoNewline -Path Metadata\plate_1.gcode.md5 -Value $h
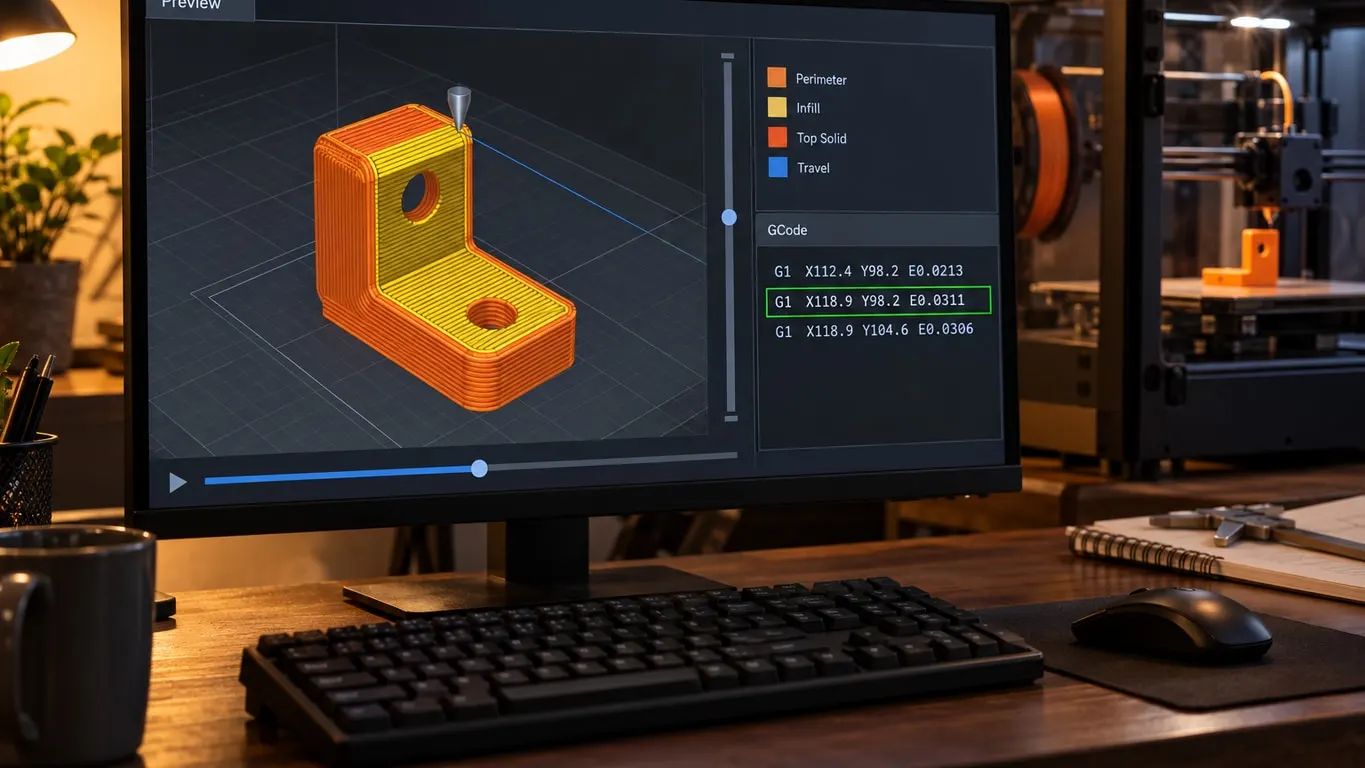
Open the finished file in Bambu Studio before printing. It lands straight in Preview, so you can check your change with the G-code viewer and then send it or copy it to the card.
Repacking on macOS
Archives made with Finder's Compress have caused trouble, and Finder can slip its own hidden files into a zip. The sequence known to work: export with Cmd+G, rename the .gcode.3mf to .zip, extract it, edit Metadata/plate_1.gcode and save.
Then open the original .zip in Zip Manager, a browser-based zip tool. Go into Metadata, delete plate_1.gcode, add your edited copy, download the new .zip and rename it back to .gcode.3mf. Any zip tool that can swap a single file inside an existing archive should work the same way; Zip Manager is the one this sequence was tried with.
Terminal can do it in two lines. They produce the same path layout Bambu Studio writes, but nobody is known to have printed a file built this way, so the sequence above is the tested one. From inside the extracted folder, the first line rewrites the md5 and the second zips the contents without hidden files or folder entries:
md5 -q Metadata/plate_1.gcode | tr 'a-f' 'A-F' | tr -d '\n' > Metadata/plate_1.gcode.md5
zip -r -X -D ../part-edited.gcode.3mf . -x '*.DS_Store' -x '__MACOSX/*'
Since zip is packing the current folder's contents, the extra level never appears.
More filaments than slots
One AMS means four slots. In a July 2025 observation, a slice with five or more filaments printed fine when sent straight from OrcaSlicer. Saved with Export plate sliced file, reopened in OrcaSlicer and sent again, it printed colors one through four; at the fifth, the printer waited at the purge chute and about five minutes later reported "Failed to get AMS mapping table". That is one observation, and neither the printer model nor the cause is known.
To get more than four colors out of a single AMS, one option is to paint the model in no more than four. Put a pause on the first layer after a filament has done its last work, swap that slot's spool for the next color while the printer waits, and resume. The screen keeps the old color names; the part comes out in the new ones. Pausing at a layer shows how to add the pause. Do not leave the printer paused for long.