Three different things get reported as "flush into object is grayed out" in Bambu Studio, and only one is a gray checkbox. The line may be missing entirely, which happens in Global mode. The three checkboxes may be present but disabled: the prime tower is off. Or the Flushing volumes button may be absent: a single filament in the list.
Quick checks
First confirm Enable is ticked under Others → Prime tower and the filament list holds at least two filaments. Then:
- Load the multicolor part with a second object that may come out in mixed colors.
- Switch the panel from Global to Objects, click the second object, tick Flush into this object in Others → Flush options.
- Slice and check Preview: the second object should show transition colors.
For less purge rather than a place for it, the lever is the Multiplier in the Flushing volumes window; 0.9 is the wiki's starting point, with a test print.
Missing, gray, or not there at all
Flush into this object is drawn only when the panel shows an object's settings, never on the global Process page; Flush into objects' infill and Flush into objects' support show in both modes. In Global mode the row is not disabled, it is not built. Bambu's wiki says the same: the setting is accessible only while at least one object is selected in the Objects tab. That was the answer on Studio 1.6 in June 2023 and still holds.
The gray state is the prime tower. All three flush checkboxes follow the Enable box in the Prime tower group, and each tooltip ends with the same sentence: "It will not take effect, unless the prime tower is enabled." Flushing into an object instead of a tower is not on offer: only the purge destination changes. Why it does not shrink, and why priming and flushing are separate volumes: the prime tower article.
The third case: the Flushing volumes button above the filament list is only shown when that list holds more than one filament.
The Flushing volumes dialog
The button opens "Flushing volumes for filament change": a table of filament pairs, each cell the flush volume in mm³ for that change, suggested range 0-700. Studio fills it from color and material: dark to light needs more, light to dark less; support filaments get separate values so they do not bond to what they support.
Two controls matter in that window. Multiplier scales the whole table: actual flush equals the cell value times the multiplier, default 1.00, accepted range 0 to 3, and the wiki's own suggestion is 0.8 or 0.9 with a test print, since a value that is too low shows up as discolored layers right after the change. Re-calculate is the undo button for hand edits; it returns every pair to the automatic value. Hand edits have a second enemy: Studio rebuilds the table whenever a filament or its color changes. That is governed in Preferences by Auto Calculate Flush Volume, with the choices All related changes, When color changes and Turn off auto calculate; choose the third if the table is yours.
Flush duration is set elsewhere. A flush runs as fast as the filament allows, so a 0.2 mm nozzle spends noticeably longer on the same volume; the filament preset has two advanced-level overrides, Flush volumetric speed (0 = the max volumetric speed) and Flush temperature (0 = the top of the recommended nozzle range).
Making a flush object earn its place
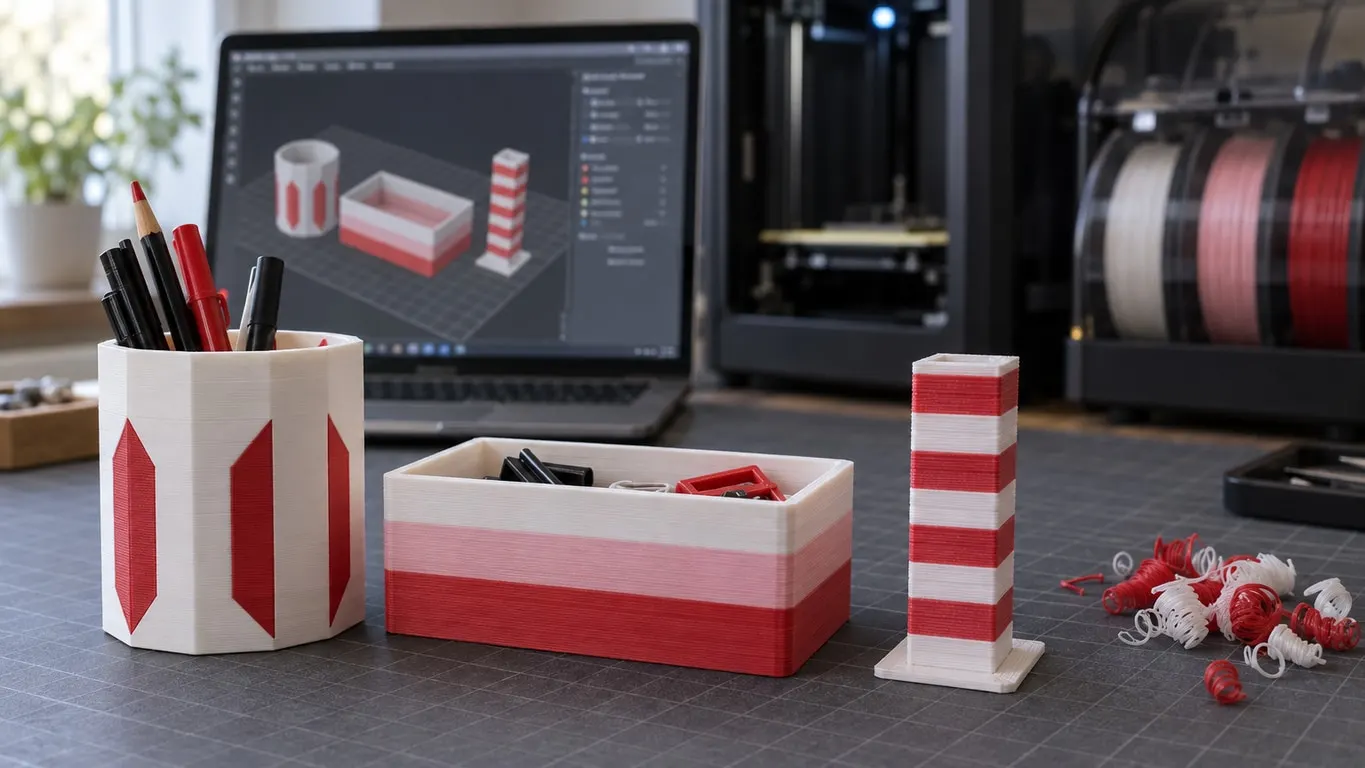
An object with Flush into this object ticked cleans the nozzle after every filament change; its tooltip is blunt: the object's colors will be mixed. Bambu's waste reduction page recommends it for parts to be painted or that only need to work, with a few rules:
- Height first: anything above the multicolor part is printed in clean filament, so pick objects of about the same height.
- Then quantity: the wiki's multicolor Bambu cube drops from about 70 g of flush to under a gram with flush objects beside it; tick the box on more objects until the flush is used up or the plate is full.
- If the box is ticked and the part still previews in one color, nothing on the plate is producing filament changes. Single color prints generate no flush, so there is nothing to absorb.
- The tower is still required. Priming after a change is laid on the tower, and a flush object does not replace that; the wiki states the prime tower as a condition without saying why.
Without an AMS, swapping colors by hand at a layer, the equivalent is a sacrificial part at the bed edge; see multi-color without an AMS.
What infill and support flushing cost you
The defaults are the same ones listed in the prime tower article, infill off and support on. What that article does not cover is the price of each, and the wiki weighs them very differently.
Infill needs care: light and transparent filaments let the oddly colored infill show from outside, more so with few wall loops and shell layers; the wiki's example is a fairly dark green single-wall part where the infill color faintly shows along the perimeter. Infill printing through the top surface as a pattern is a separate problem: infill showing through.
Support gets a pass. The wiki calls it a setting with no real negatives, hence on by default; the catch is that most prints lack enough support to absorb much flush, so the gain shows on large support areas. Mixing materials with different properties can affect support strength, which the wiki calls rare and not usually noticeable.
Beyond the checkboxes, waste tracks the number of filament changes, and on a multicolor layer that count is, with rare exceptions, one less than the number of filaments on it. The wiki's four color cube goes from 153 changes and 83 g of waste at 0.2 mm layers to 111 changes and 61 g at 0.28 mm; nine copies of one model on a plate produce the same waste as one.
The A1 mini that purges before every print
None of the flush checkboxes reach this one; it lives in the printer's start G-code. The A1 mini 0.4 mm nozzle profile, dated May 13, 2026, extrudes 50 mm of filament, 50 mm more, then 5 mm, and runs a wipe-and-shake move, all inside a block commented "switch material if AMS exist"; the A1 profile keeps the second half of that purge outside the block. Whether the block is skipped with an external spool is up to the firmware.
A purge that runs for minutes is a different story, and there are two of them. The first dates from November 2024: an A1 mini on an external spool purging for 3 to 11 minutes before every print, longer with soft materials, with TPU never getting to the print at all. Turning off flow calibration and bed leveling made no difference, and neither did a factory reset or a firmware rollback. Nothing on the Bambu wiki describes that behavior and no fix has surfaced; which pre-print calibrations you can safely skip is in turning off flow calibration. The second began with firmware 01.08.01.00, released June 3, 2026. On the A1 and A1 mini with an external spool, the first print after a cold start now behaves as if fresh filament had just been loaded: the printer stops, asks you to confirm that filament is extruding, then purges before it continues. Support tickets came back with "normal prompt for an external spool" and later "a fix is in progress"; as of October 2026 the A1 mini firmware history lists nothing newer than 01.08.01.00. Two workarounds are reported to hold: roll back to 01.08.00.00 from Bambu Handy, or switch the AMS type selection in the printer settings from AMS Lite to AMS 2 / H2D, which requires unloading the filament first. Whichever purge you are dealing with, empty the purge tray while it runs; once it fills, the waste can wrap around the nozzle.