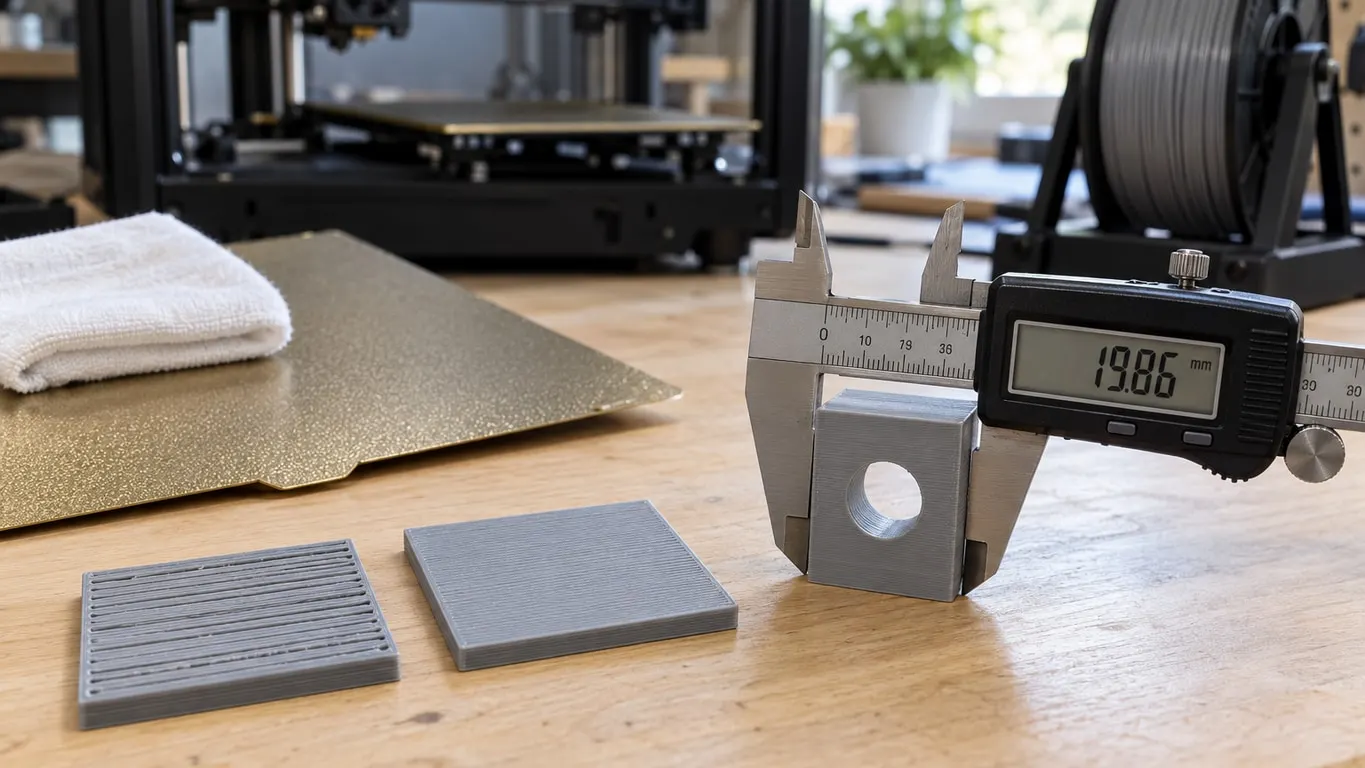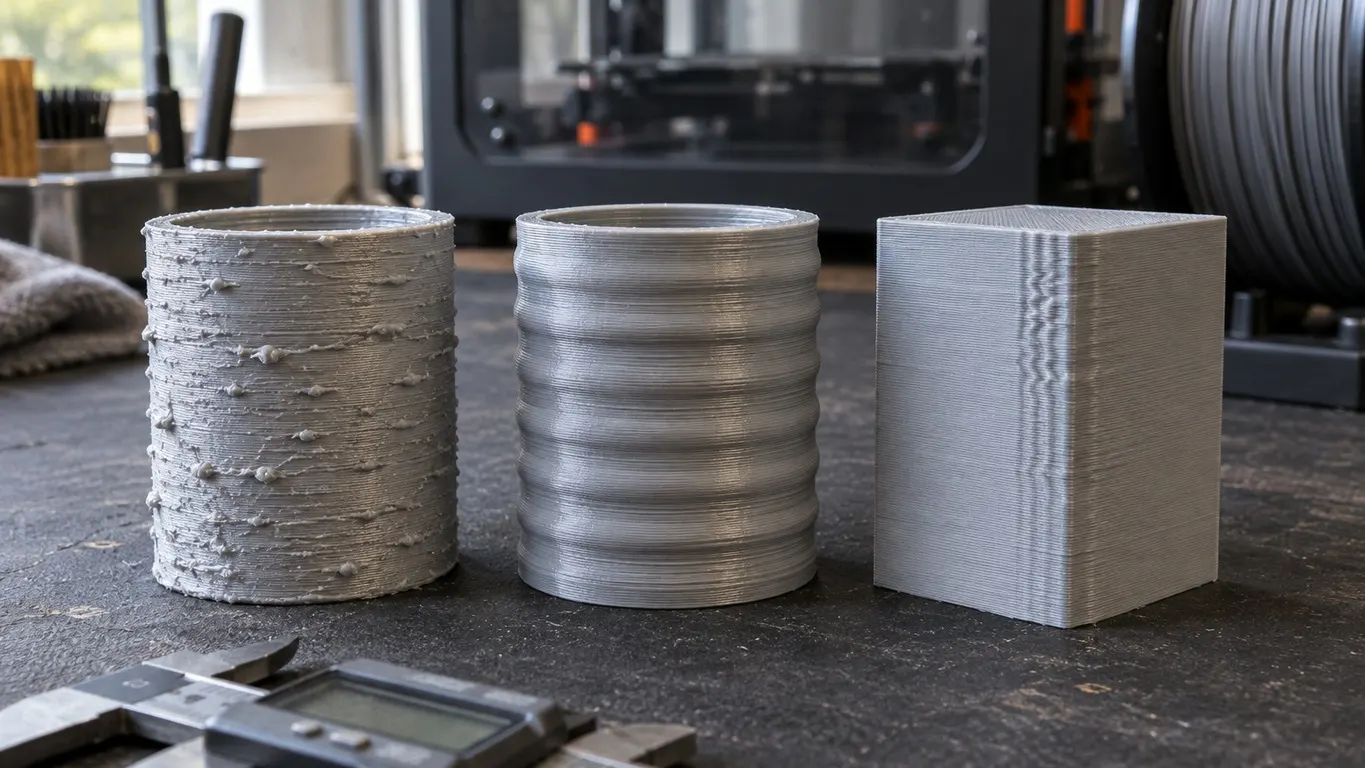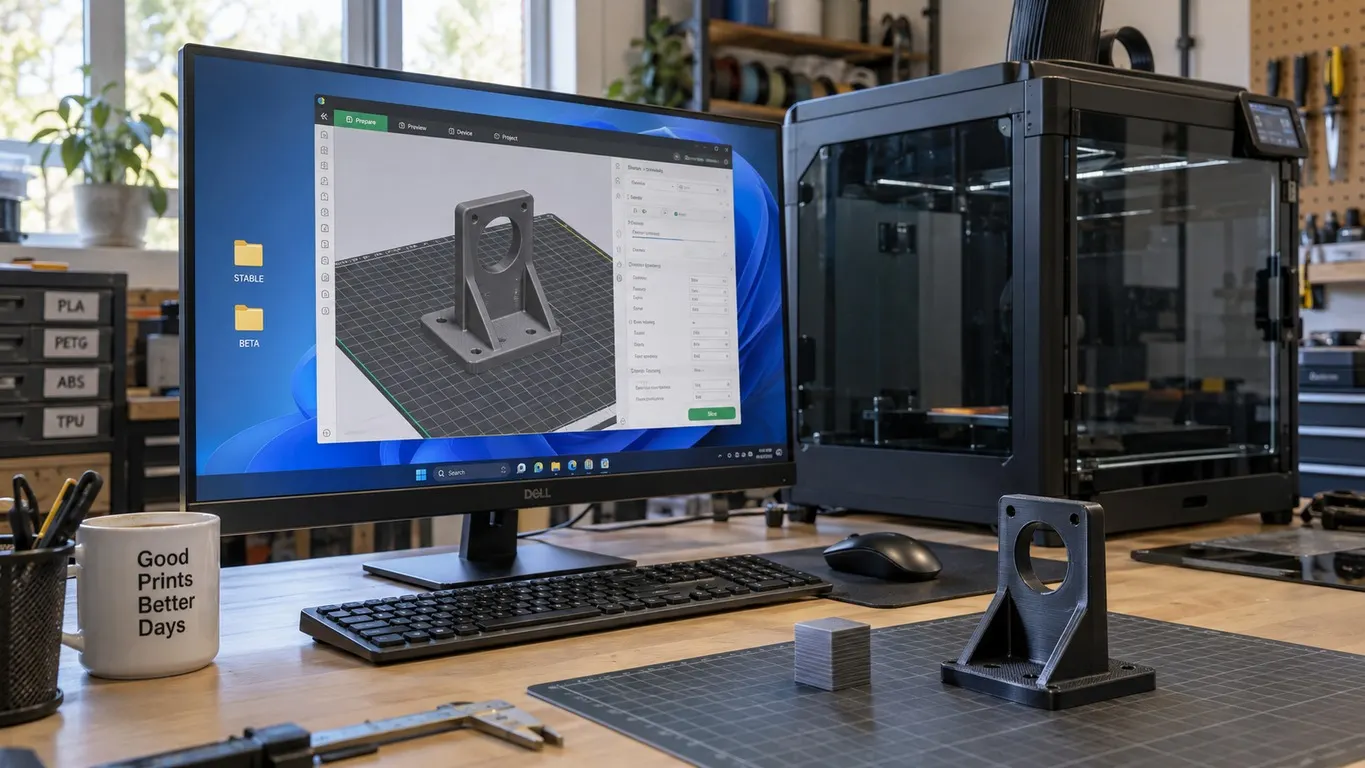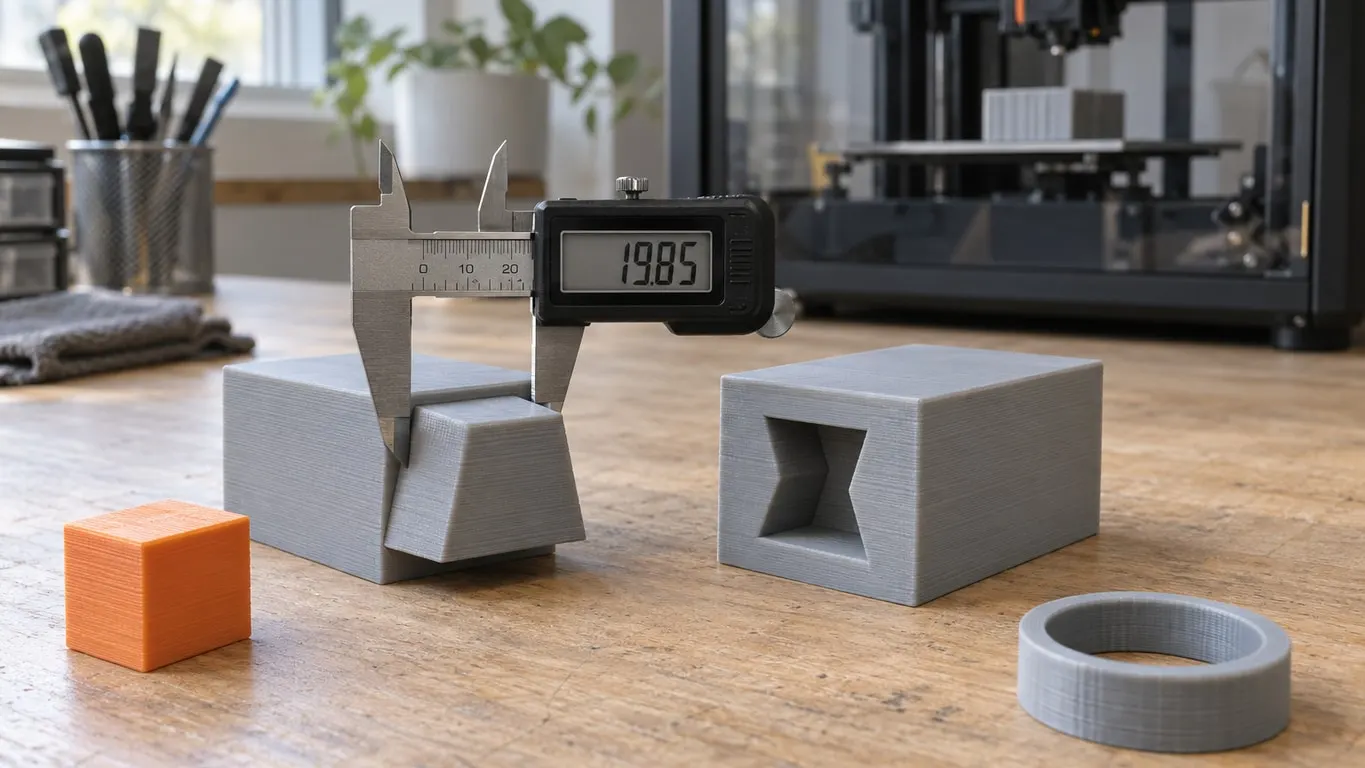
X-Y contour compensation is the Bambu Studio setting that grows or shrinks the outside of a part, and it is the one you want when a dovetail's tongue prints too narrow to grip. The hole setting right next to it will not help, because a slot that opens onto the edge of a part is not a hole to the slicer. There is a catch with mating parts, though: the same value that widens the tongue also closes up the slot. And when every dimension of an ABS or PC part comes out small by the same percentage, the problem is shrinkage and the fix lives in the filament preset.
The short version
- Measure first: a 3 mm tall test piece in the process and filament you plan to use is enough.
- Every dimension off by the same percentage? That is shrinkage. Set Shrinkage in the filament preset and leave compensation at 0.
- A fixed amount missing on each edge? Open Quality, go to the Precision group and put half the error into X-Y contour compensation. You only see it with the Advance switch on, and it is grayed out and reset to 0 while Auto circle contour-hole compensation is enabled.
- To change only one part of the fit, right-click it and choose Edit Process Settings.
- Adjust in 0.1 mm steps and reprint.
Why a dovetail slot counts as contour
Start with how the slicer sees your part. Every layer is a flat outline, and Bambu Studio sorts what is inside it: a gap closed all the way around is a hole, and anything that breaks through to the outside edge belongs to the contour. A dovetail slot opens onto the edge of the part, so in every layer it is a notch in the outline, and only X-Y contour compensation reaches it. The Bambu wiki makes the same point with a model that has openings in its side: those layers contain no holes, and forcing hole compensation onto such a model can leave visible layer separation where the hole is.
Both options sit in the Precision group of the process preset's Quality tab, at the advanced level. Both default to 0, and none of Bambu's process presets override them for any printer or nozzle, so an undersized part is not hiding an offset you never set.
Contour compensation moves every outline edge by the value you enter, in millimeters; positive grows the part and negative shrinks it. Because both sides of a feature move, a width changes by twice the number, so 0.15 mm turns a 20 mm tongue into 20.3 mm. On a notch, though, "outward" points into the empty slot. Give the tongue and the slot the same 0.15 mm and the tongue gains 0.3 mm while the slot loses 0.3 mm. The fit tightens by 0.6 mm, four times what you typed.
That is why the value usually belongs on one object. Right-click the tongue, choose Edit Process Settings, and the Process panel switches from Global to Objects; whatever you change there stays with that object. Bambu Studio stores this option per object, not per part, so a tongue and a slot that are two parts of one object always share a value. Separate them with Split, then To objects. Combining objects is the reverse job, covered in the Merge and Assemble article.
Two more traps. When both halves of a joint sit assembled inside one object, each layer's islands are offset and then unioned, so a gap narrower than twice the value disappears: at 0.15 mm, anything under 0.3 mm of clearance per side welds the halves together. And on an object color-painted with more than one filament, contour and hole compensation are not applied at all. Bambu Studio warns you about it, and shows a similar warning for an object with painted fuzzy skin.
ABS and PC: use Shrinkage, not compensation
Shrinkage is a different problem. Cooling plastic loses a percentage of its size, so the error grows with the part, and a fixed millimeter offset on each edge cannot keep up. Even with K and flow calibrated and slow cooling, one eSun ABS+ spool printed a 36 mm cube at 35.82 mm, roughly 0.5% short.
For that, Bambu Studio's shrinkage compensation is the Shrinkage option in the filament preset (Filament tab, Basic information group, advanced level). Every Bambu filament preset ships it at 100%, ABS and PC included, so the number has to come from you: measured size divided by designed size. For the cube, 35.82 / 36 x 100% = 99.5%. Bambu Studio then scales the sliced part up in XY by the inverse, to roughly 36.18 mm here, so it should cool back to 36 mm.
Scaling the object is the other route, and the better one for a single model: it leaves the filament preset untouched, while Shrinkage follows that filament into every object and project that uses it. The steps are in the scaling article.
It only works in XY, unlike OrcaSlicer:
| Bambu Studio | OrcaSlicer | |
|---|---|---|
| XY shrinkage | Shrinkage, since 1.10.0 | Shrinkage (XY), since 1.5.0 (March 2023) |
| Z shrinkage | No setting | Shrinkage (Z), since 2.2.0 beta (September 2024) |
The value belongs to the filament, so a project with several filaments needs it set on each one.
The wiki's shrinkage page says the setting leaves holes alone. In the code, the scale is applied to the whole cross-section of each layer, holes included, so at 99.5% a 6 mm hole grows by about 0.03 mm. Shrinkage is applied first and contour compensation afterward, so the millimeter offset is not scaled; the wiki likewise suggests calibrating Shrinkage first and fine-tuning with XY compensation after.
Bambu Studio also flags the materials most likely to need this. Since 2.5.3 (April 2026), slicing with one of them adds a tip to the slicing notification that warns about fit and links to the wiki's shrinkage calibration; since 2.7.0 it shows up as a daily tip rather than on every slice. The list goes by filament ID: Bambu and Generic ABS, ASA and PC, PC FR, PETG Basic, PETG HF, PETG Translucent, PLA Silk+, and several carbon and glass fiber grades.
Finding your number
In one reported case, 0.15 mm fixed an undersized dovetail. That is a single data point; the right value depends on the printer, the filament and the profile. Once you have your own, give it a home: save the process preset under a new name, which is how the wiki suggests keeping a precision-fit profile around for later jobs. Where saved presets end up, and why one can seem to vanish, is in the presets article.
The Bambu wiki has a calibration that needs no special reference: a MakerWorld test piece sized to fit the 55 mm hub of an original Bambu reusable spool. It should sit snug without dropping through. With calipers, measure the printed diameter and enter (55 - measured) / 2 as your contour compensation. Without them, iterate: loose means raise the value by 0.1 mm, no fit means lower it by 0.1 mm. A 3D-printed spool will not do. The hole side is calibrated with M3 to M6 screws, and how hole compensation differs from a flow problem is in the flow ratio vs hole compensation article.
For your own test pieces, keep the calipers off the first layer. Elephant foot compensation pulls that layer's outline inward by 0.15 mm on X1 and P1 series profiles and 0.075 mm on the A1, while the A1 mini ships at 0. It is skipped when printing on a raft, and anything above 1 mm is reset to 0.