If you are searching for how to assemble objects in Bambu Studio, the menu item every older tutorial shows has been renamed. Select two objects, right-click one of them, and the entry that joins them into a single multi-part object is now called Merge. Its tooltip still describes it in the old words: Assemble the selected objects into an object with multiple parts.
The Bambu Lab forum thread "Help With Creating an Assembly", opened in April 2024, caught the change as it happened. It starts with someone who could not see how a YouTube presenter selected two models, turns in May 2024 into "the assemble option is gone", and in 2025 picks up two text-on-a-sign cases, one the poster solved and one that ends with the text printing in the wrong color. The interface details below were checked against Bambu Studio's open-source repository by comparing release tags.
Assemble vs Merge: what changed in 1.9.1
In the 1.8.4 and 1.9.0 tags, the function that builds this menu entry labels it Assemble. In the 1.9.1 beta of April 2024 it briefly reads Combinate, and with the stable 1.9.1 of May 13, 2024 it becomes Merge, which is what the 2.8 releases still say. The operation itself did not change. A regular in the thread saw that right away:
"Merge" seems to do the same thing as Assemble did.
The name did not disappear, though. The same 1.9.1 beta added a separate tool called Assemble, and it is an alignment tool rather than a join. Its Y shortcut arrived later, in 2.0. It becomes available once at least two parts are selected and works in Face and face assembly or Point and point assembly mode, seating one part's face or point against another. So the short answer to "assemble vs merge" is that Merge collects objects into one object and Assemble lines them up against each other.
The tool even tells you which comes first. When the two parts you picked belong to different objects, it warns that it is recommended to assemble the objects first, because objects are restricted to the bed and only parts can be lifted.
How to assemble two objects
The accepted answer in the thread is still accurate apart from the label:
Use "Ctrl" while selecting to select multiple parts at the same time. Right click on one of the selected parts to access "Assemble".
The program's own shortcut list spells out the selection rules. Ctrl plus left click selects multiple objects, Shift plus a left-click drag selects by rectangle, and Ctrl+A selects all objects. Ctrl-clicking an object that is already selected drops it from the selection. In the object list on the left, the thread's other tip works: click the first row, hold Shift, click the last, and everything between is selected.
On a Mac the shortcut list shows command instead of Ctrl, since that is what the source maps the Ctrl prefix to on Apple, and multi-select in the 3D view checks the Cmd key. The object list is a native list control, so the usual macOS rules apply there: Cmd for individual rows, Shift for a range.
Merge sits at the top of the menu you get by right-clicking one of the selected objects. Aim for an object, not the bed: with several objects selected, a right-click on empty space opens nothing at all, which looks a lot like a missing feature. Pick Merge and the selection becomes one object called Assembly with every former part inside it (a single-part object becomes one part), still where it was relative to the others, and the whole group drops onto the bed together. Ctrl+Z takes it back.
Why Assemble (now Merge) is not showing
In the thread's third post, the right-click menu the poster shared lists Center, Fix model, Delete, Convert from inch, Convert from meter, Set Filament for selected items and a grayed-out Split, with no Assemble anywhere. The reply was one line: "That's because it is already assembled." The two rows selected in that screenshot are two parts under one object, and the source gives that selection a different menu.
These are the cases where the entry is left out entirely rather than grayed:
| What is selected | What the menu offers instead |
|---|---|
| A single object | The object menu: no Merge, but Mesh boolean |
| Several parts of the same object | Merge into Single Part (since 2.4.0), plus Sub merge when not every part is selected (since 2.1.0) |
| Any object made with the Cut tool | No Merge |
| An SLA (resin) printer selected | No Merge |
Two traps sit outside the table. Cut parts first: objects that still carry cut information are excluded from merging in code. Right-click one of them on its own and the object menu offers Invalidate cut info; clear it and the object can be merged again. Then the tab: in Preview the object list's right-click menu is switched off entirely, so do this in Prepare.
What a merged object keeps
Color is what most people worry about, and it survives. A part with no filament of its own gets the former object's filament written onto it, and any color painting moves across with the part's mesh. Placement comes along too, because each former object's mesh is copied in as a separate part. To recolor one later, pick its row in the list or Alt-click it in the 3D view (option-click on a Mac), then press a number from 1-9 or use Change Filament.
Object-level settings are pooled instead. If two of the source objects carried the same setting with different values, only the first one written survives on the new object, so check the object's settings after a merge.
Merge into Single Part is a different operation, and the name makes it easy to grab by mistake. It fuses the selected parts' meshes into one part called "Merged Parts" and writes each selected part's settings onto it in turn, so the parts' separate filament assignments collapse into one. For a multi-color print you want the object-level Merge, not this. The parts inside a merged object are of type Part; how that differs from a Modifier or a Negative Part is covered in the height range article.
Printing two filaments in one object is then up to your hardware. If you have no AMS and the colors split cleanly at a layer boundary, multi-color without an AMS is the route.
A side effect of the default name is that it turns up in messages. With the print sequence set to By object and more than one object on the plate, an object that is taller than the extruder clearance and is not the last one printed produces Assembly is too tall, and collisions will be caused., which likely explains the "assembly is too tall" searches.
Overlapping parts: the lower one in the list wins
Inside a merged object, the slicer settles overlaps with a rule you can read in a comment in the source. Parts are processed in the order they sit in the object's list, and each solid part subtracts its own cross section from the parts before it. Wherever two parts occupy the same volume, the one lower in the list keeps it.
That rule only applies within one object. Two separate objects that overlap get a different treatment, and the May 2024 exchange shows it: sliced unmerged, the two parts produced a Serious warning reading Conflicts of gcode paths have been found at layer 11. Please separate the conflicted objects farther (Assembly <-> Assembly). Both names reading Assembly means each of those two objects had already been merged internally, just not with each other. In the source that check compares toolpaths belonging to different objects only. Merged and sliced on 1.9.1.66, the same parts show no warning and both colors in place.
The complaint in the thread fits the list-order rule. After merging, the poster wrote, "it seems like the STL loses its individual properties and prints in one color. The bigger mesh overlaps the smaller one." Their screenshot has the yellow part listed first under Assembly and the black shield below it, and the slice uses only the black filament. Later that day it worked after they closed everything and started again, and they never found the cause, so read the match between list order and result as our interpretation, not a confirmed diagnosis.
The source offers two ways out. The first is reordering: select a single part row in the object list and drag it onto another part row of the same object. Move the embedded part lower in the list and it keeps the shared volume. And since 2.7.1 there is an Order-independent overlap carving option under Others, in the Advanced group: with it on, overlapping parts are carved by bounding-box size instead of list order, so a small embedded part is not swallowed by a larger one. It is off by default and only visible with Develop mode turned on in preferences.
When text disappears after merging
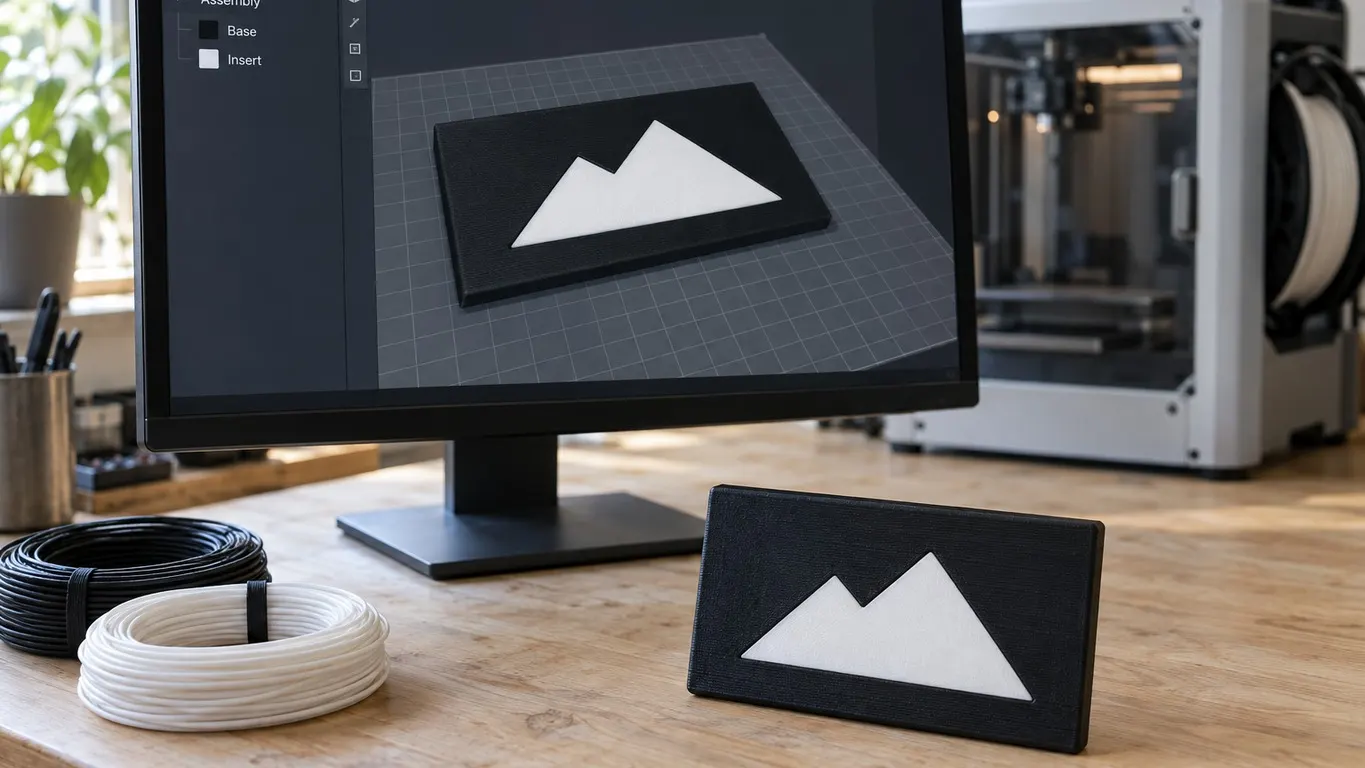
In January 2025 a user building a black sign with white text put the text at the bottom so it would pick up the build plate texture. Everything looked right after merging; after slicing, the text was on no layer at all. Nine minutes later they posted their own fix:
i selected my text, clicked on move and changed it to object coordinates and moved it down by 0.01 so in the z box put -0.01, job sorted
The thread does not explain why that works, and nothing in the source maps onto it directly. Treat it as a forum observation, not a setting for every sign. The first thing to check is still the list-order rule above: if the text is embedded in the sign and sits above the sign in the list, the sign takes its volume.
A third user in March 2025 wanted text flush with a flat face 3 mm up a taller part, 1 mm deep. At first they could not raise the text; after merging, they selected only the text part in the left pane, added 2 to its Z value, and it sat where they wanted, just as the Assemble tool's warning describes. The finished print came out with the text in the same color as the main part, and the thread ends there.
The move tool itself is covered in the rotate and scale article. The opposite problem, text sitting slightly above the base and triggering a warning, has its own fix in the floating regions article.