Bambu Studio has no setting called "wall order" or "outer wall first." The control is Order of walls, and it has three choices: inner/outer, outer/inner and inner wall/outer wall/inner wall. Every Bambu process profile ships with inner/outer, which prints the outer wall last. Switching to outer/inner can clean up the outer surface, but it can also make the seam more visible, and if a new defect starts tracking the seam line, the retraction and Z hop settings are where to look.
Object print order is a separate control. Dragging objects in the object list reorders them only when Print sequence is By object; in By layer the list refuses the drag.
The short version
- Turn on the Advance switch at the top of the process settings panel, open the Quality tab and scroll to the Advanced group. Order of walls is the first line there.
- Keep inner/outer for parts with overhangs. Try outer/inner when the outer surface matters more.
- Inner/outer/inner only behaves differently from outer/inner with three or more walls.
- If outer wall first leaves marks along the seam, check Travel distance threshold and Z Hop Type, and change one at a time.
- To pick which object prints first, set Print sequence to By object and drag the objects in the list on the left.
What each order does to the part
Bambu's wiki is blunt about the trade-off. With inner/outer, the outer wall has a finished inner wall right beside it to lean on, which is why it handles overhangs best. With outer/inner or inner/outer/inner, an overhanging outer wall has nothing on either side, and overhang quality suffers.
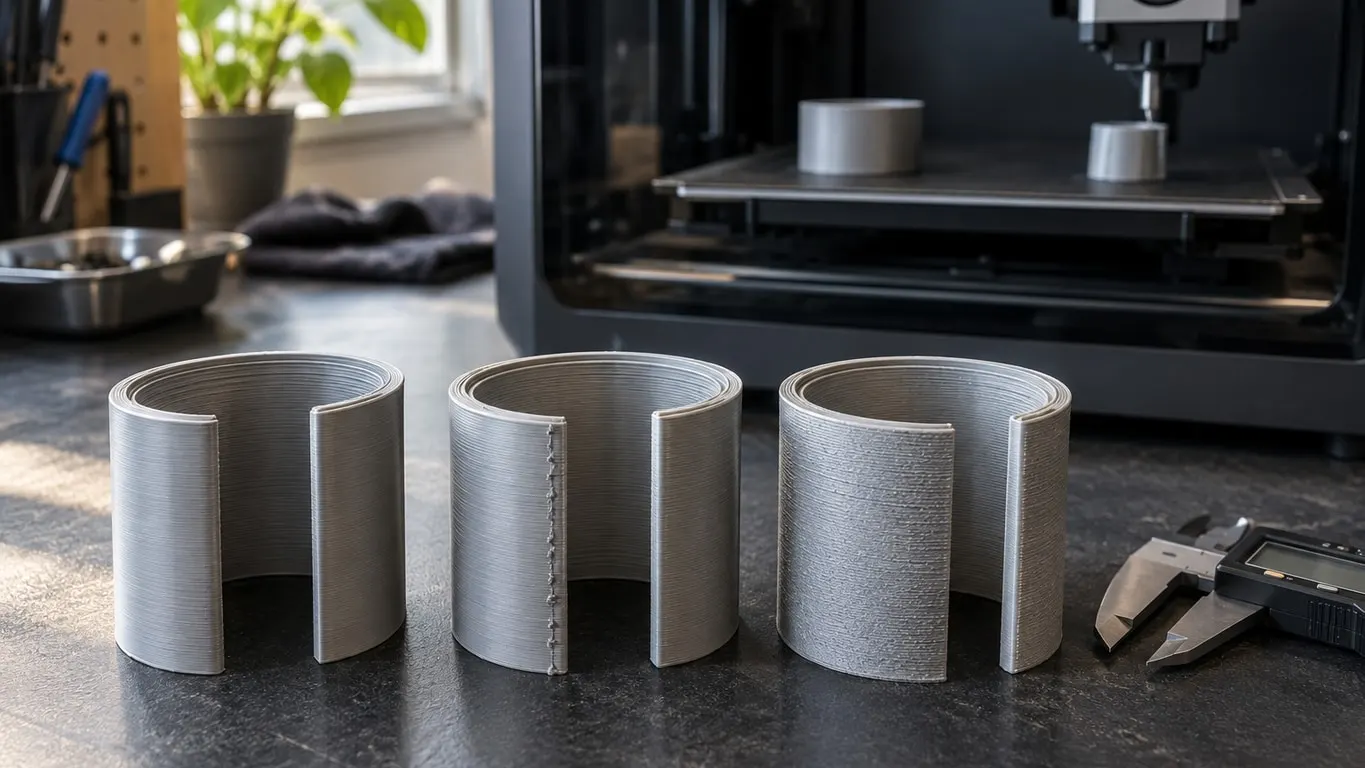
Outer/inner goes the other way. The outer wall is printed first, so it cools and sets before the inner lines are laid against it, and the wiki credits that with fewer surface imperfections from the inside pushing or shrinking. The cost, in the wiki's words, is that seams "may be more obvious."
Inner/outer/inner prints the inner walls outward, then the outer wall, and finally the inner wall that touches it. That leaves a gap between the outer wall and the finished inner walls, which the wiki says limits how much shrinkage inside can pull on the surface.
Inner/outer/inner needs walls to work with. Bambu's profiles use the Classic wall generator with two walls (four on 0.2 mm nozzles, six in the 0.20 mm Strength profiles), and with two walls the only inner wall is the one touching the outer wall, so this order prints the outer wall first, exactly like outer/inner. Arachne also skips the reordering below three walls, and then prints the outer wall first on every layer but the first. Set Wall loops on the Strength tab to 3 or more to get a real third order.
Infill has its own checkbox right below, Print infill first, off by default. Release notes date the pieces: inner/outer/inner arrived in 1.5.0 (March 2023), the setting moved to the object level in 1.8.0, and since 2.3.0 (October 2025) a Modifier or Height range modifier can change it for one region of a part; adding height ranges covers that tool.
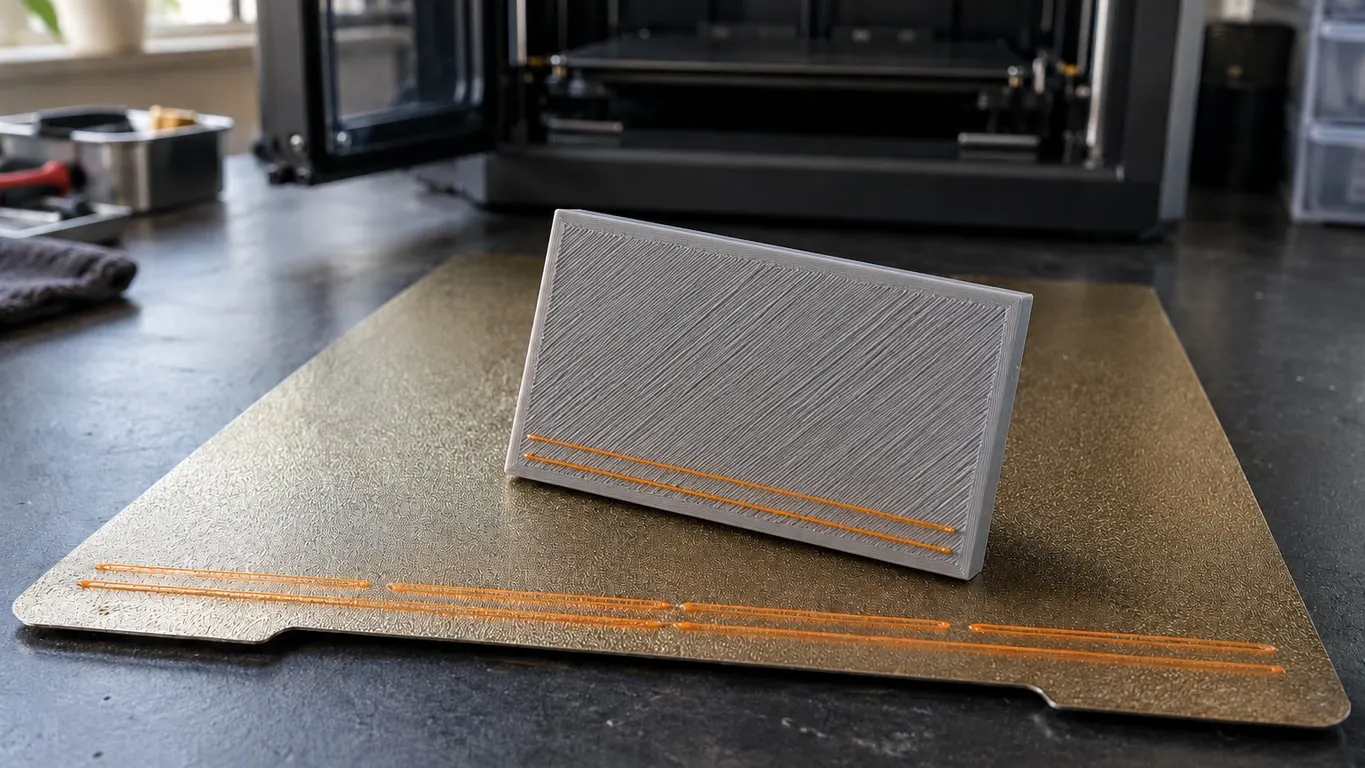
Marks along the seam after going outer wall first
Start with the setting that has the most plausible link to the symptom. Bambu Studio does not retract on any travel shorter than Travel distance threshold, and Z hop only happens as part of a retraction, so those short moves get no lift either. Outer/inner finishes the outer loop right beside the inner wall it prints next. If that hop is under the threshold, the nozzle crosses with no retraction and no lift, which would fit a nozzle rubbing the seam. That comes from reading the slicer code, not from a measurement, but it does say which way to turn the knob: a higher threshold leaves more travels unretracted.
The one documented case points the same way. An A1 with dried PETG, the 0.16 mm High Quality profile and a 50 mm/s outer wall got a much cleaner surface on outer/inner, plus new marks running along the seam line. The threshold had been raised to 2 mm by then; putting it back to 1 mm and switching the scarf seam to Contour did nothing, and going back to inner/outer only reduced the dragging. After that, five changes made together left just a little rubbing:
| Setting | Where | Stock value | In that case |
|---|---|---|---|
| Z Hop Type | Printer settings > Extruder > Retraction; also the filament's Setting Overrides | Auto on the printer; the A1 Bambu PETG Basic profile overrides it to Spiral | Normal |
| Travel distance threshold | Printer settings > Extruder > Retraction | 1 mm on the A1, A1 mini, P1S and X1C; 3 mm on the last three with a 0.6 mm nozzle | 0 |
| Reduce infill retraction | Process > Others > G-code output | Auto | Off |
| Scarf seam type | Filament > Filament scarf seam settings | None | No scarf |
| Seam position | Process > Quality > Seam | Aligned | Back |
One printer, five changes at once, and the record does not say whether they were tested on outer/inner. Treat the rows as candidates to try one at a time. The layer lines article covers how Auto and Normal lift differ and how the printer and filament share Z Hop Type.
Retraction defaults have moved since 2024
On a current build, three of those rows need a second look.
- Z Hop Type. In 2024 the A1 Bambu PETG Basic profile left Z hop to the printer. Today it sets Spiral in the filament's overrides, and the override wins, so a printer set to Normal changes nothing with that filament loaded. Make the change on the filament's Setting Overrides page.
- Reduce infill retraction. A checkbox in 2024, on in Bambu's profiles. Since 2.5.3 (April 14, 2026) it is a Disabled, Auto or Enabled list that ships on Auto, and Auto follows the filament's Metal stickiness. Every Bambu PETG profile says High, so on PETG Auto already retracts inside the infill, same as Disabled. Bambu PLA Basic says None, which counts as Low, and there Auto skips those retractions.
- Scarf seam. The scarf settings moved to the filament in 1.10.0 and were switched off by default in 1.10.1 (November 2024), so every Bambu filament profile has Scarf seam type at None. The Override filament scarf seam setting box in the Quality tab's Seam group ships unchecked.
Seam position choices and seam painting are in the screw hole article.
Choosing which object prints first
Object order lives in the object list, and the list only accepts a drag when the plate really prints By object: the plate's own Print sequence from its gear icon, or the global value when the plate says Same as Global Print Sequence. Every stock profile is By layer, and the Add Pause article shows where both settings live. In By layer the drag is refused without a message.
Drag one object at a time, onto another object on the same plate. Since 2.5.3, switching to By object puts the sequence numbers on the objects, and View > Show Labels by Object hides or shows them.
By layer has no object order to set. First layer filament sequence and Other layer filament sequence in the plate dialog order filaments. Dragging parts inside one object works in either mode, but per the 1.7.4 release notes that sets the clipping order of overlapping parts, not print order.
Clearance limits in By object mode
Stock values with a 0.4 mm nozzle:
| Printer | Min. spacing | Rod height | Lid height | Printable height |
|---|---|---|---|---|
| A1 | 73 mm | 25 mm | 256 mm | 256 mm |
| A1 mini | 73 mm | 25 mm | 180 mm | 180 mm |
| P1S, X1C | 68 mm | 34 mm | 90 mm | 250 mm |
- Objects must sit farther apart than the spacing value.
- An object that shares a Y range with one printed after it must stay under the rod height. Any other object is held to the lid height, and the last object on the plate only to the printable height.
- So order changes what fits: of two objects in the same Y range, print the tall one last and only the short one answers to the rod.
- If every object is shorter than the nozzle tip, 4.76 mm on the A1 and A1 mini and 4.2 mm on the P1S and X1C, the spacing check shrinks to about 4 mm.