Poking the nozzle with a needle only delays the problem. A cold pull at the right temperature lifts the carbonised residue out in one piece.
How to spot a clog
The clearest sign of a partial clog is flow that drops without you changing a single setting. If the same file printed cleanly a week ago and the walls are now thin, the problem is in the melt zone, not the slicer.
Two quick checks. Extrude 10 mm by hand; if the strand curls instead of falling straight down, there is residue at the tip. Then heat up and let it drool: a stuttering, broken drip means the channel has narrowed.
Why a needle does not fix it
The inside of a brass nozzle is softer than the needle. Every poke widens the orifice slightly and scratches the bore, and a scratched surface gives the next deposit something to hold on to. The residue also breaks up and gets pushed deeper, which makes the problem invisible rather than solved.
The cold pull, step by step
The idea is simple: fill the channel with molten filament, cool it until it is just firm enough to grip, then pull it out in one motion. The residue sticks to the cooling filament and comes out with it.
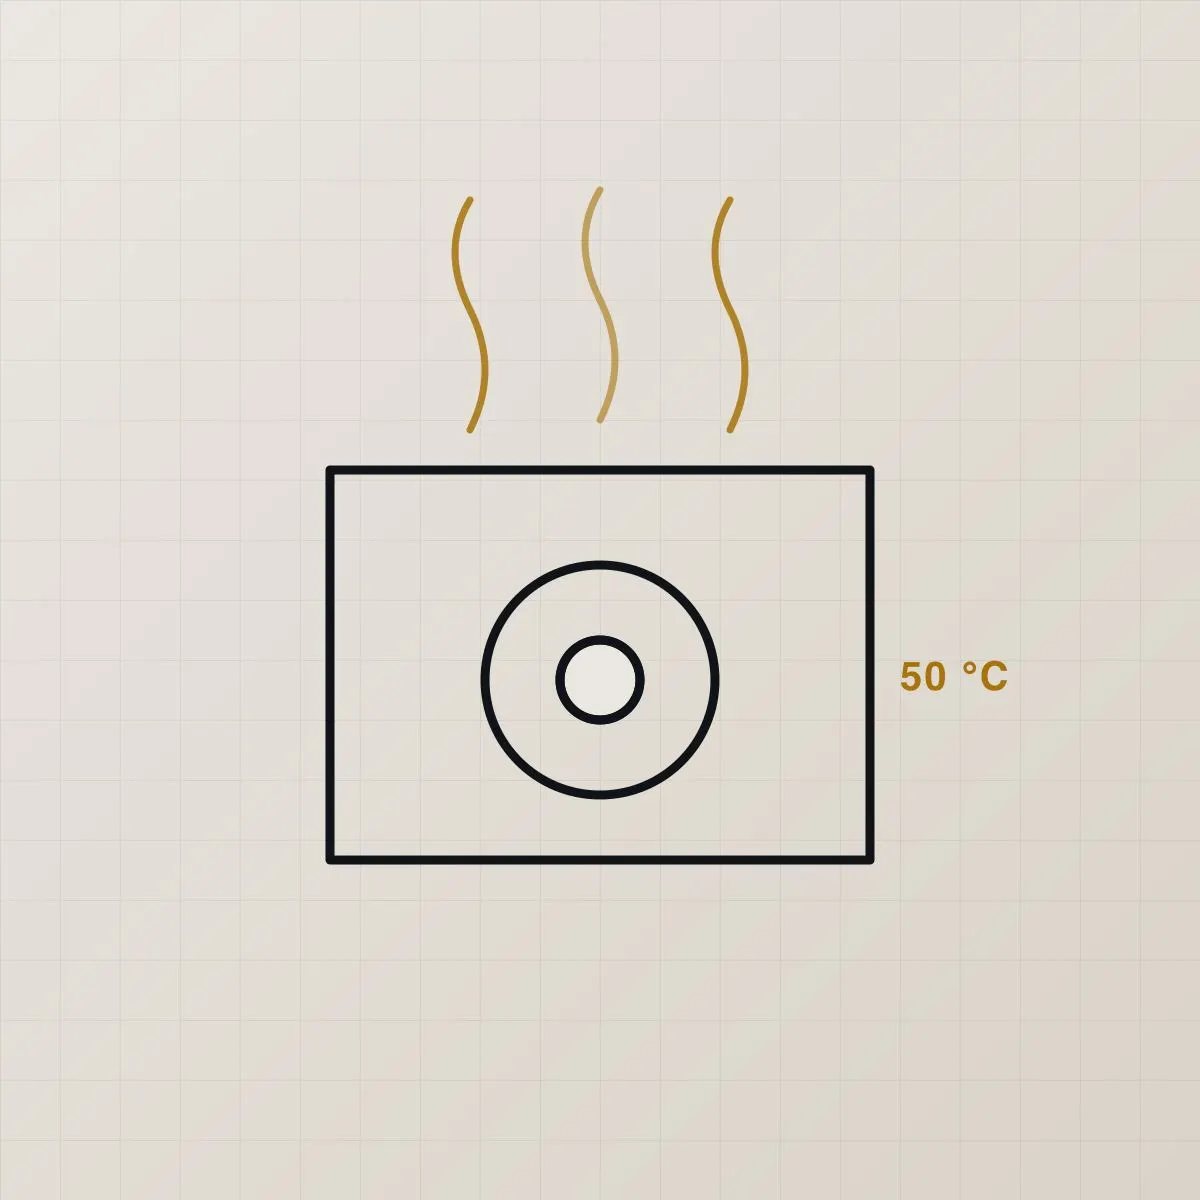
- Heat the nozzle to normal printing temperature and push filament through until the channel is full.
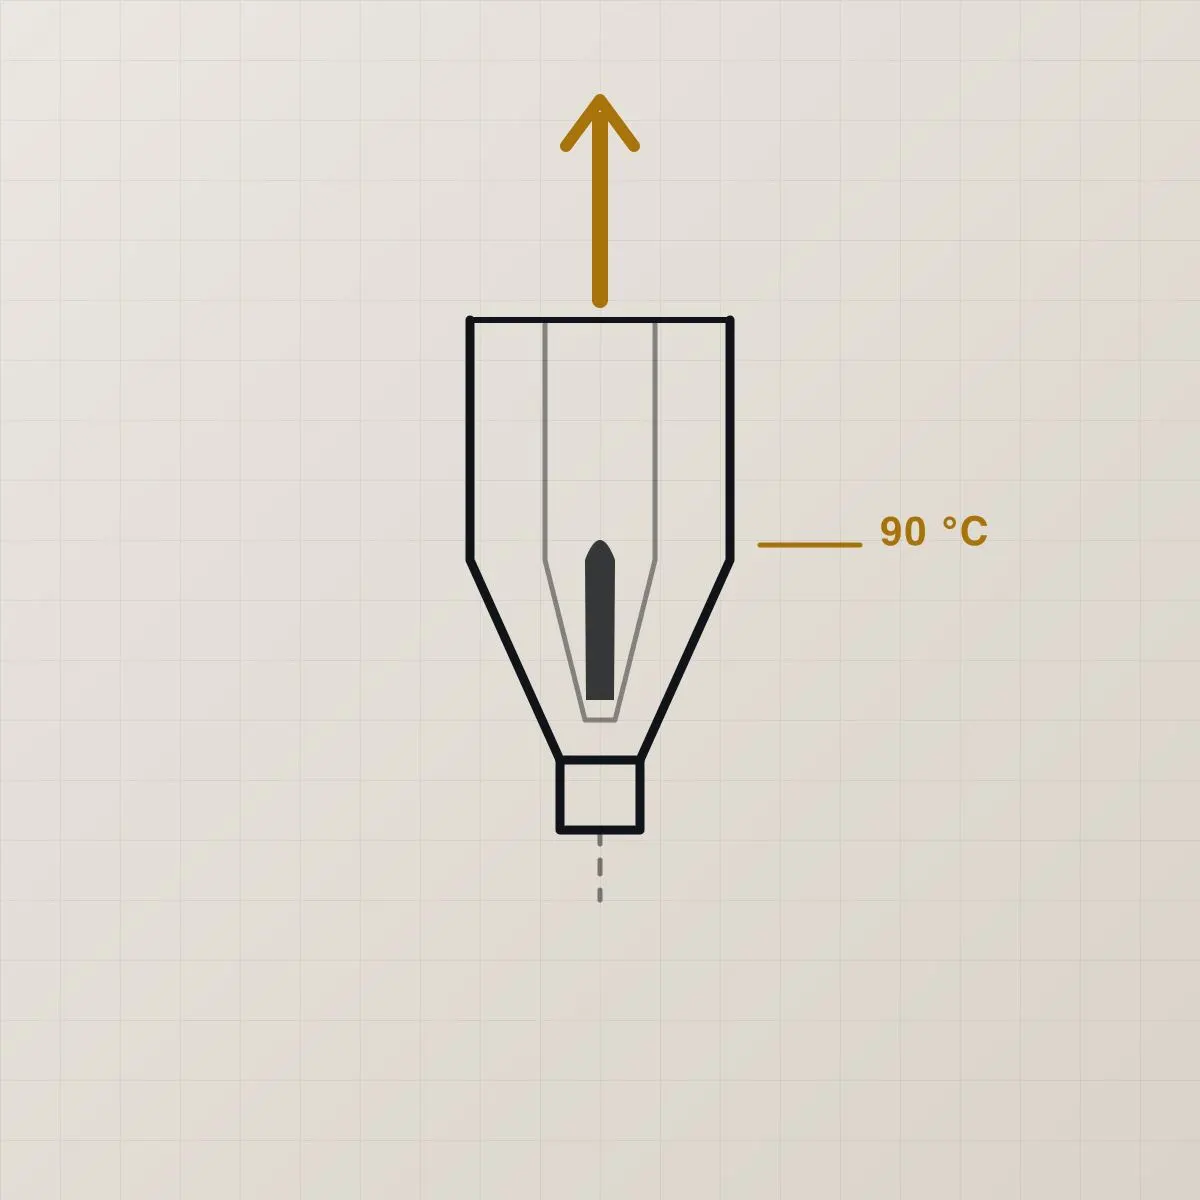
- Lower the temperature gradually. Around 90 °C works for PLA; PETG wants a slightly higher threshold.
- At the threshold, pull the filament straight out in one fast motion. Pull slowly and it snaps.
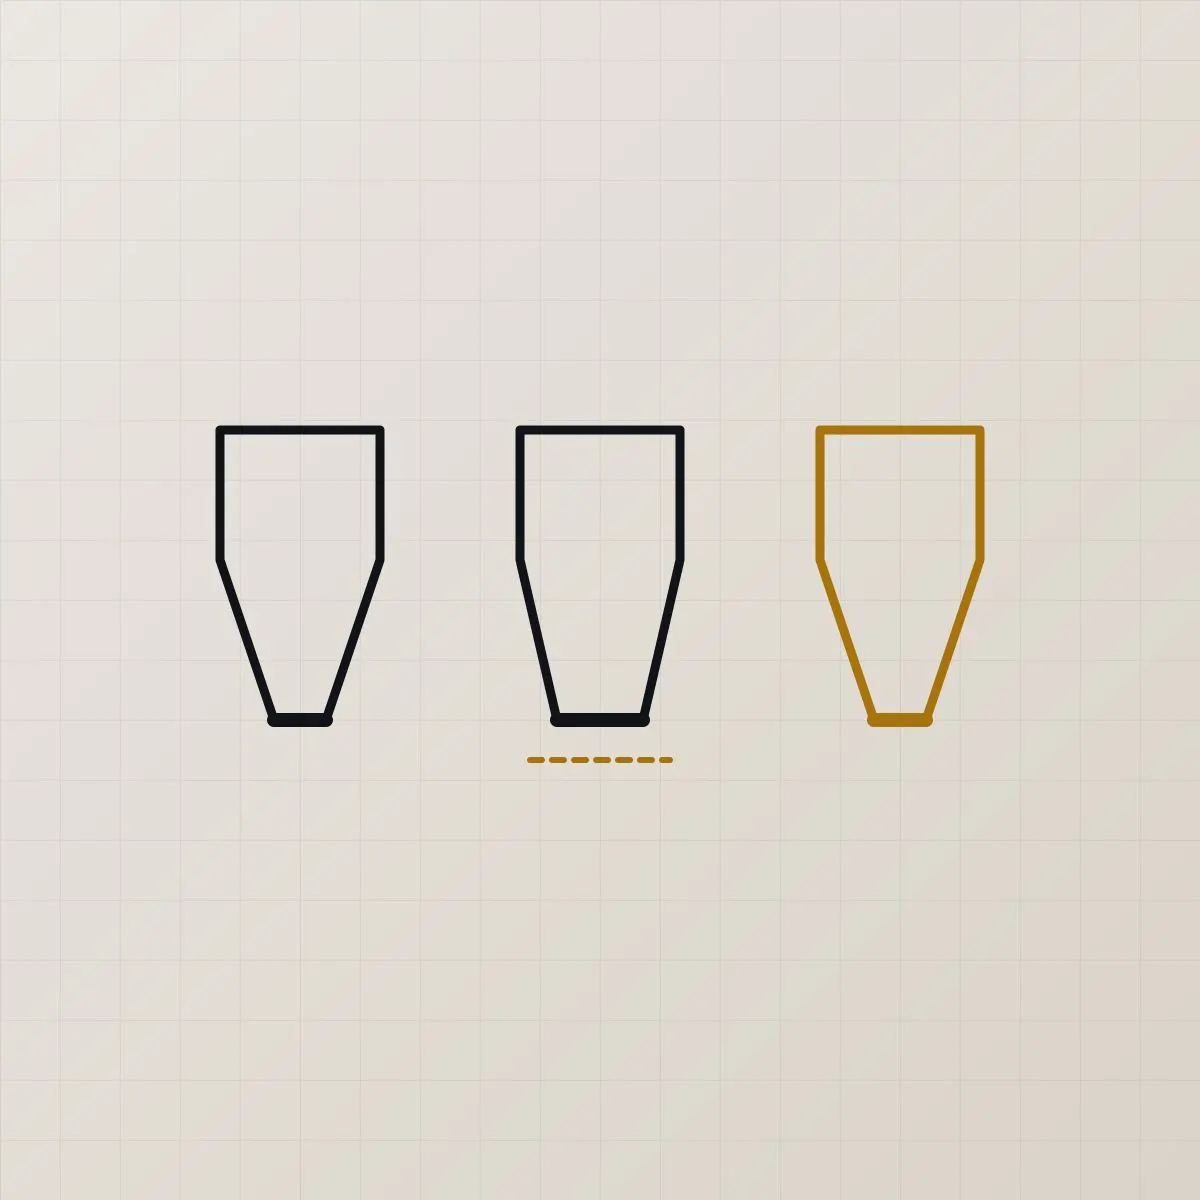
- Inspect the tip: a clean negative of the nozzle channel means the bore is clear.
If the tip comes out dirty or malformed, repeat. A clog that survives two or three attempts is a clog that needs the nozzle removed and inspected.
Keeping it from coming back
Most residue comes from filament sitting at temperature with nowhere to go. Not leaving the nozzle hot after a print, purging the channel fully with the new material when switching filaments, and drying wet filament before printing all reduce how often this happens.